Without filler or abstractions, let’s go through the remodeling options and 8 design and layout ideas for a 100-square-foot kitchen. Fortunately, the experience and the problems are well understood because this size was standard in many apartment buildings, and there are plenty of successful designs and furniture layouts.
Let’s go.
Layout and Remodeling Options for a 100-Square-Foot Kitchen
Furniture and appliances are the basis of any kitchen design.
Finishes and decoration are secondary, so they are at the end of the article.
1. Design Starts with the Refrigerator
Start the furniture layout and the entire kitchen project with the position and type of refrigerator.
Why?
It occupies all 3 levels vertically, and if the refrigerator is placed awkwardly, you can bury any amount of money in the kitchen, but at a glance the design will be judged by its weakest point.
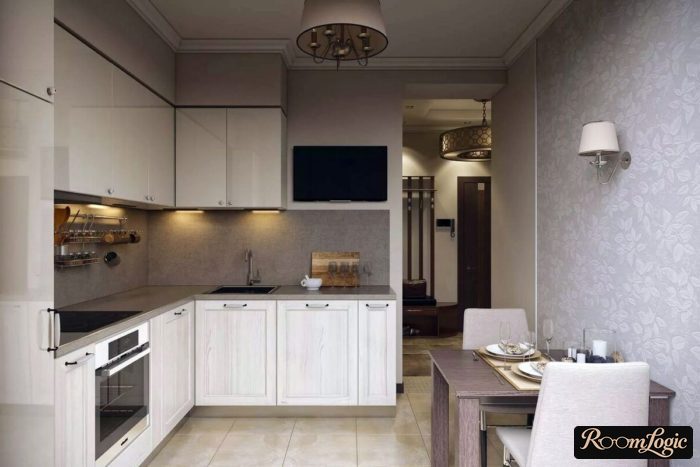
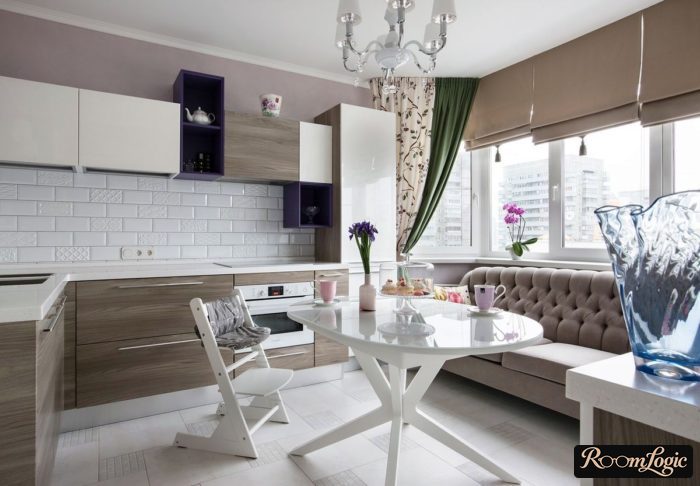
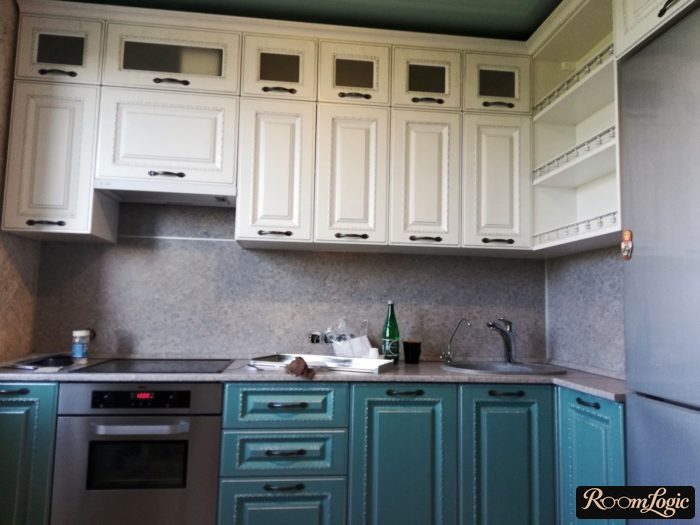
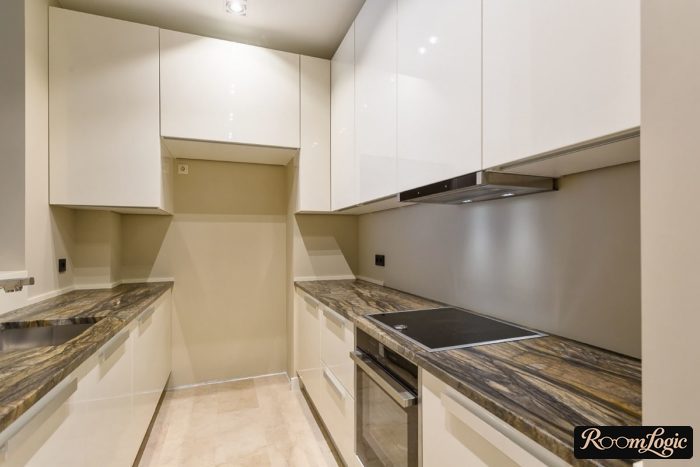
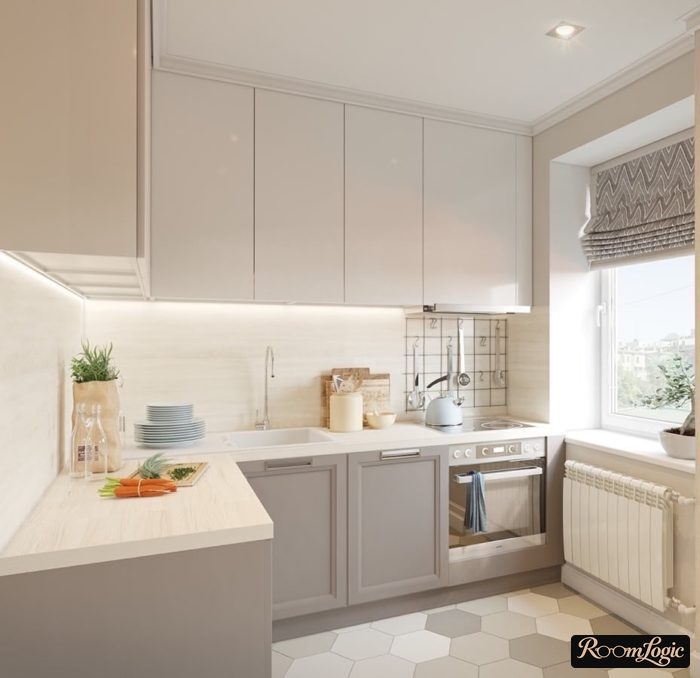
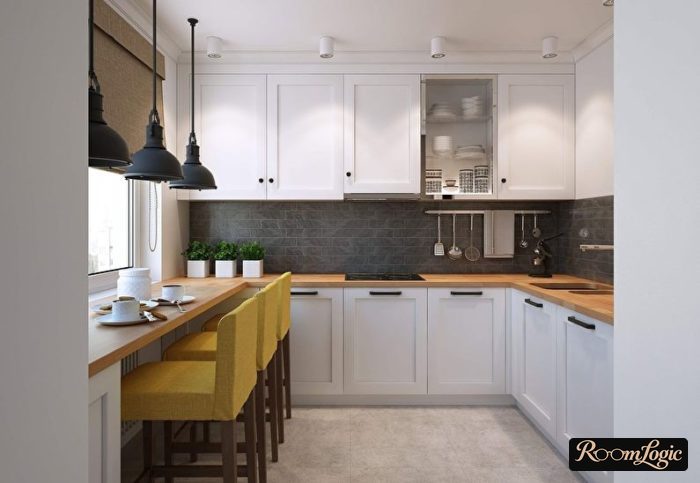
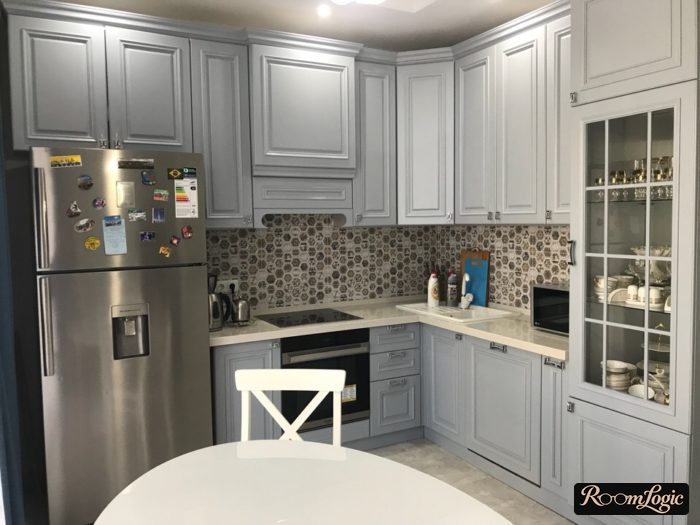
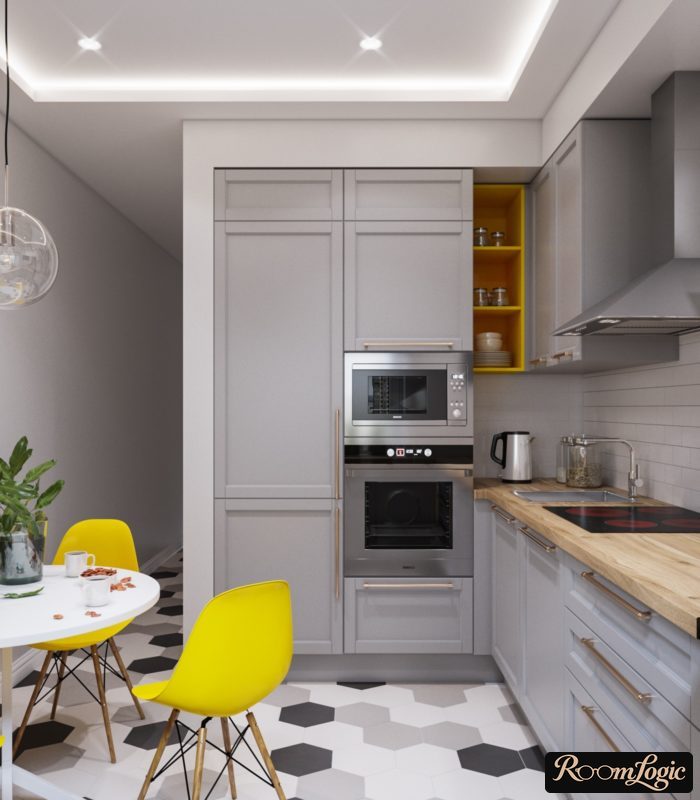
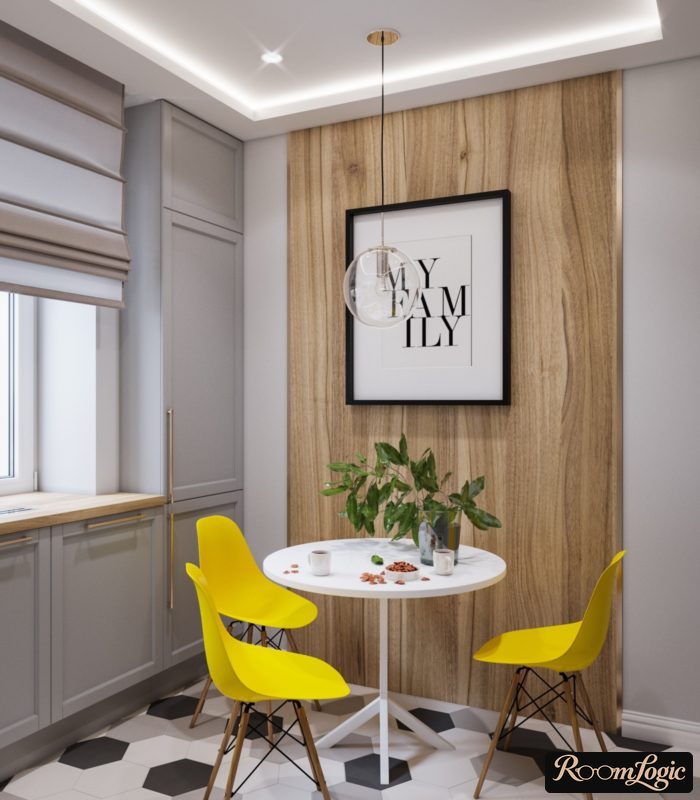
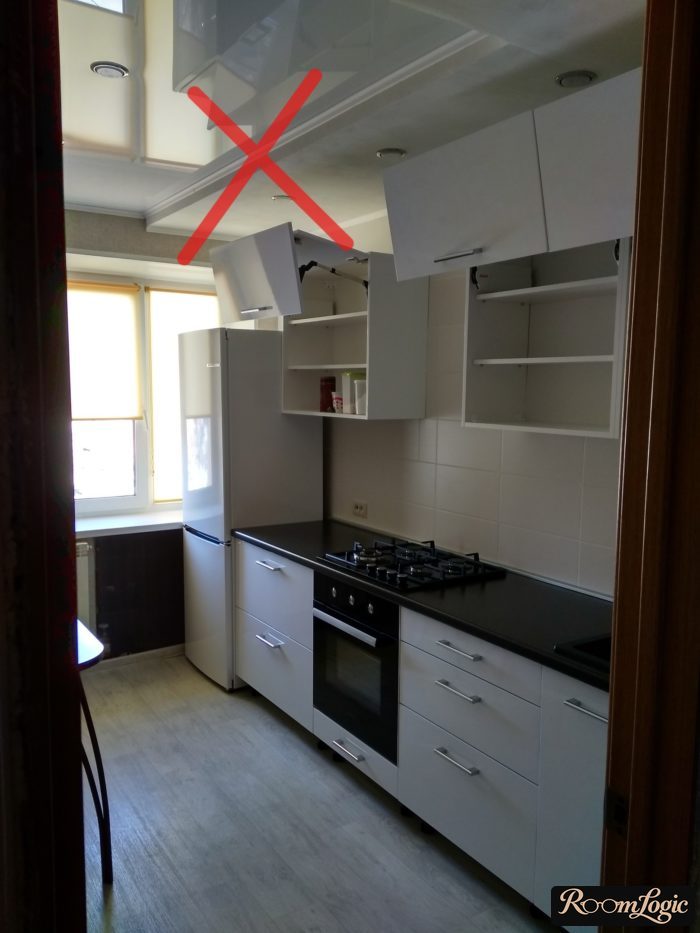
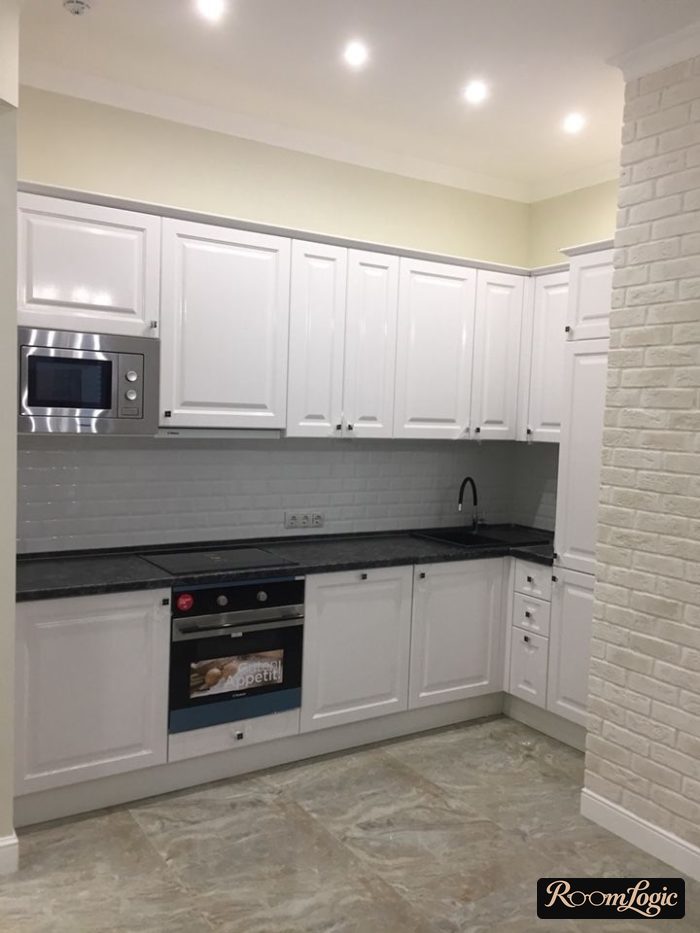
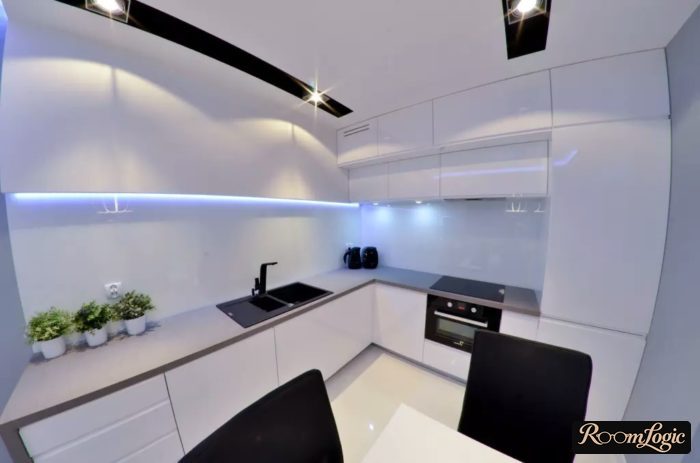
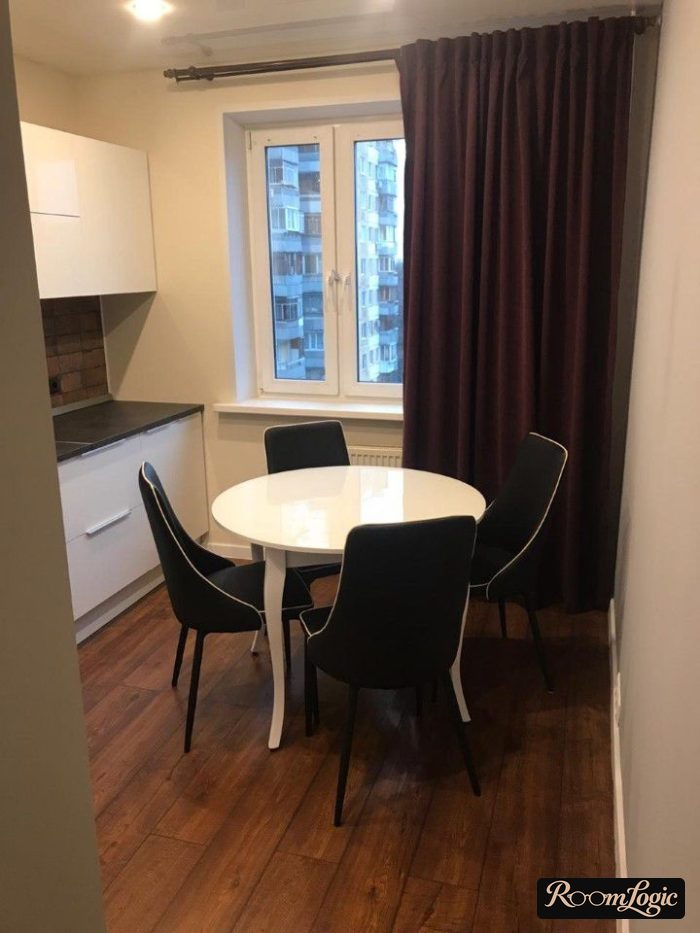
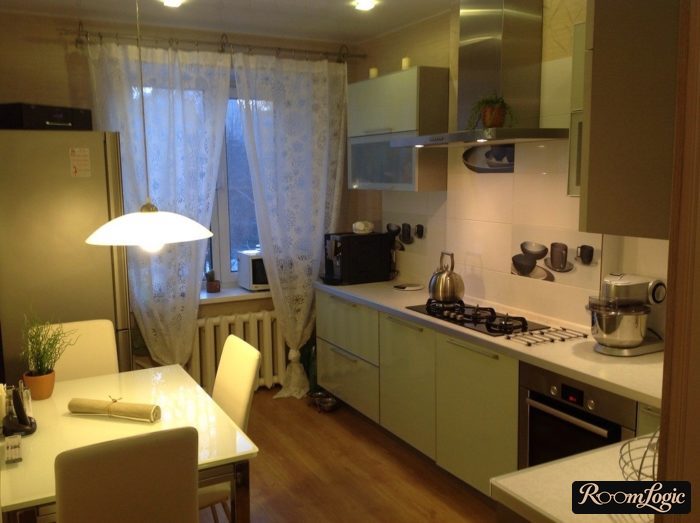
Compare 3 designs with different refrigerator placements in a 100-square-foot kitchen:
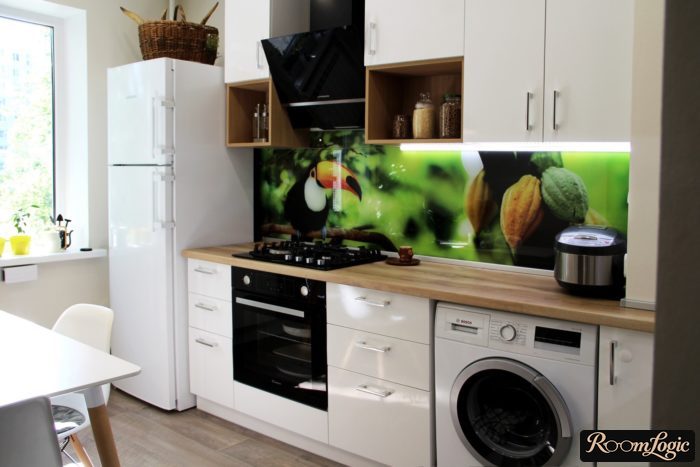
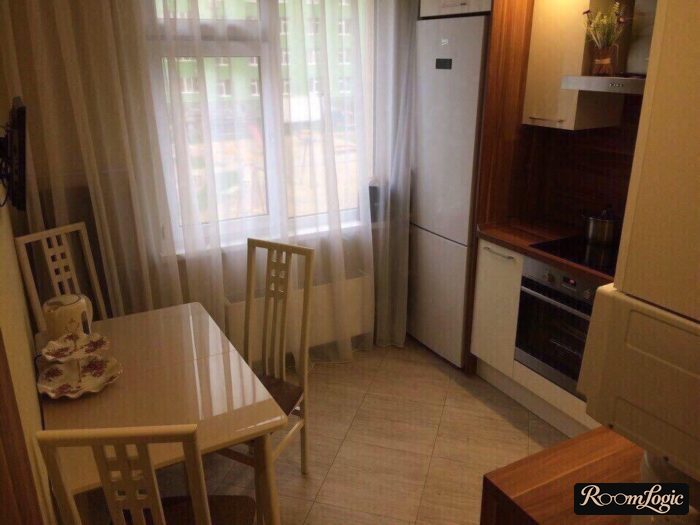
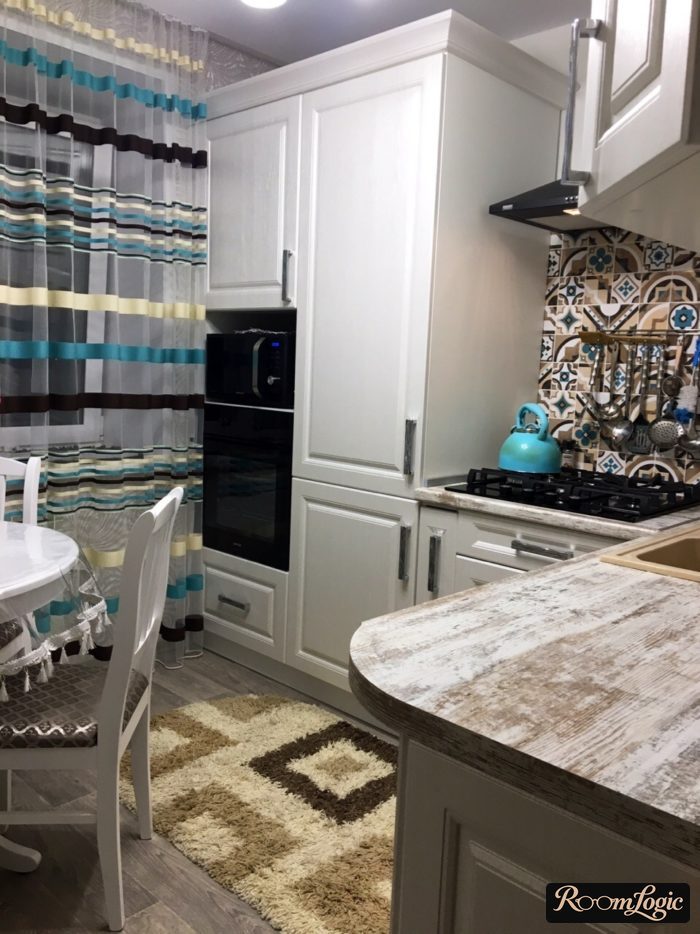
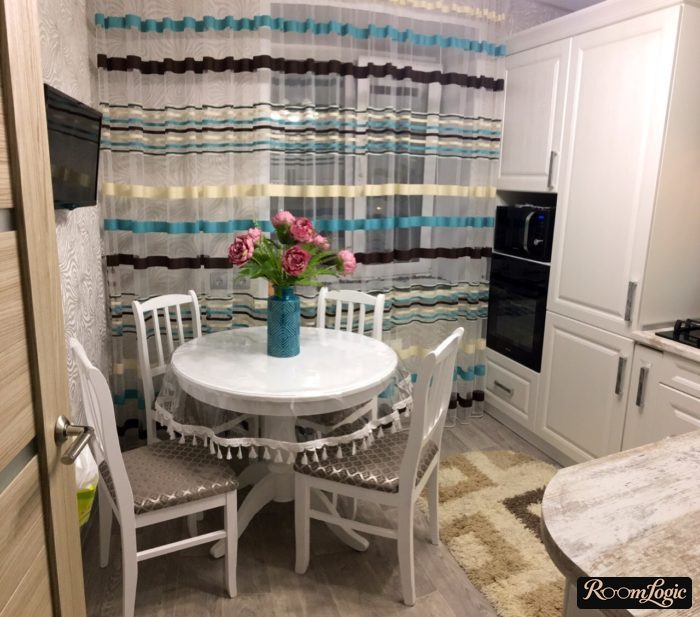
The overall impression of the first interior is clearly worse than the next 2.
The process:
- Decide between a built-in and freestanding refrigerator. A built-in refrigerator costs more, the cabinets cost more because they include covering panels, installation is complicated, and the usable interior volume is noticeably smaller. But it looks modern, minimalist, and stylish. A regular refrigerator is cheaper and larger inside, but it looks worse and must be placed correctly.
- If you choose a freestanding model, do not simply put it next to the cabinets because there is no good way to finish the joint between the refrigerator and countertop. There will be a gap with a dark corner and permanent dirt – this lowers the overall level of the interior. Add a particleboard end panel and cabinets above the refrigerator. Keep in mind that the manufacturer’s instructions may require at least 2 inches of ventilation clearance on the sides.
- The doors on modern models can be hinged on either side. Rehang the door so the handle is on the work-area side, meaning the door opens away from it.
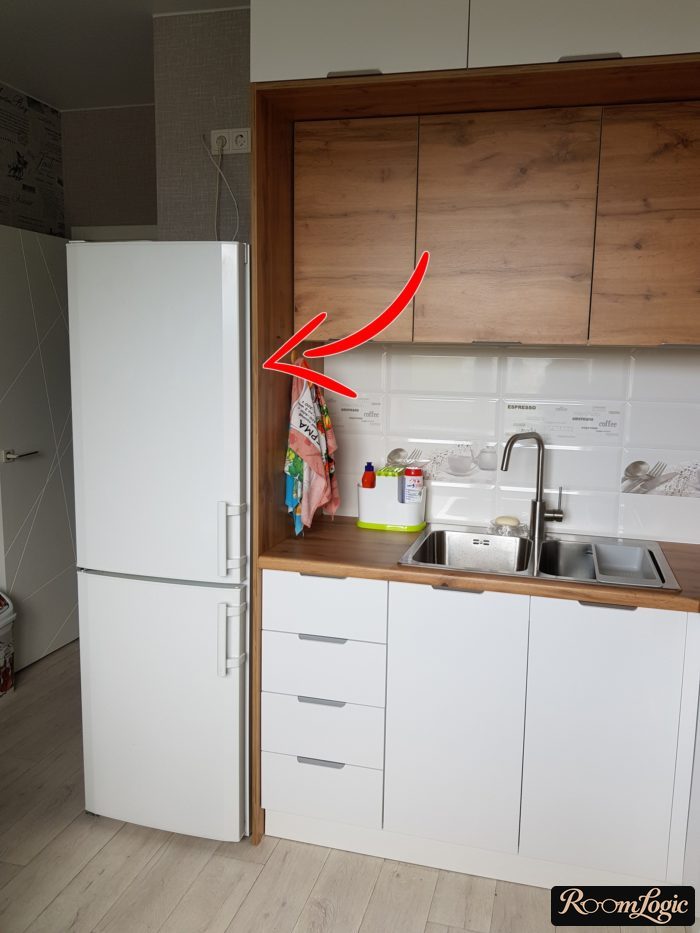
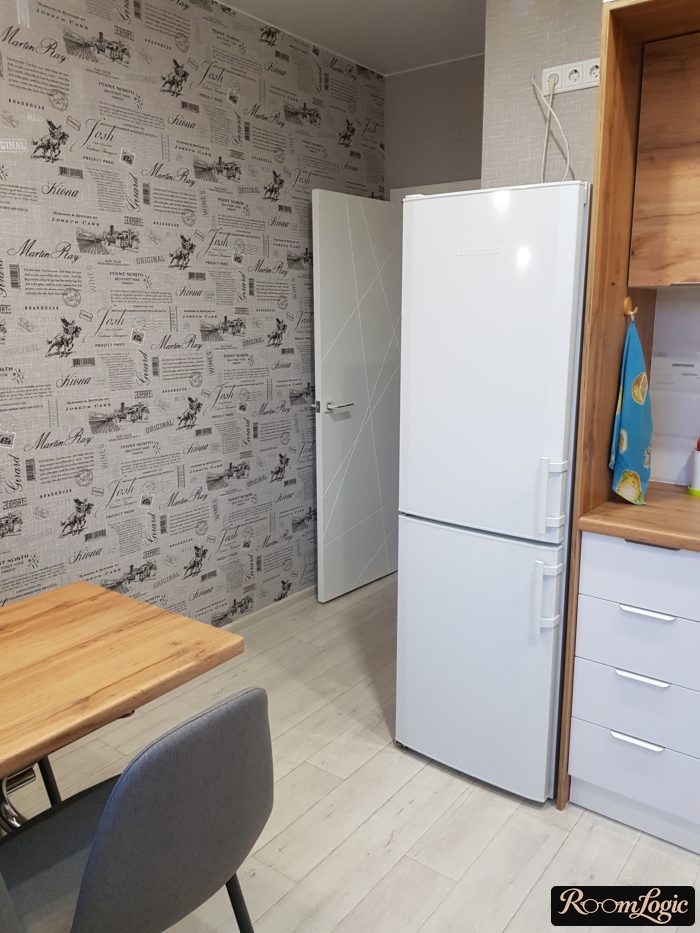
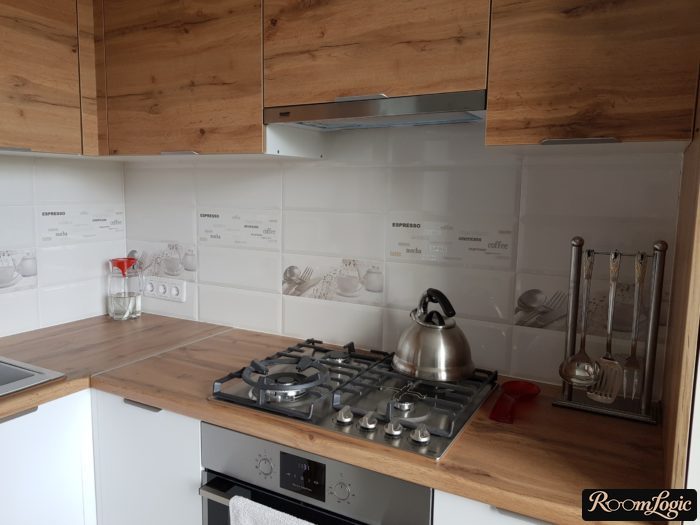
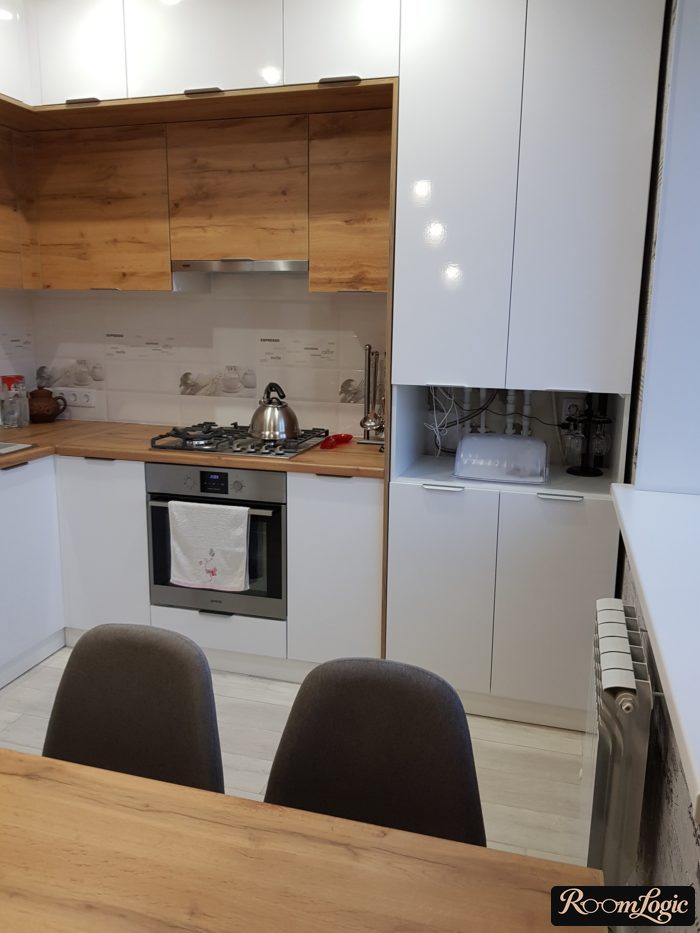
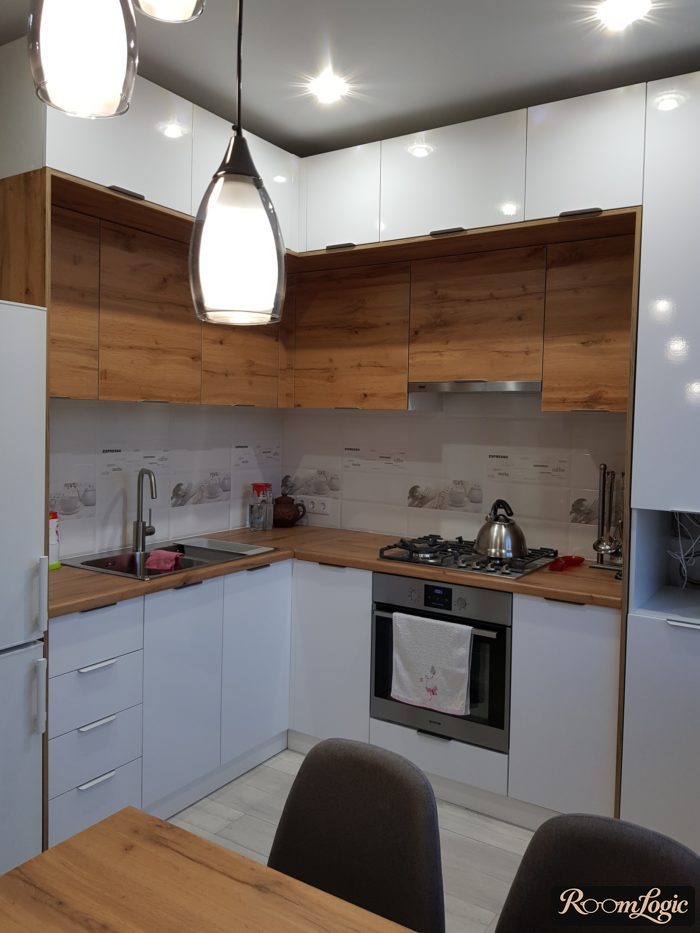
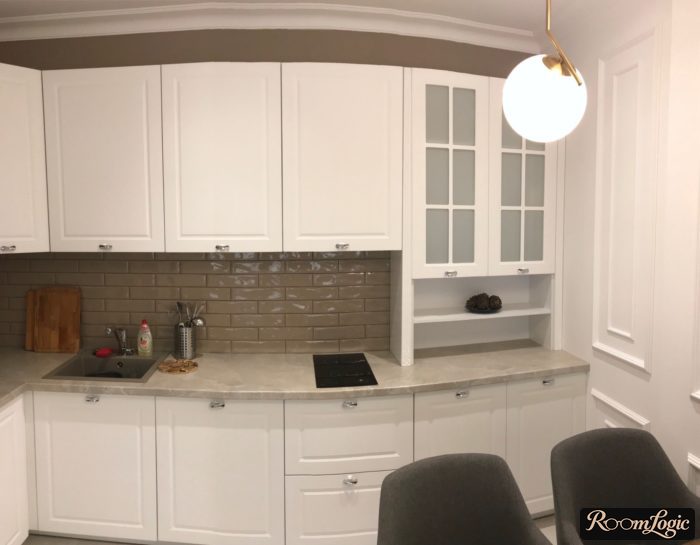
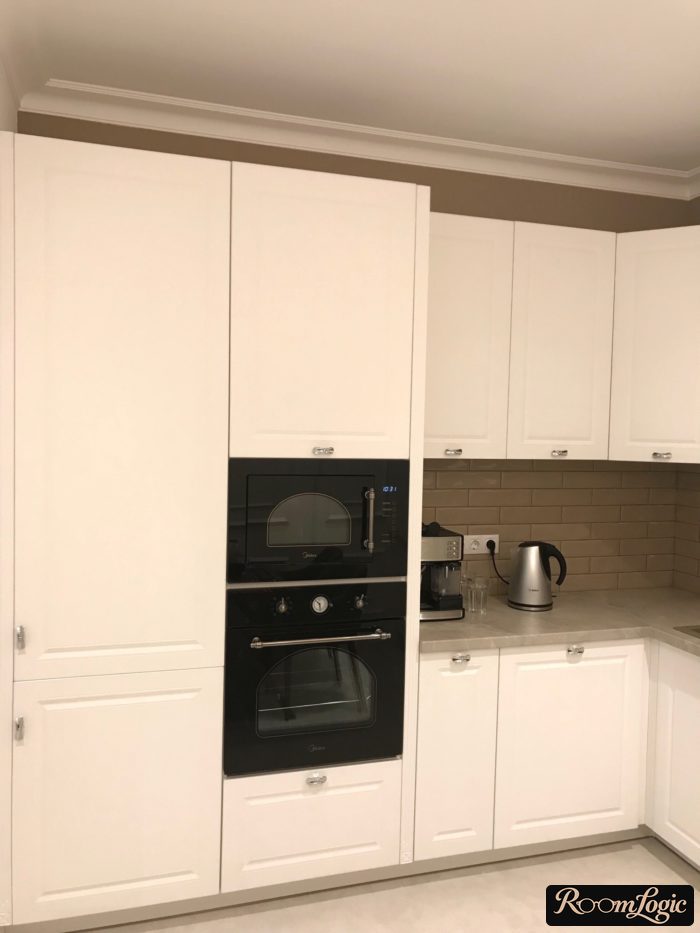
There are usually only 2 good locations: by the entrance or by the wall with the window. If you put it at the kitchen entrance, I would add a cabinet panel on the other side too. The reason is the same – seeing the space behind the refrigerator is unpleasant.
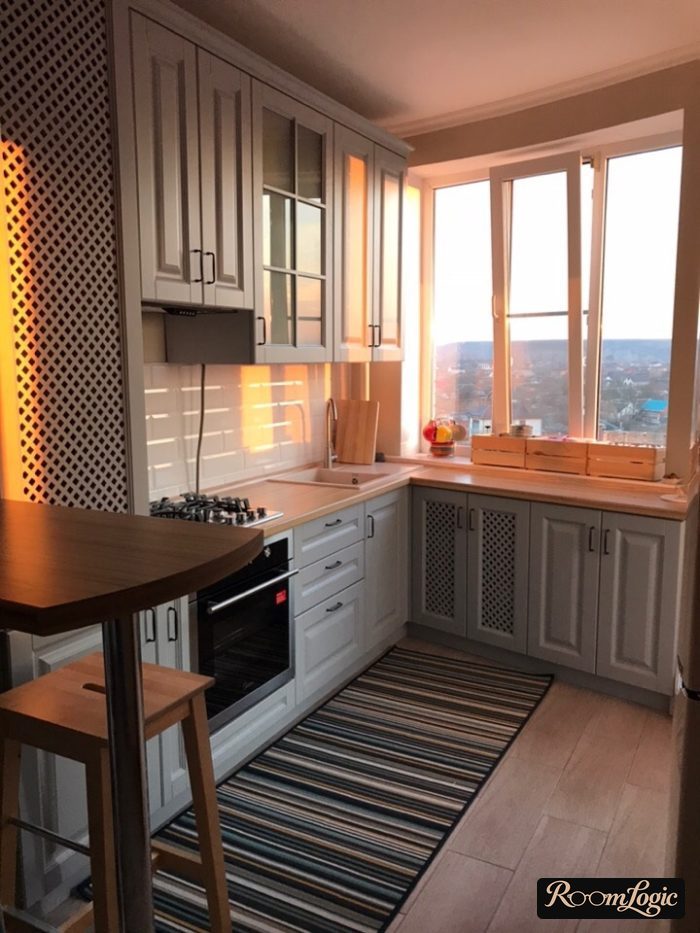
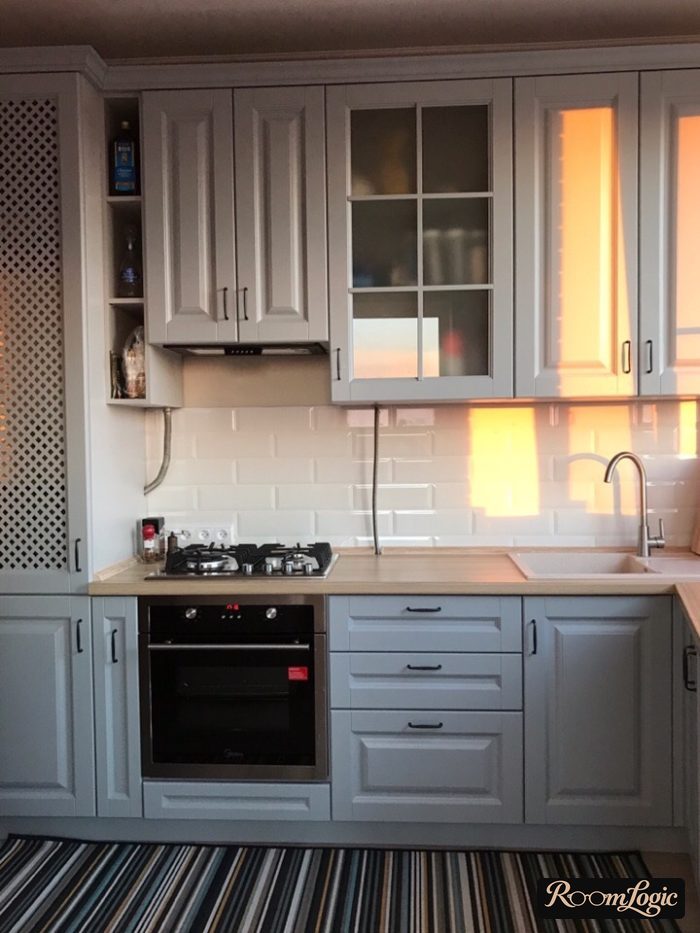
2. Built In and Up to the Ceiling
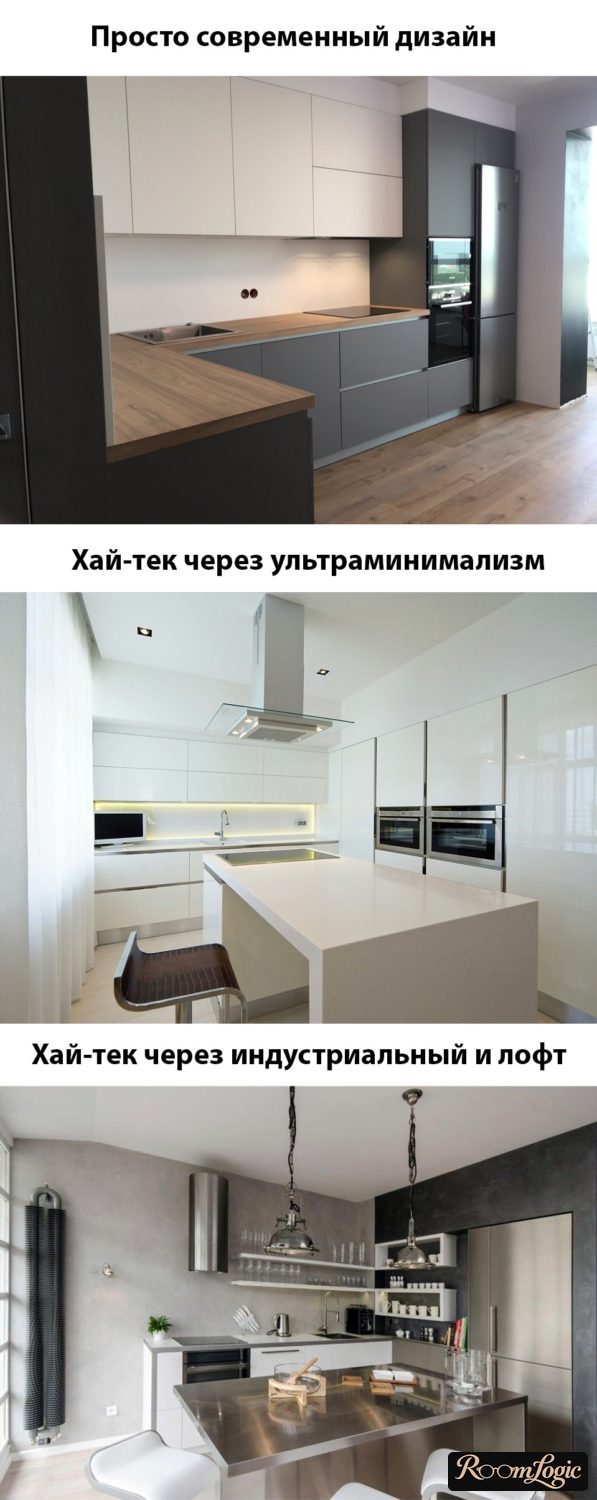
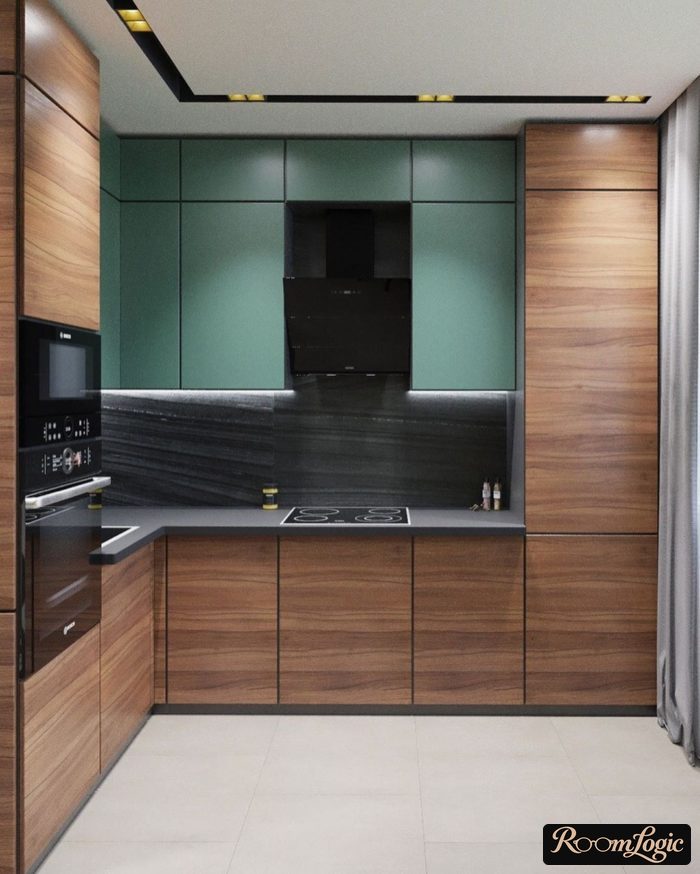
If the budget allows and you do not tend to accumulate clutter, I would recommend built-ins. Then you can give a 100-square-foot kitchen a current modern design based on the idea of making everything built in.
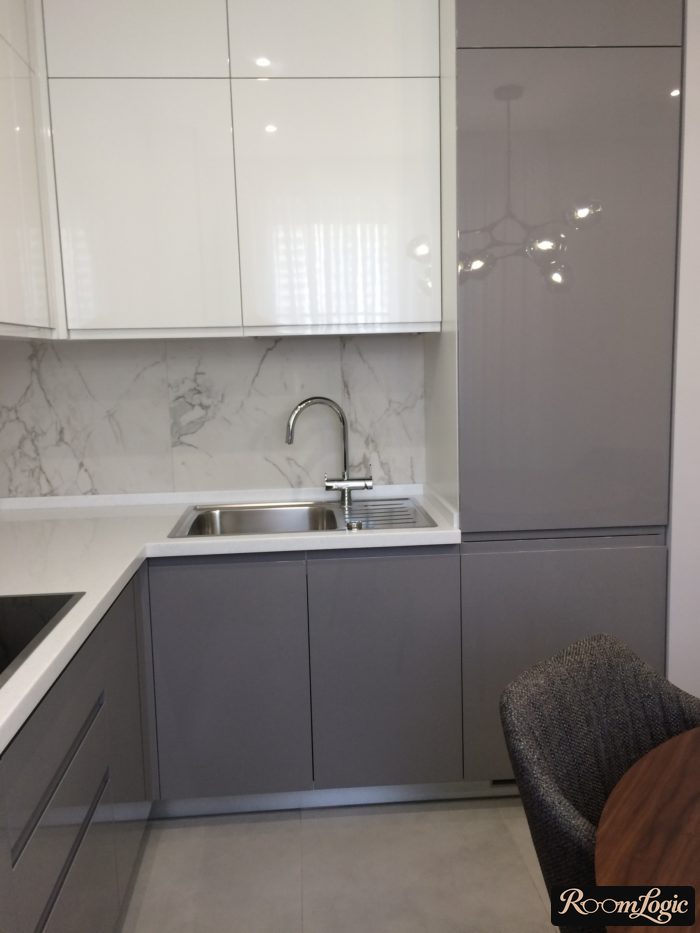
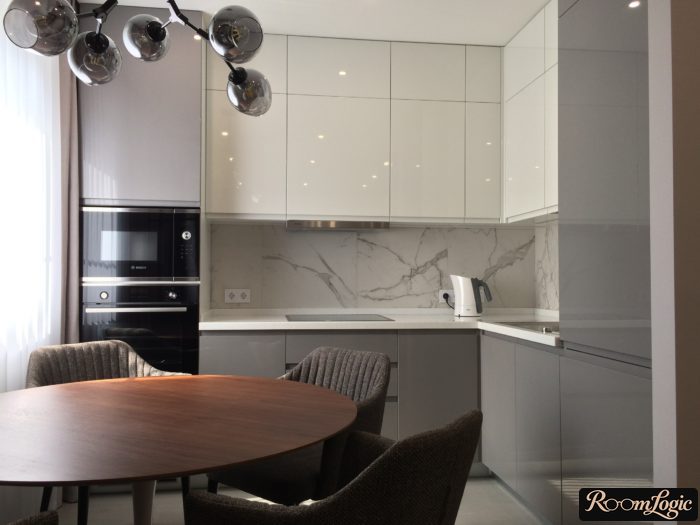
If you like the photos above and the plan below, read about the high-tech kitchen.
The plan:
- Upper cabinets to the ceiling (yes, I recommend this in every article – it is the standard), or no upper cabinets at all on 1 wall (there are details involving the dish rack, range hood, and so on; read about kitchens without upper cabinets). A kitchen built to the ceiling looks seamless and does not feel bulky, hides the range hood duct, prevents dust from collecting, and leaves no dark corners.
- The wall oven and microwave are built into a tall cabinet (a column up to the ceiling) beside the refrigerator or on the opposite side.
- The range hood is built in too. And because we used only 24 + 24 inches of cabinet length, a dishwasher and, if needed, a washing machine will fit.
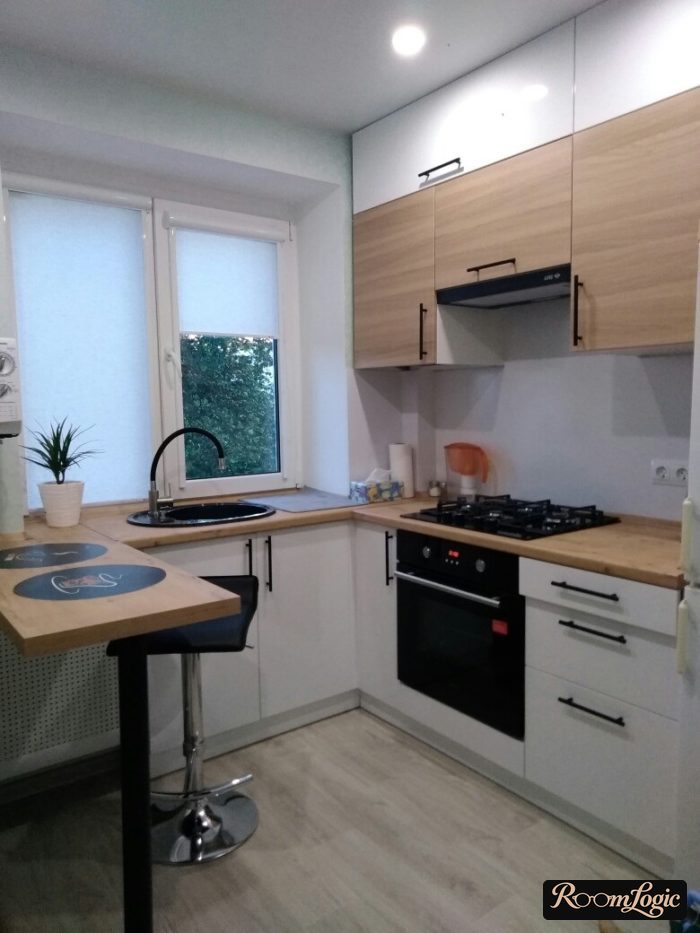
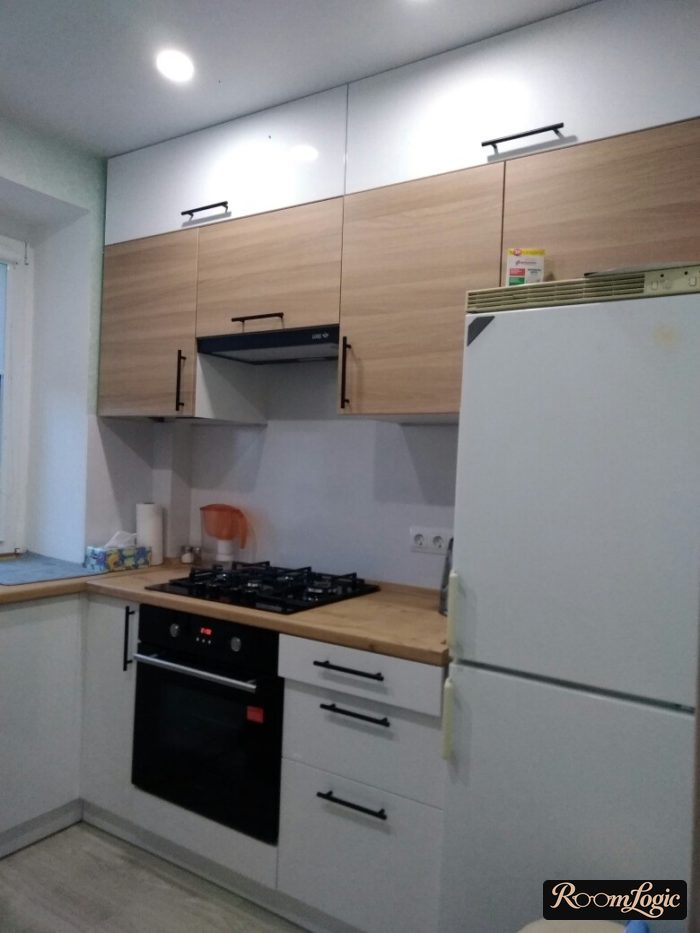
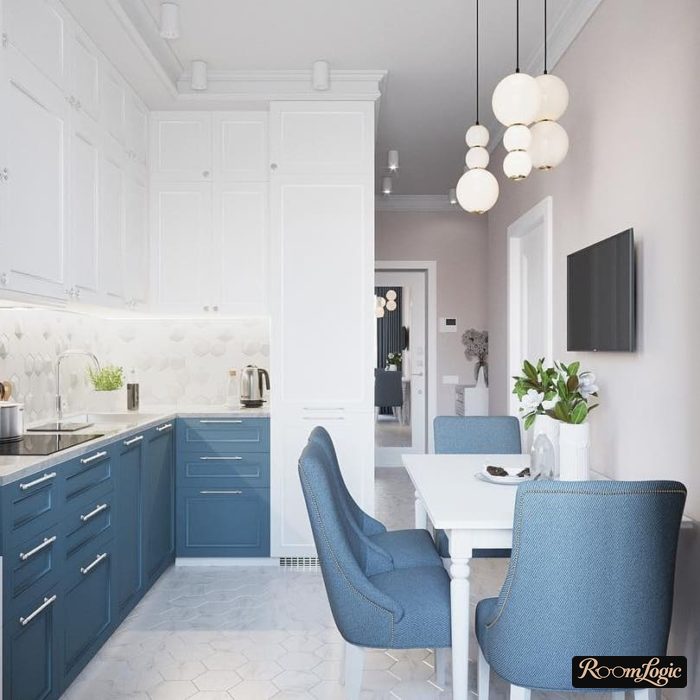
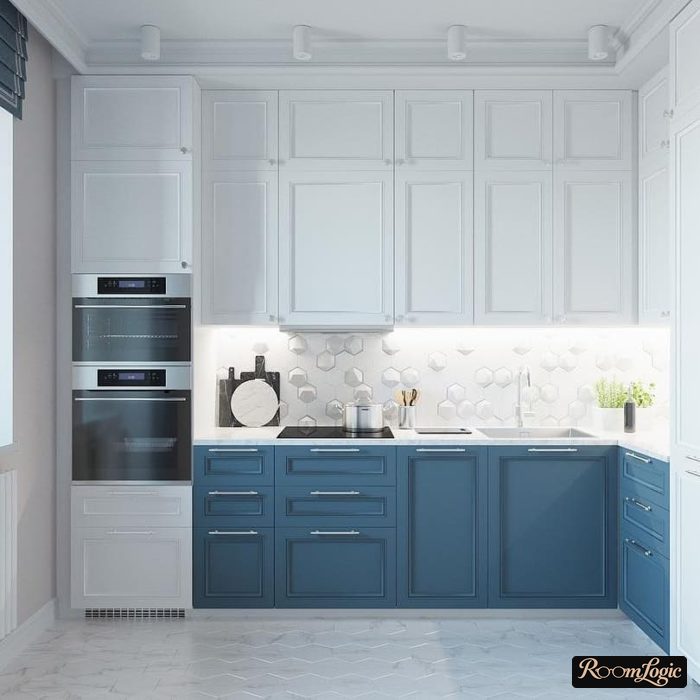
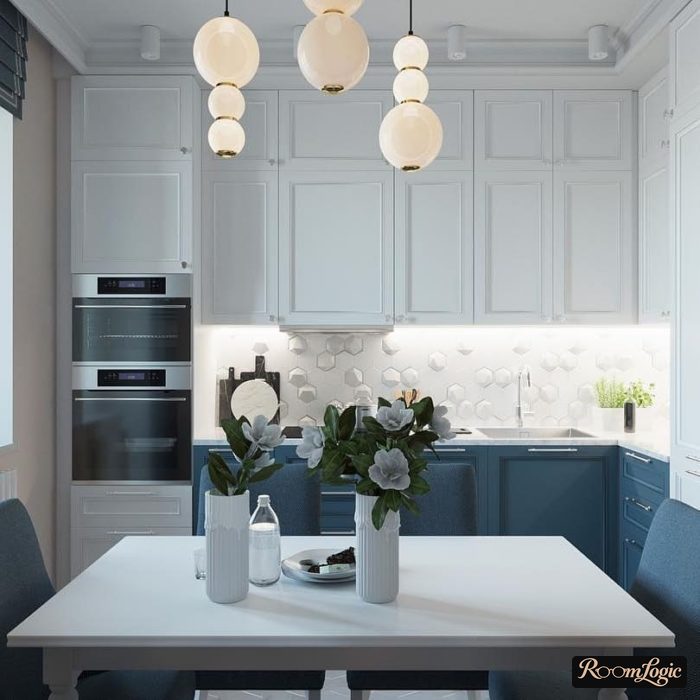
Yes, in terms of remodeling cost, this is not the cheapest design option for a 100-square-foot kitchen, but it is rock-solid.
When you spend money on fashionable new products and complicated wall and ceiling finishes, there is always a risk of overdoing it and getting the opposite result. But making everything built in gives you a current look for years plus maximum function and easy cleaning.
Here is a photo gallery of regular and built-in kitchens. You have to agree that the latter have good color choices and designs, but those boxes hung on the wall prevent the interior from coming together, and the overall impression suffers.
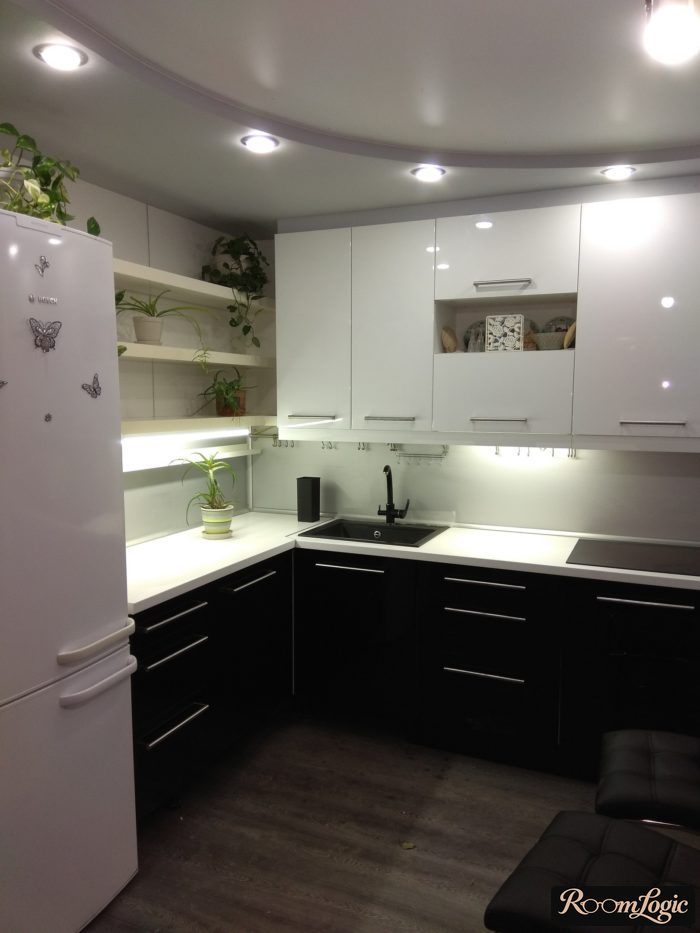
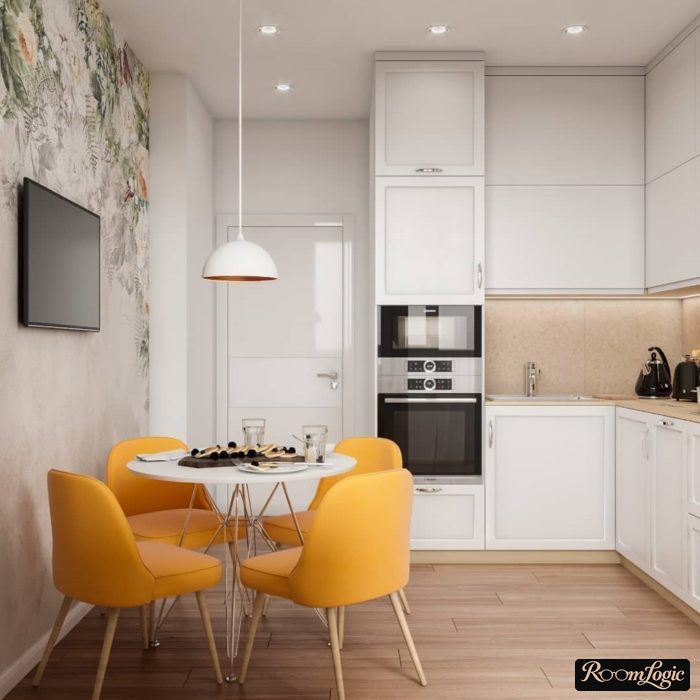
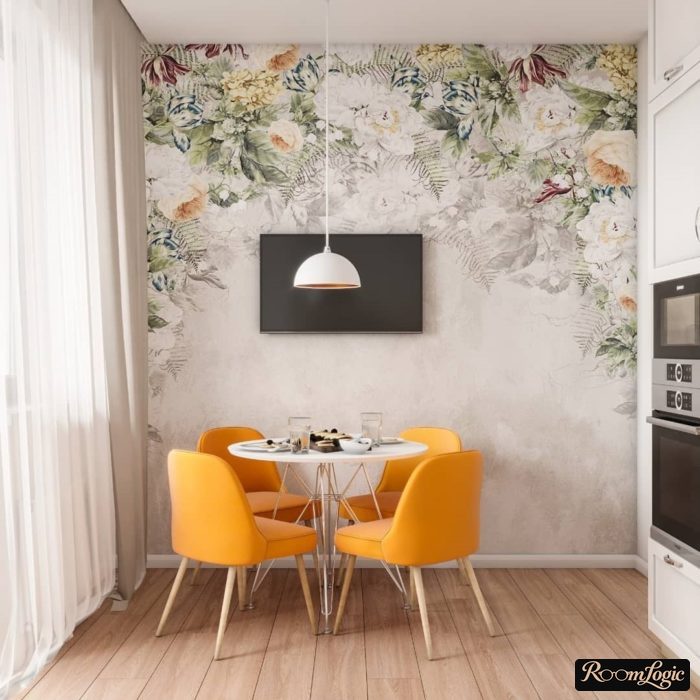
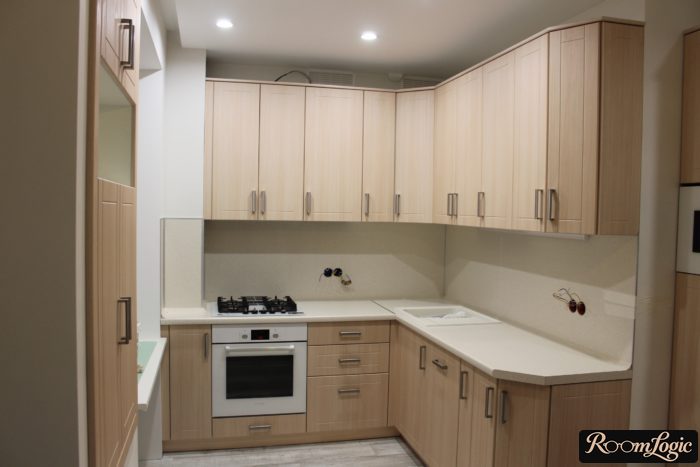
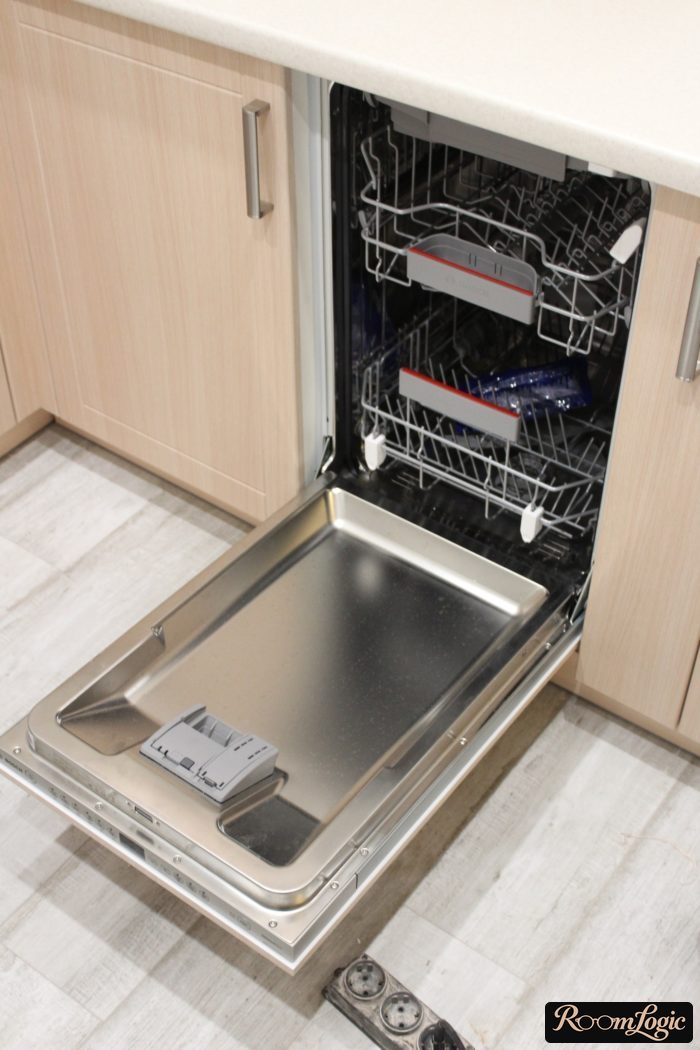
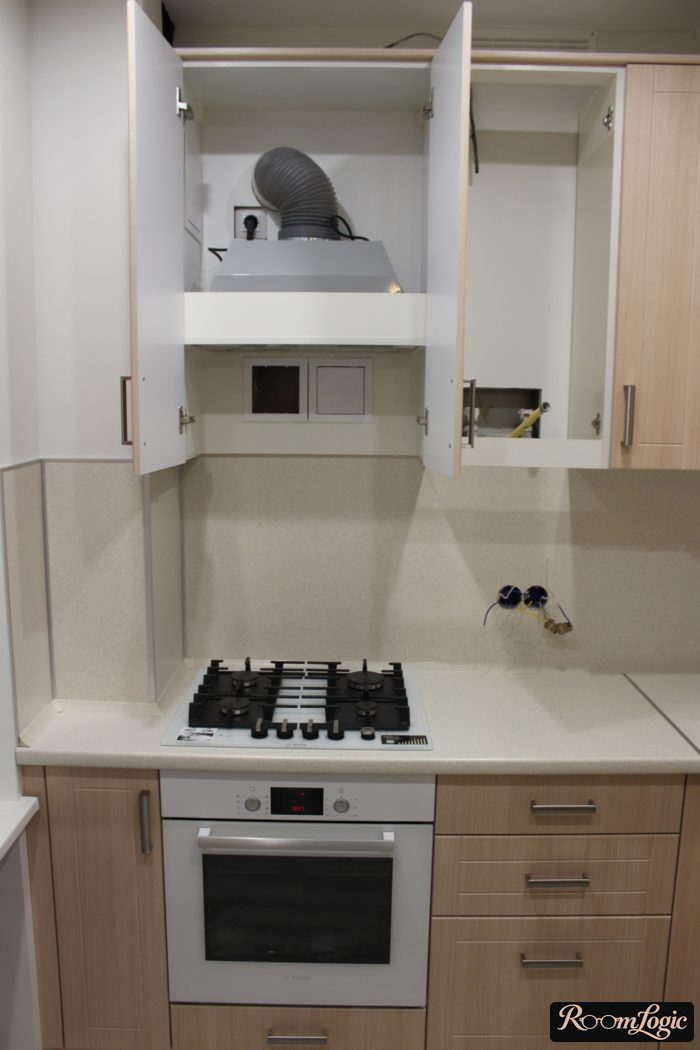
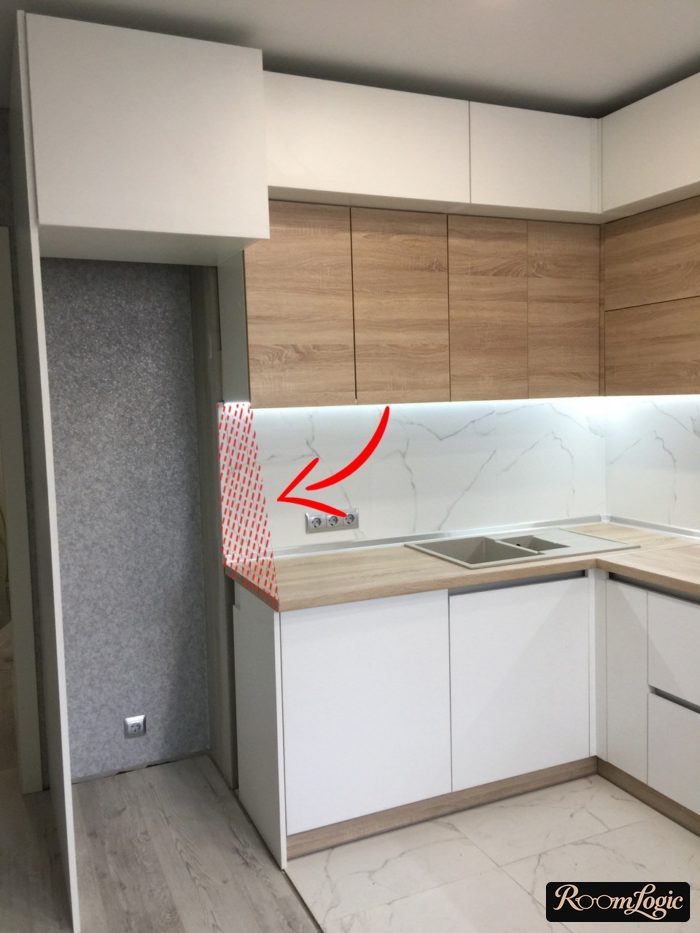
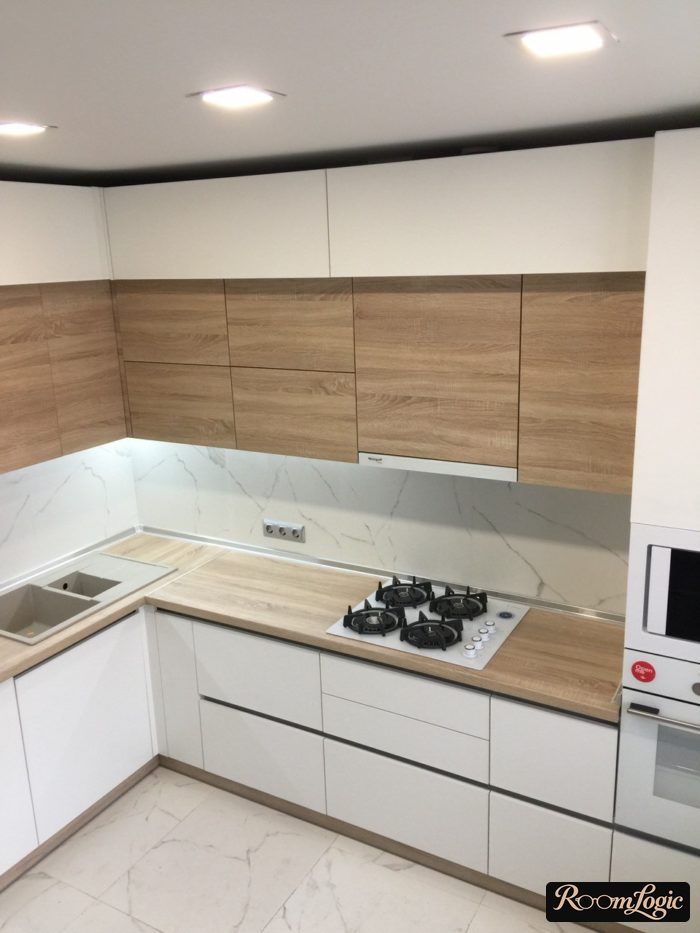
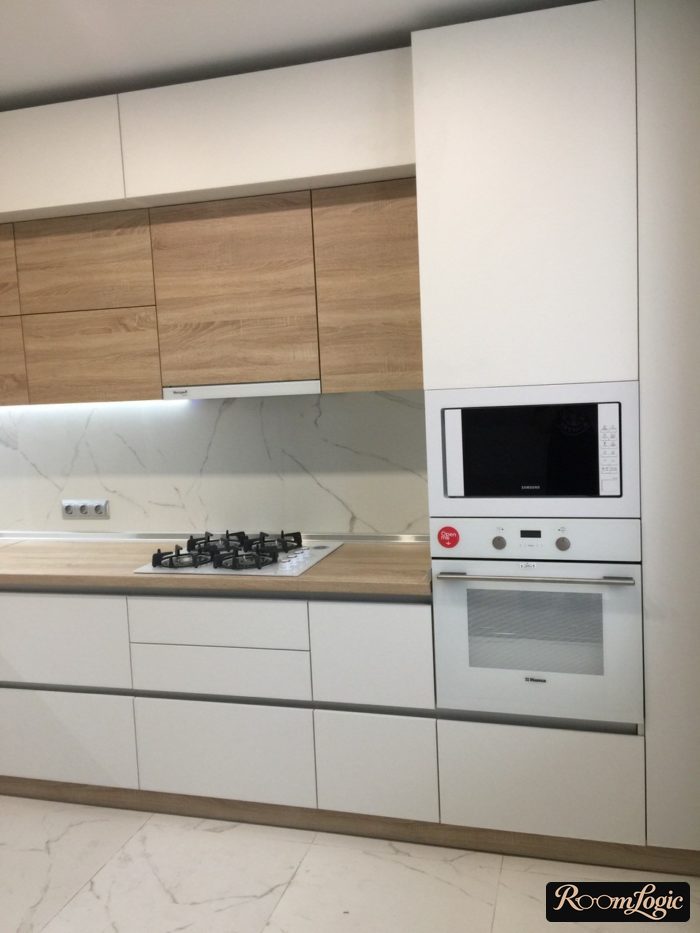
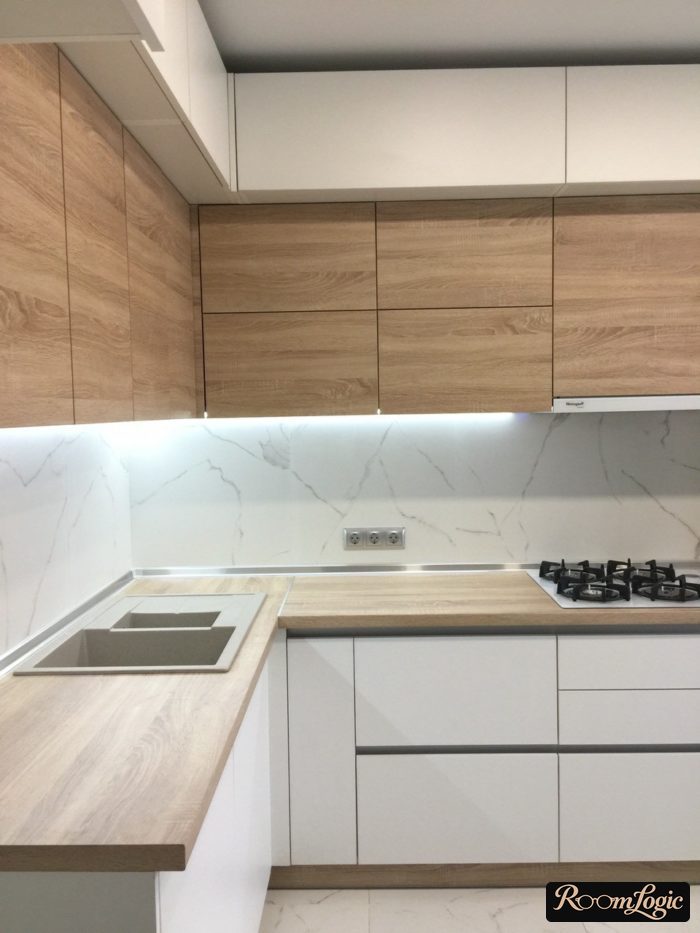
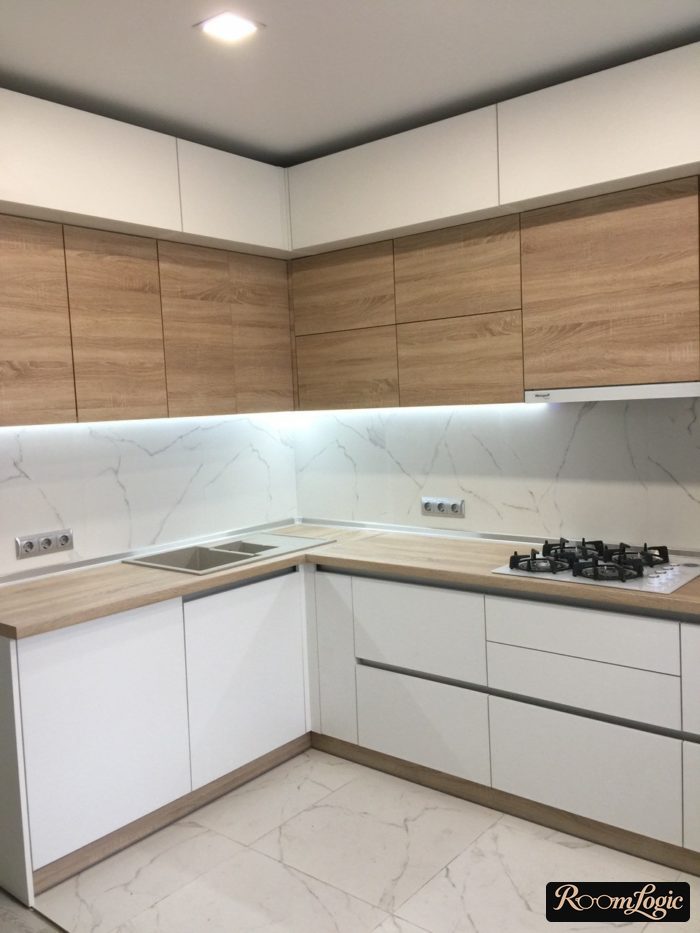
The secret of a successful design is visual minimalism, where an ultramodern interior is seamless and complete.
At the same time, you can save on everything else.
For ergonomic tricks like not needing handles on upper cabinet fronts, see the article on small kitchen design – much of it applies to any size.
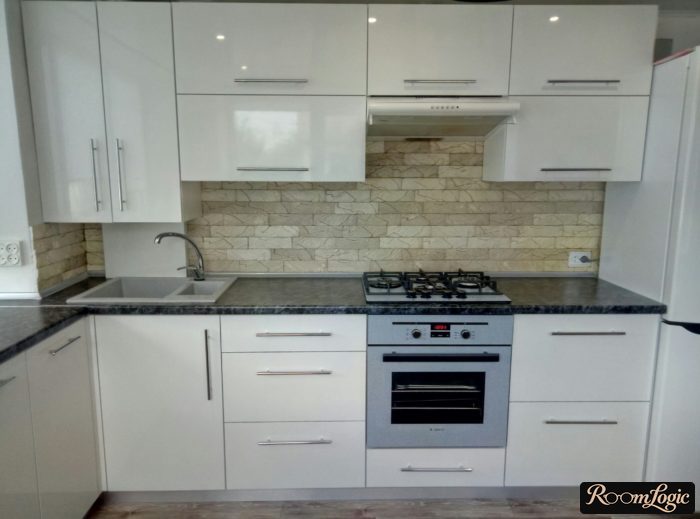
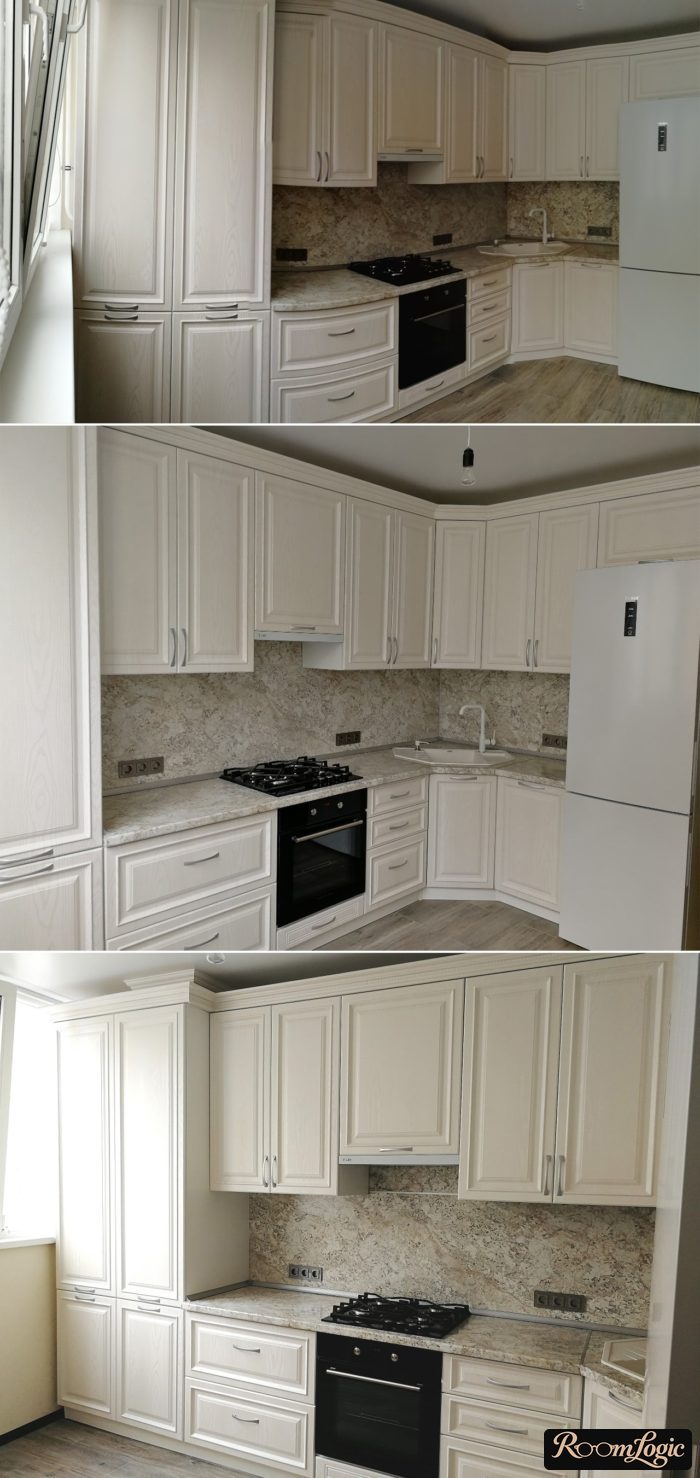
3. Ceiling
The best ceiling for a 100-square-foot kitchen is smooth, white, matte, and without excess decoration.
You can save money with a simple matte finish. It looks great and is easy to maintain.
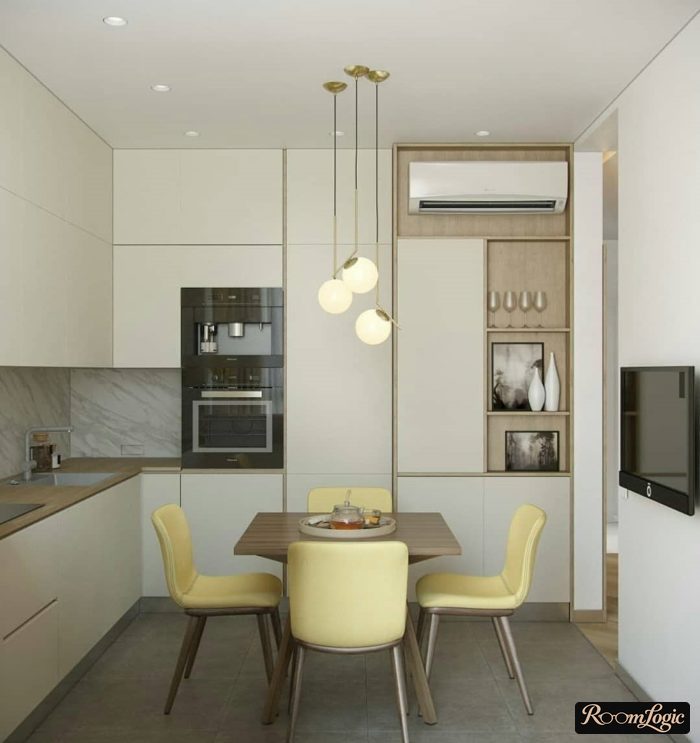
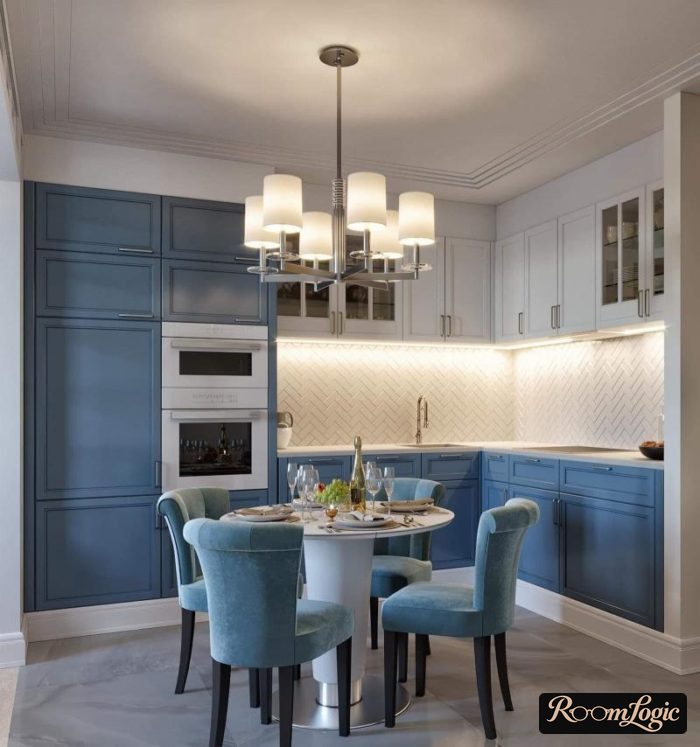
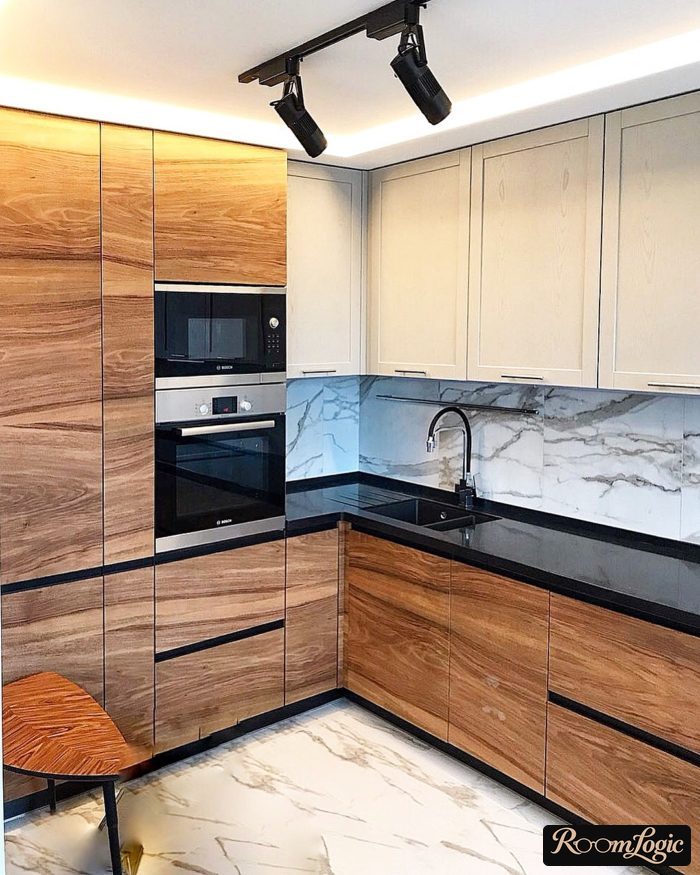
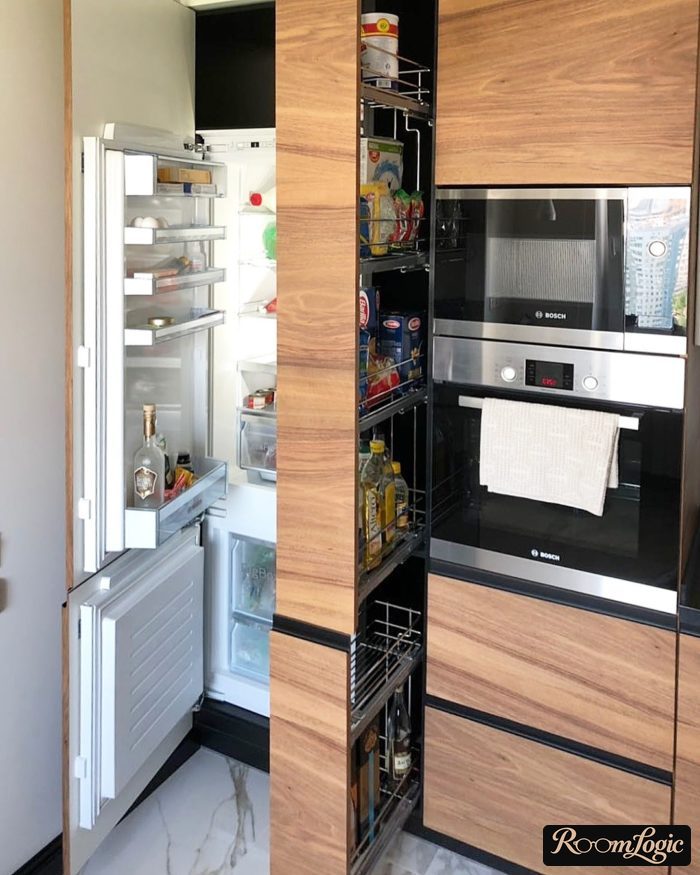
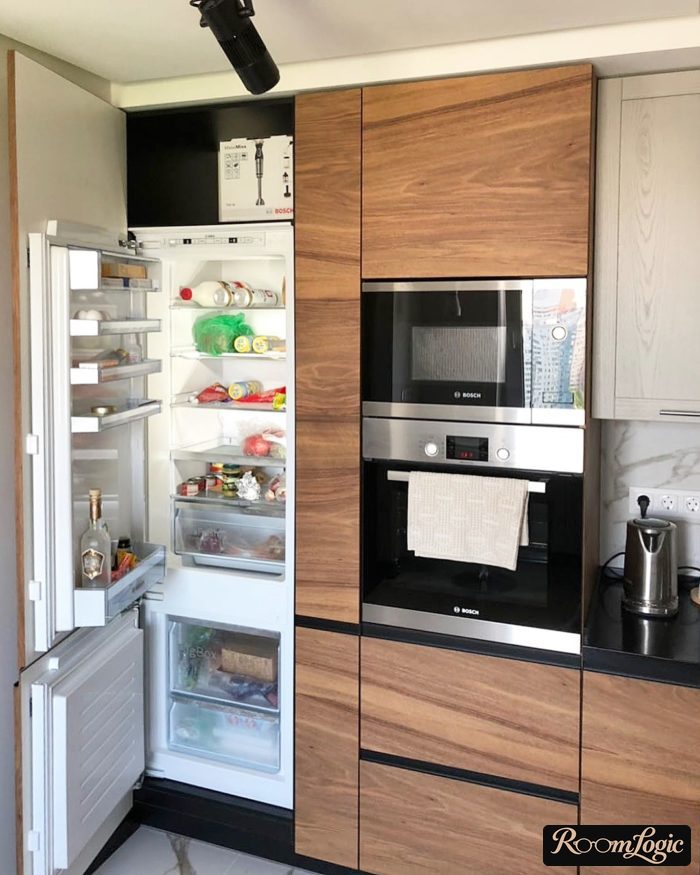
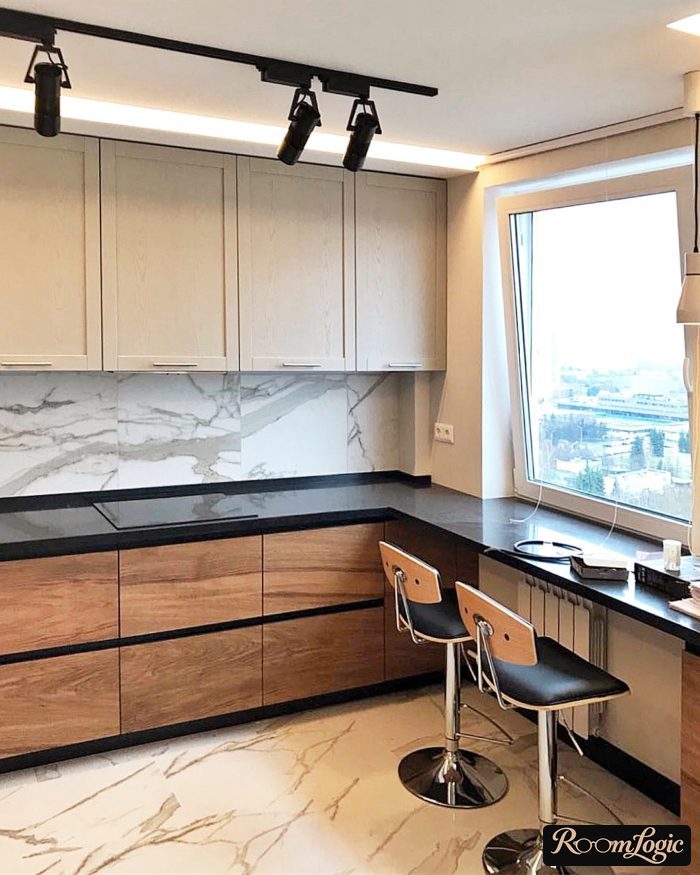
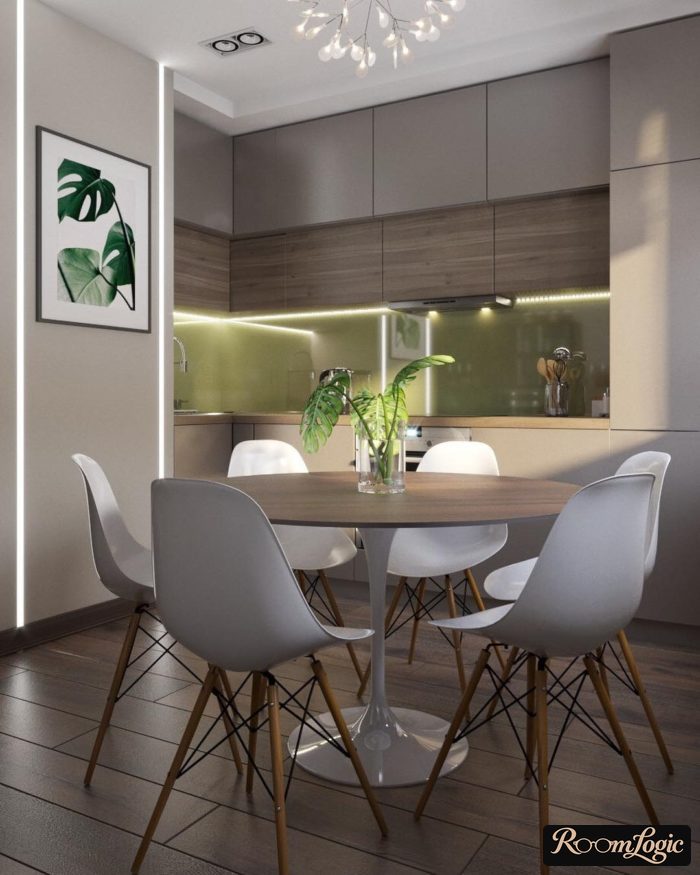
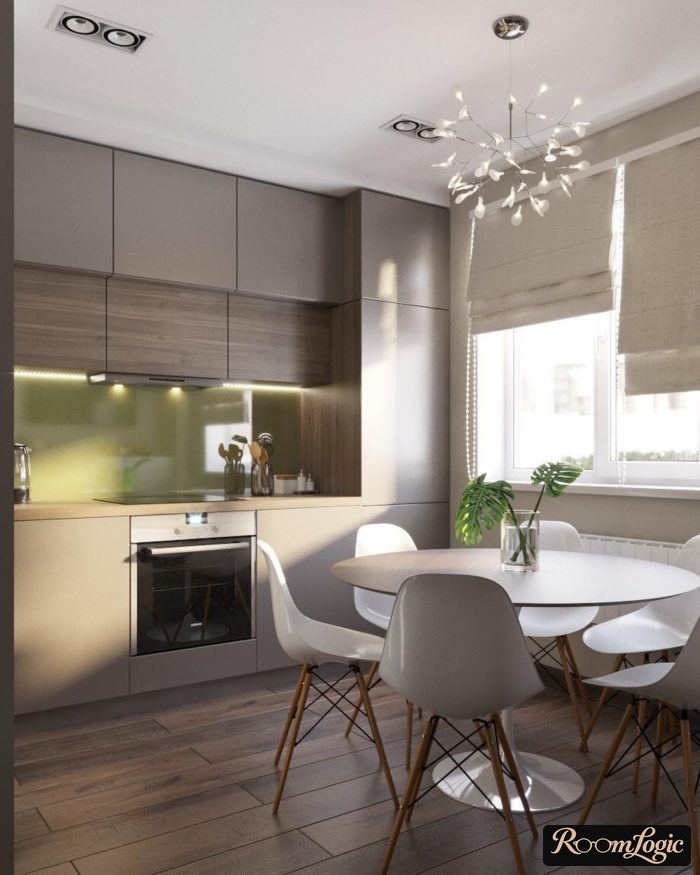
The only good addition is a drop above the upper cabinets when the ceiling is too high, for example in an older apartment with unusually high ceilings. Giant upper cabinets are not an option, so make a small drywall drop only where the cabinets are and paint it the same white as the ceiling.
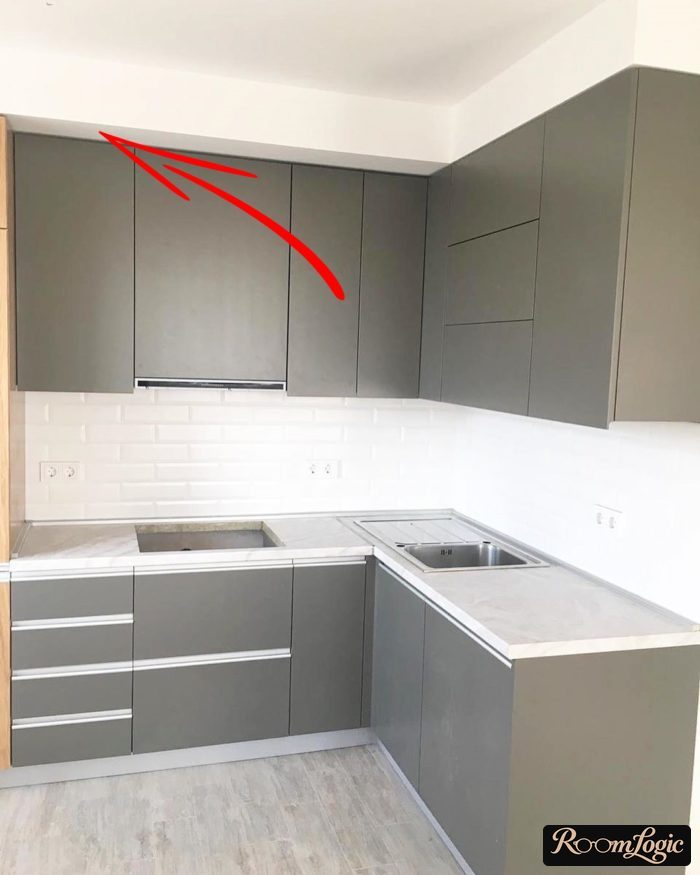
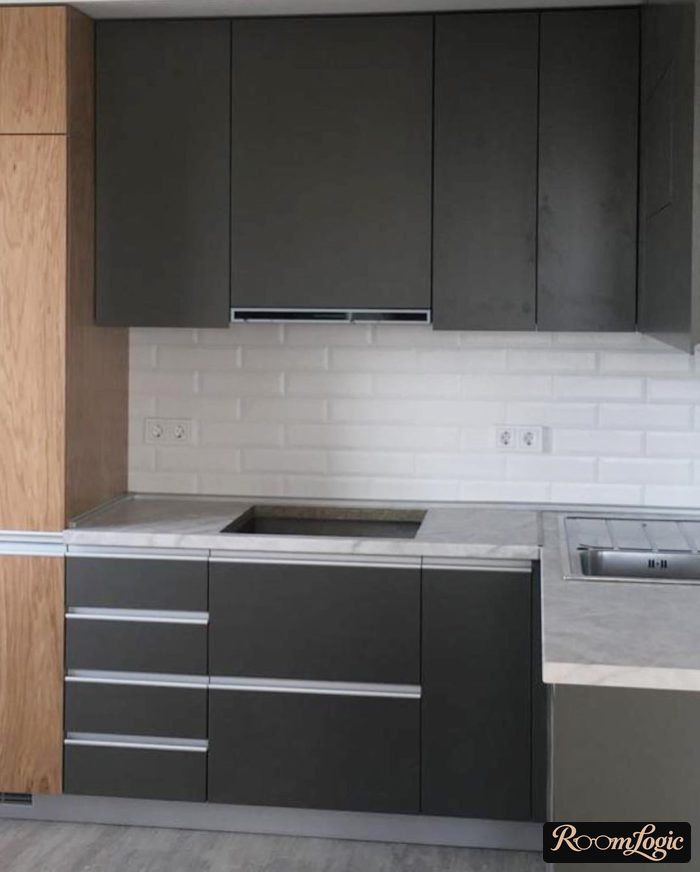
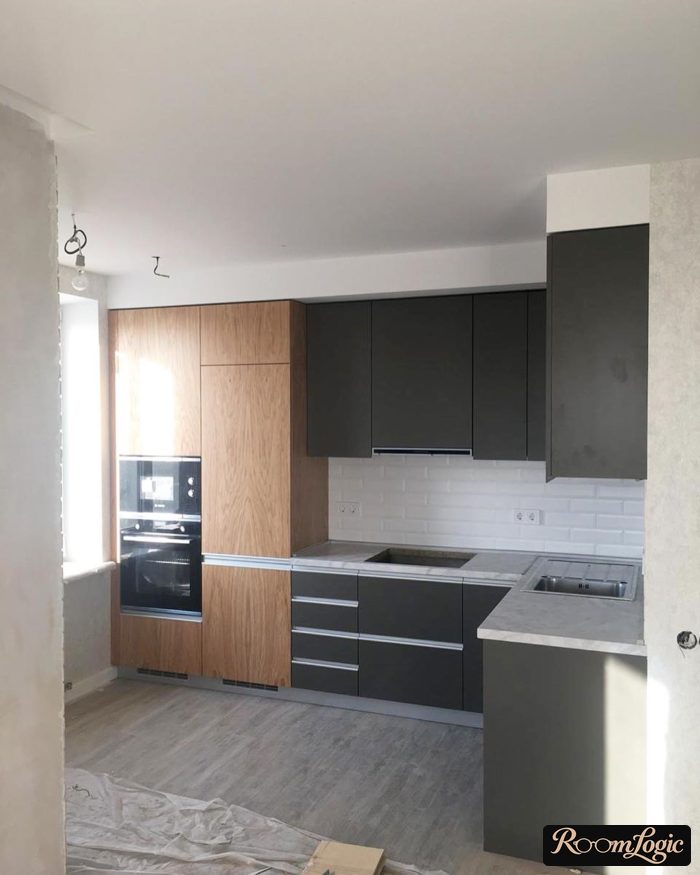
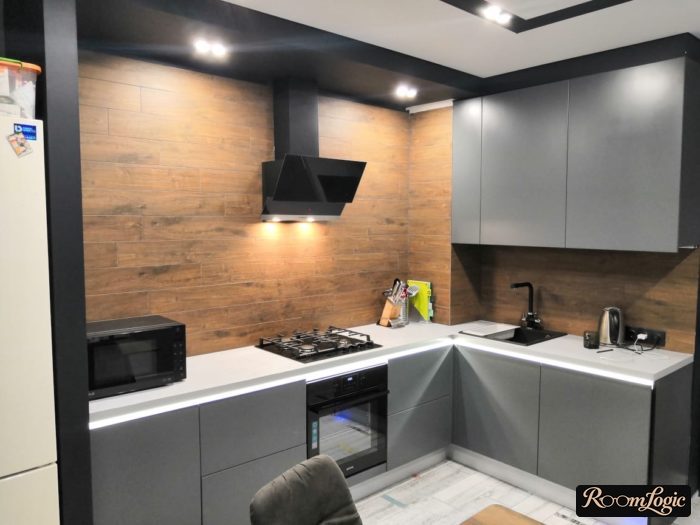
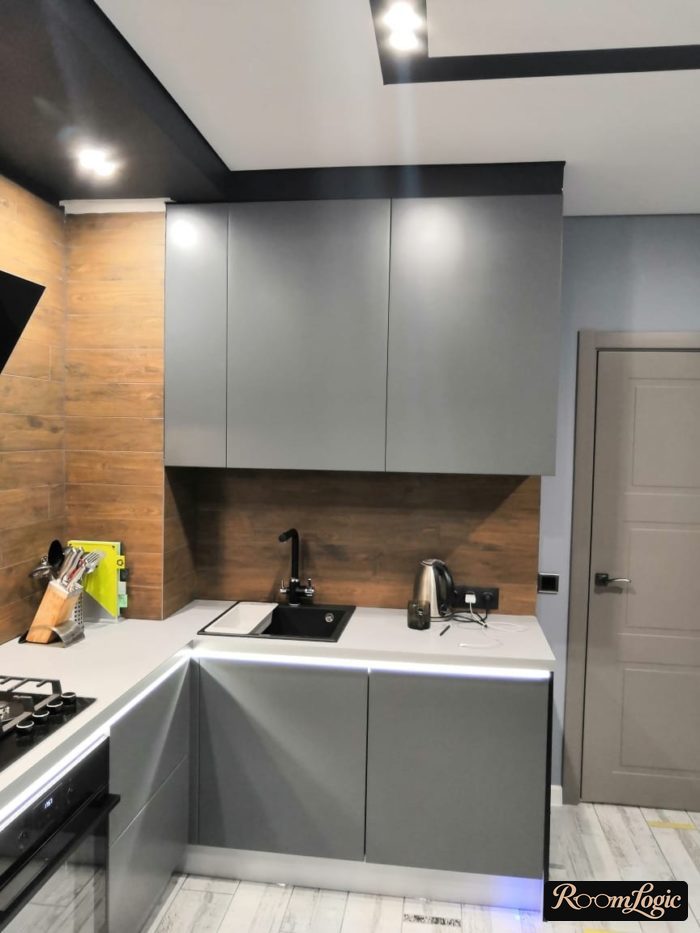
A complicated ceiling is expensive, and there is always a risk of making things worse. If the budget is not unlimited, it is better to invest in cabinets and appliances and save on the ceiling by keeping it simple and matte.
4. Furniture Layout
There are 2 typical layouts for a 100-square-foot kitchen: a roughly square room about 10 by 10 feet, or an elongated room about 15 by 6.5 feet.
For floor plans closer to a square, the L-shaped kitchen remains standard. I have already covered such projects in detail, along with ideas such as continuing the countertop along the window wall and choosing and arranging corner hardware. Read about L-shaped and U-shaped kitchens.
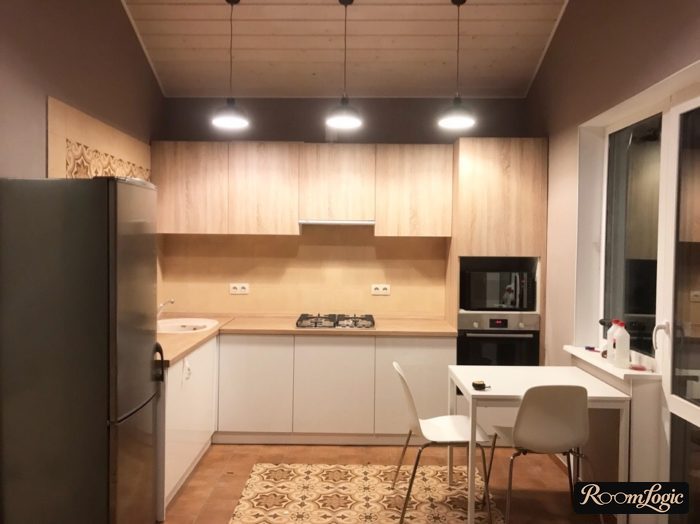
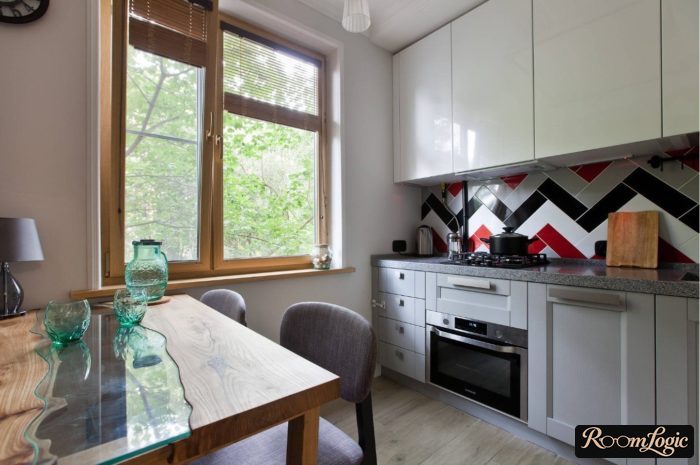
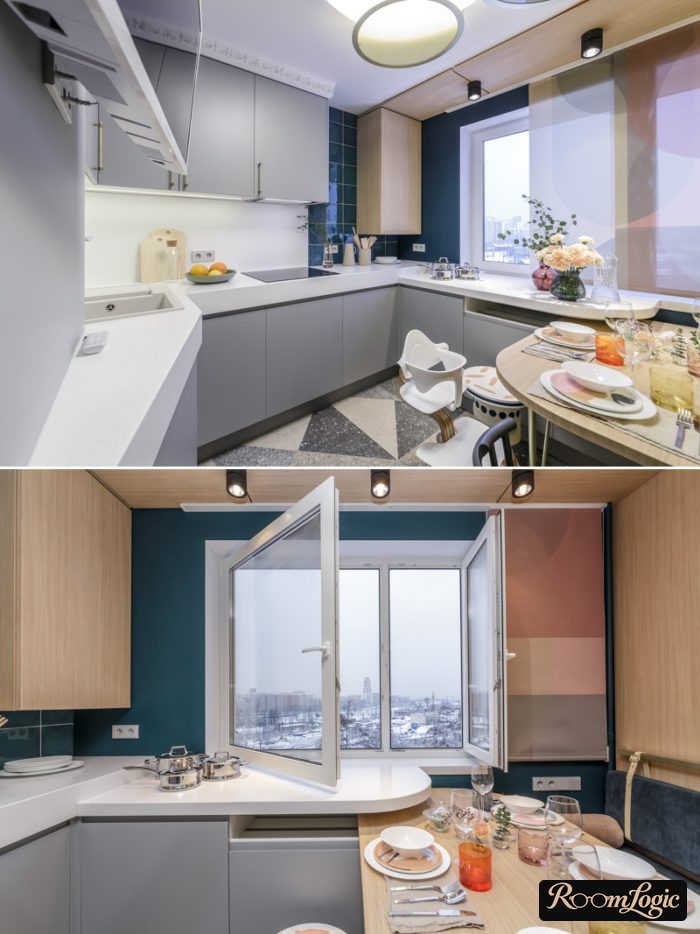
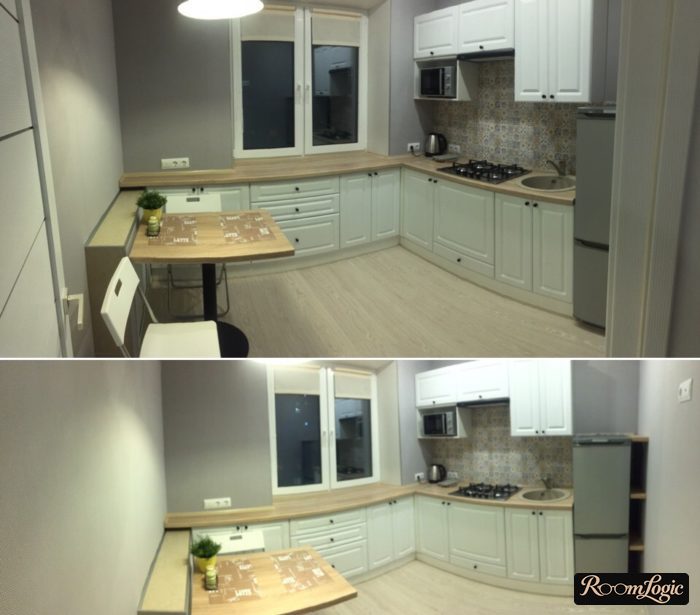
In a rectangular room, the cabinets are placed in a line. Sometimes they turn into an L along the wall with the door or window. In this case, it is important to leave a proper work area – a large enough empty section of countertop.
People often make a terrible mistake by spacing the sink and cooktop evenly and leaving several small sections, none of which works for normal cooking.
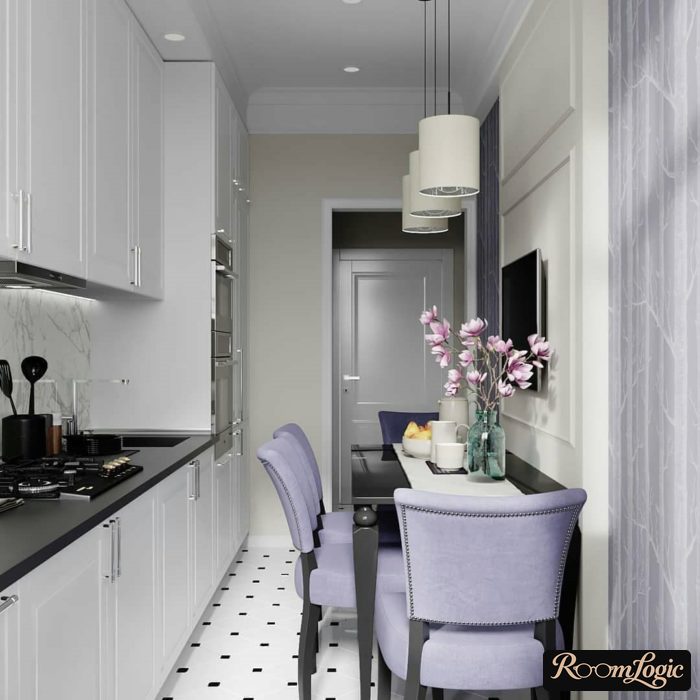
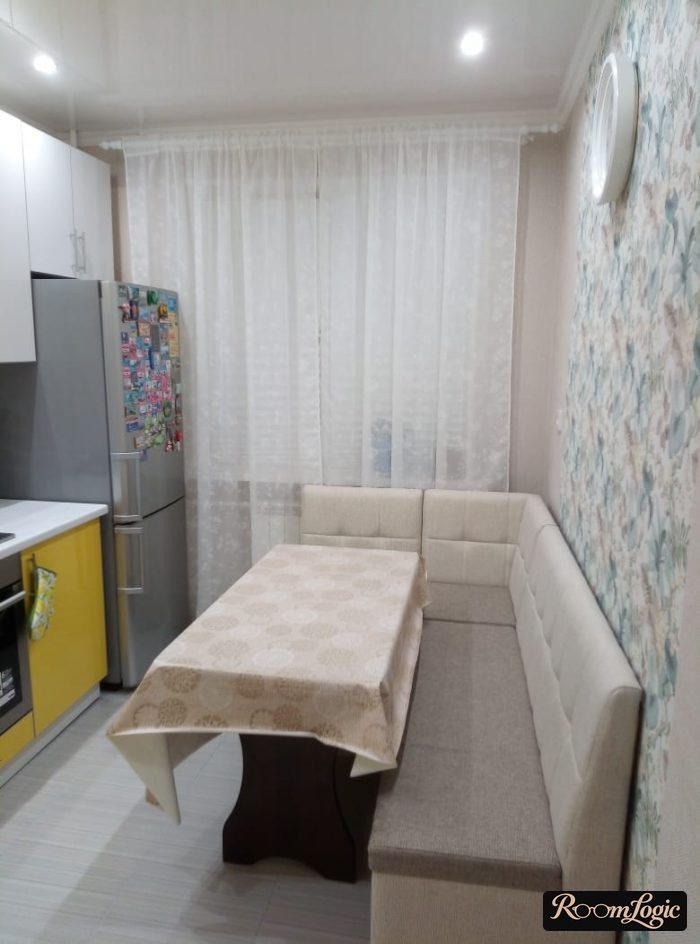
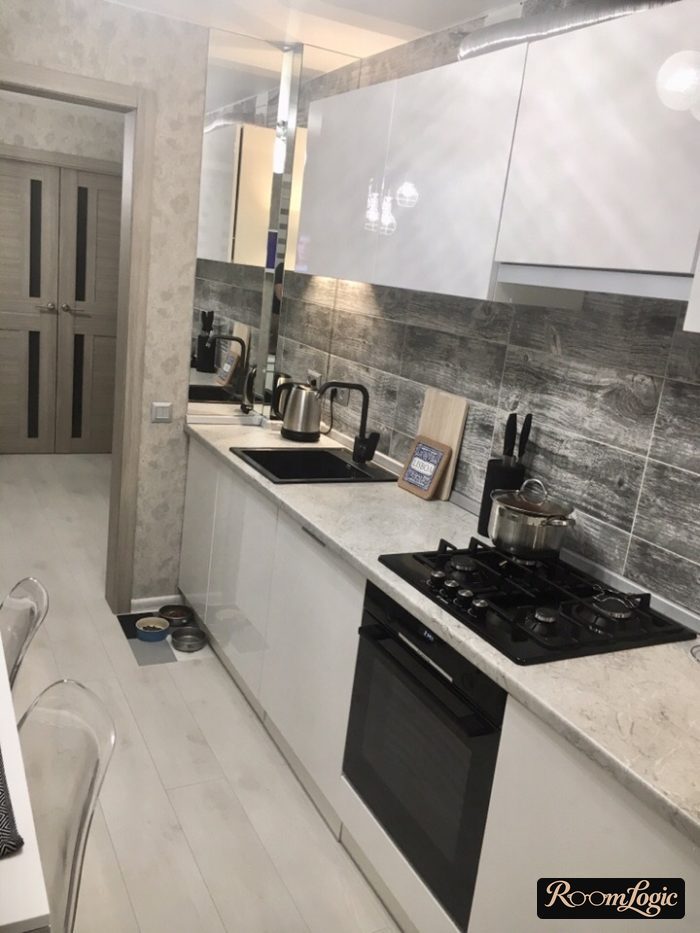
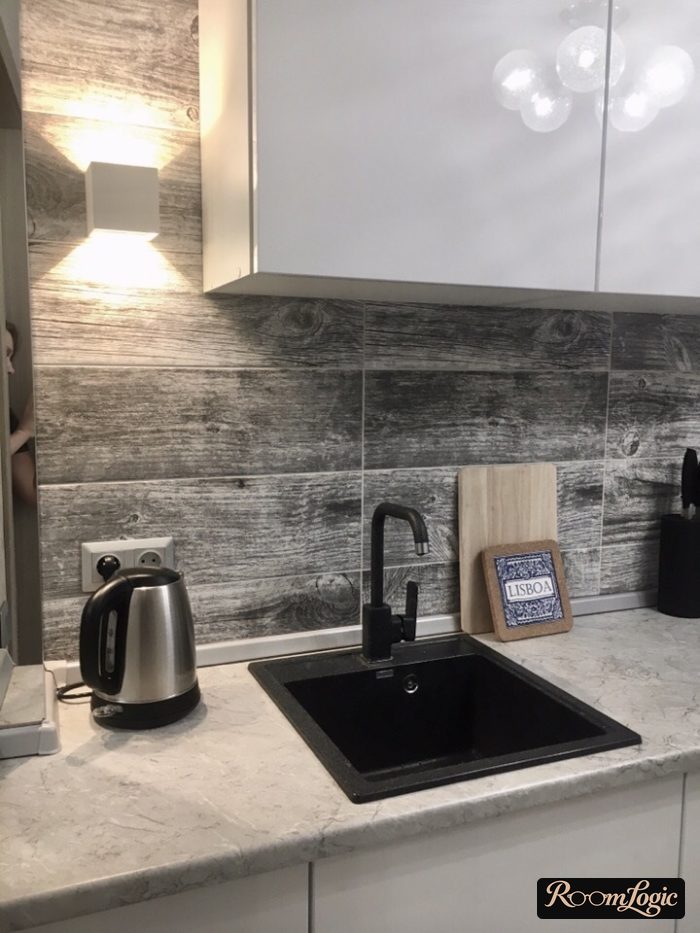
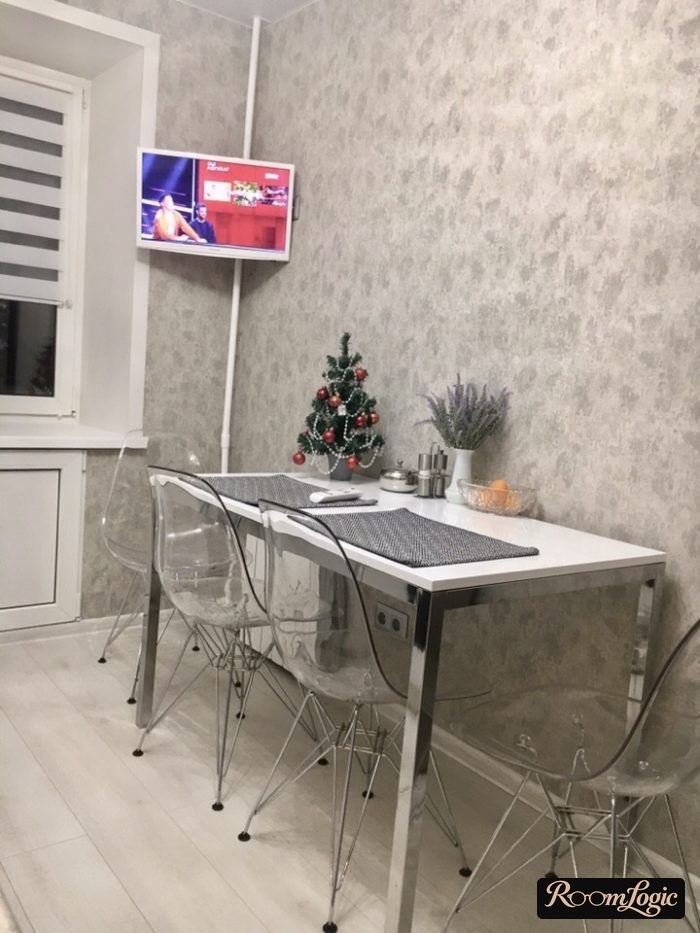
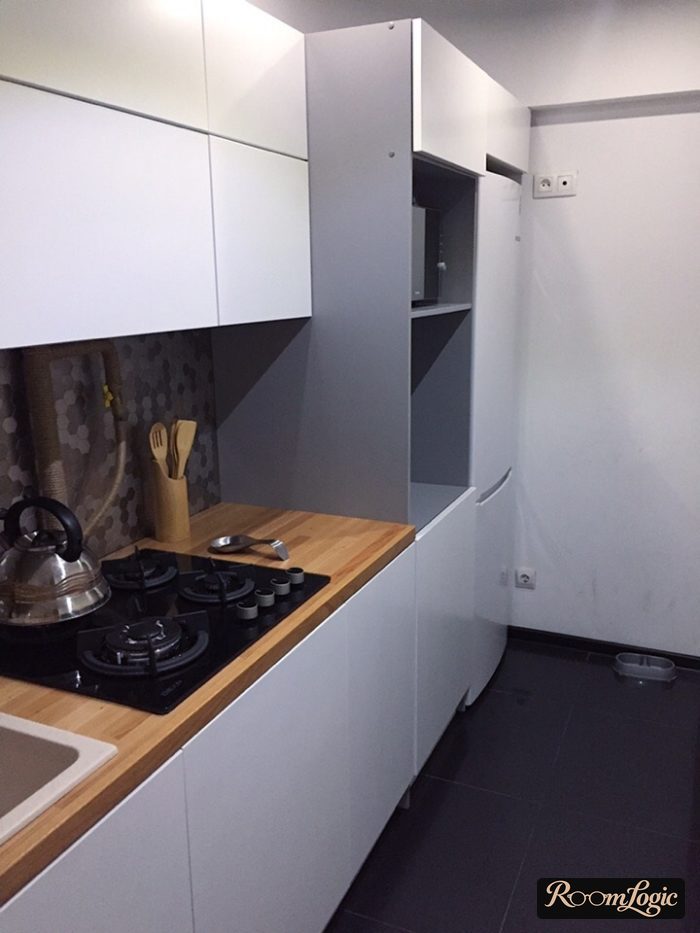
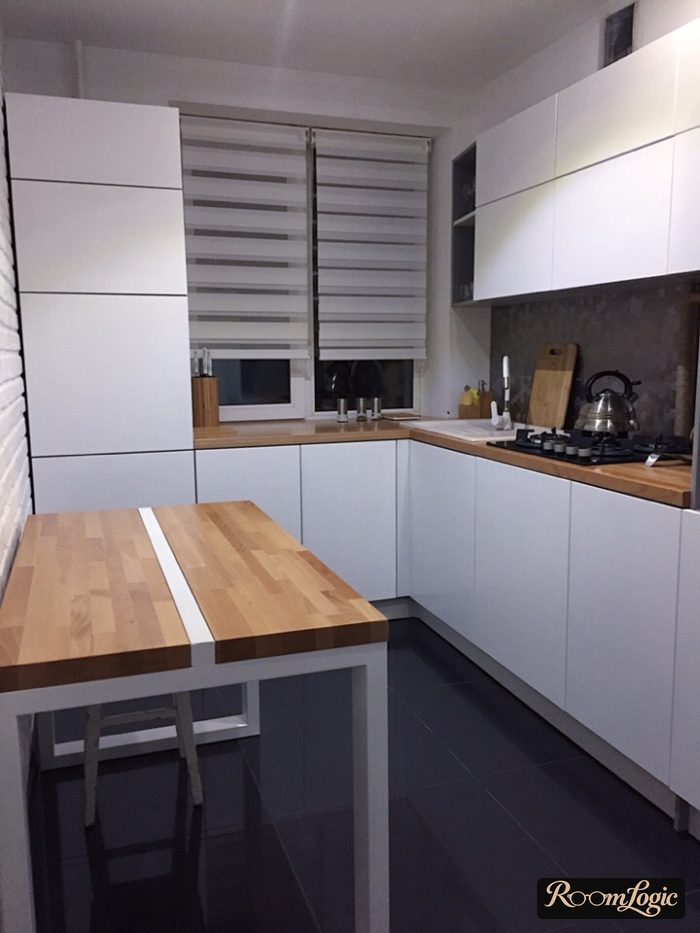
A rectangular dining table placed against the wall works better for one-wall kitchens; a round one works better for square kitchens.
A countertop windowsill is no longer necessary, but it is still a decent idea when combined with bar stools. If you are interested in unusual layouts like this, see the article on 65-square-foot kitchen design – it has many unusual projects.
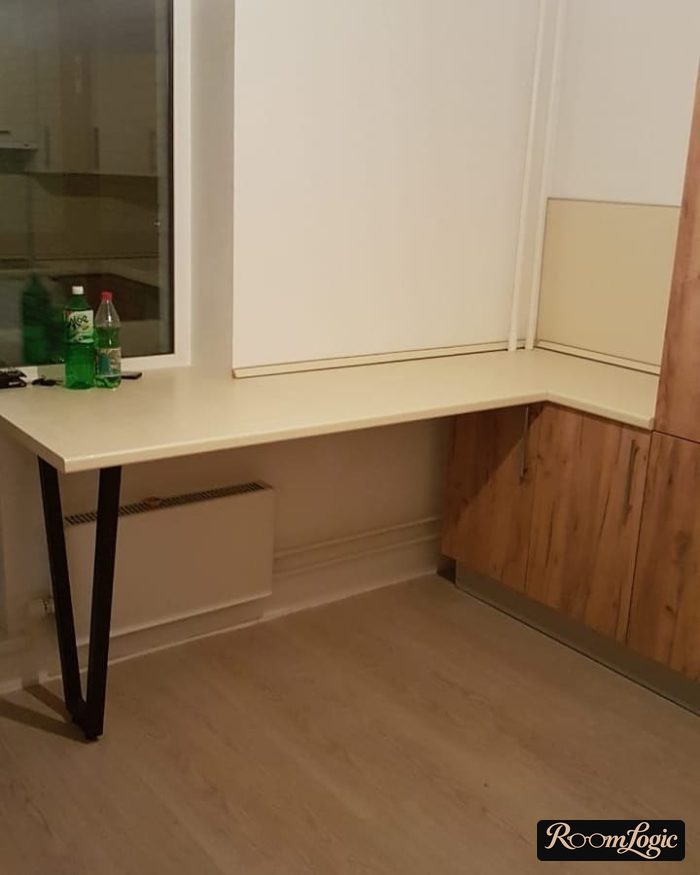
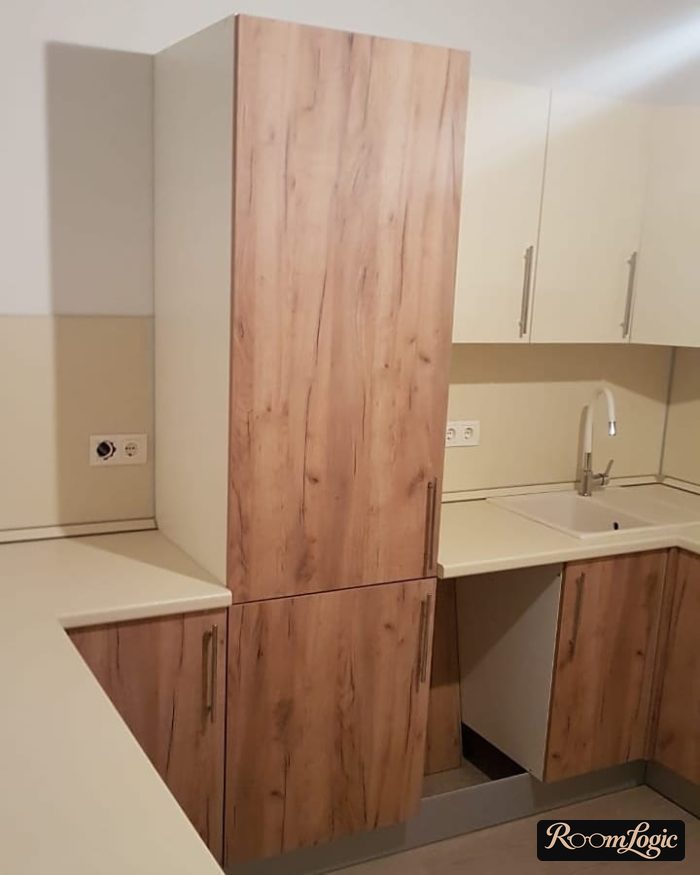
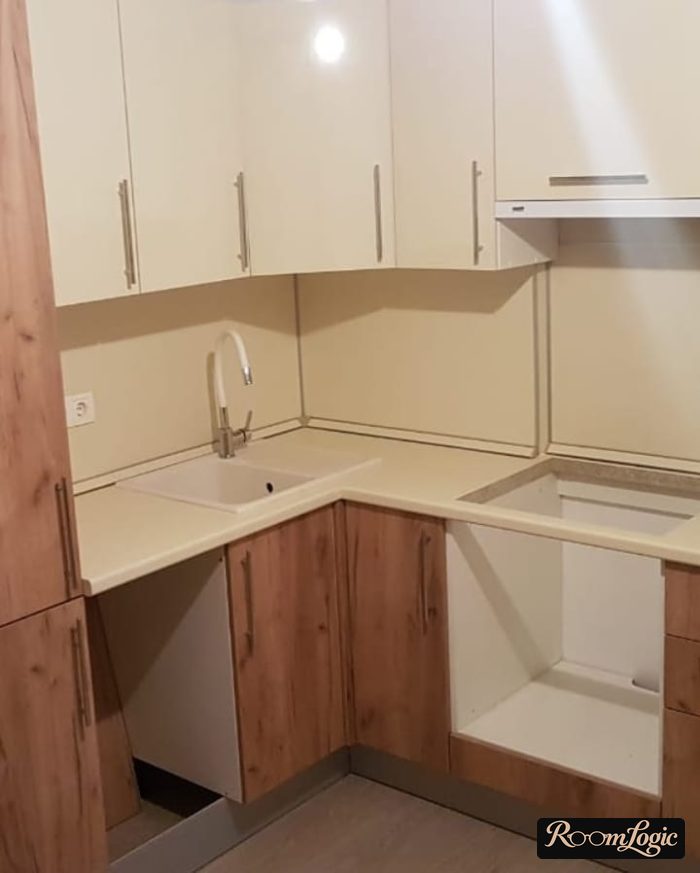
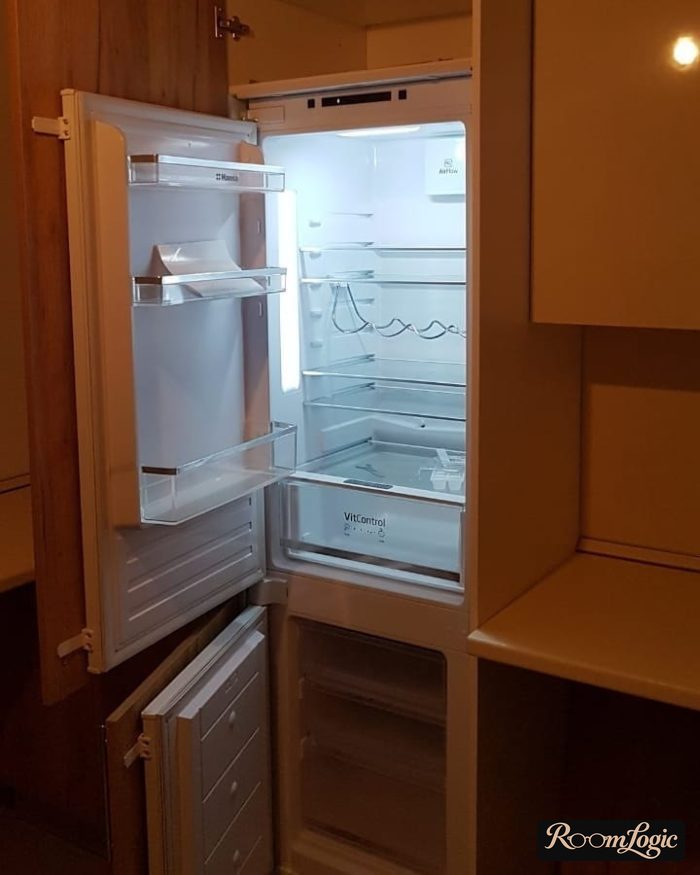
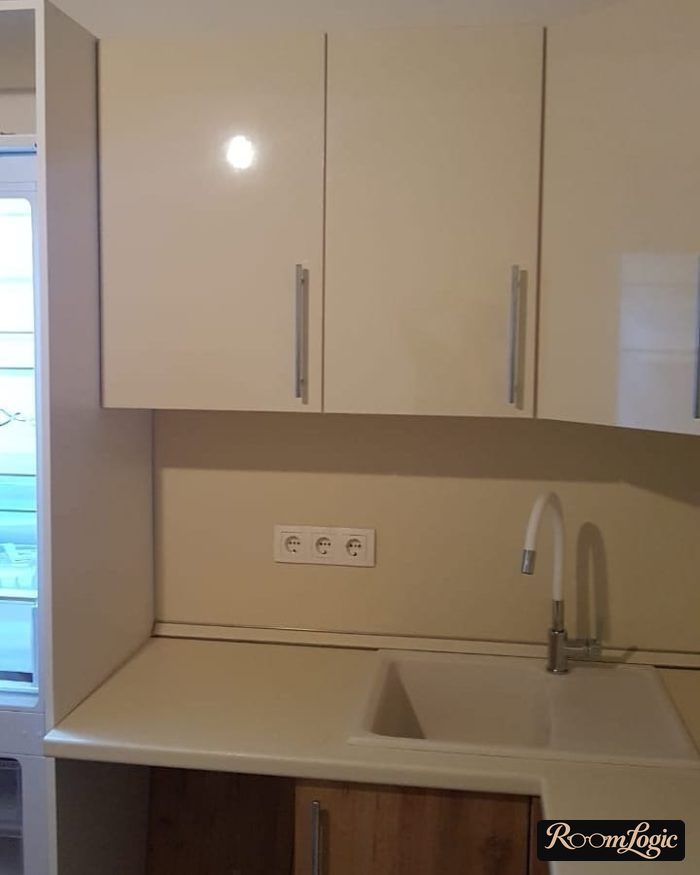
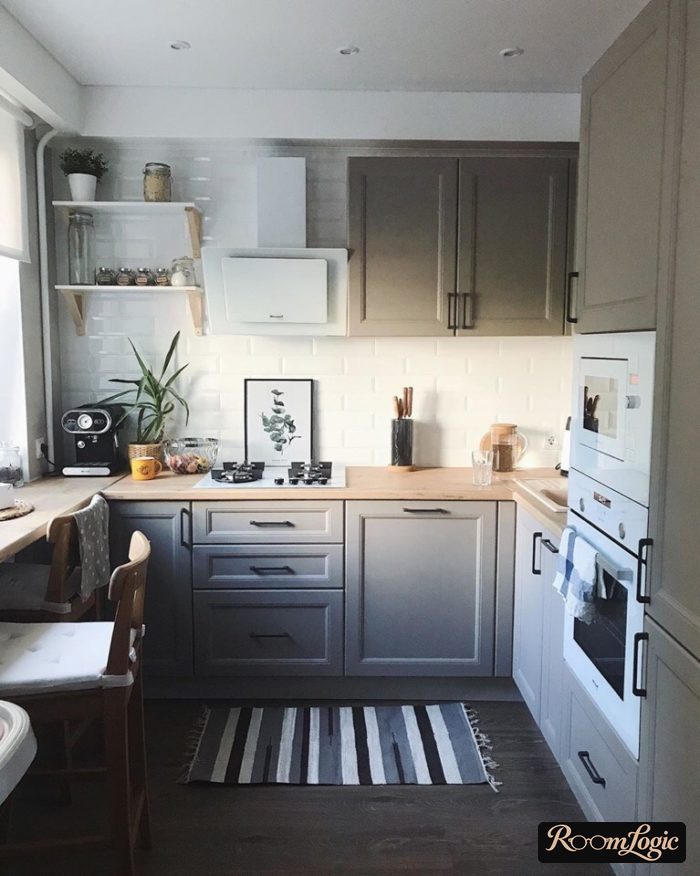
Consider a kitchen with a breakfast bar as an alternative.
Design and Finishing for a 100-Square-Foot Kitchen
Now we have reached the visual part, but I always support functional design, so there will be nothing about little flowers.
5. Lighting
A 100-square-foot kitchen is large enough for… hanging out.
That is why the lighting should have at least 2 and preferably 3 levels:
- Regular overhead light from recessed fixtures. I deliberately do not call it the main light because it is needed for cleaning and partly for cooking. Upper cabinets block this source, and the countertop will always be in partial shadow – it is uncomfortable to chop there.
- LED lighting for the backsplash and countertop. This is the most important light, used most often, and it should be called the main light because it illuminates the countertop and is enough when you come in to get something or make coffee. A terrible mistake has been made in most kitchens: the backsplash light is turned on with a button somewhere under the cabinets because it was left to the cabinet installers. Run the wiring properly and put the backsplash light on a separate switch at the kitchen entrance. No other way.
- A light above the dining table or wherever you eat.
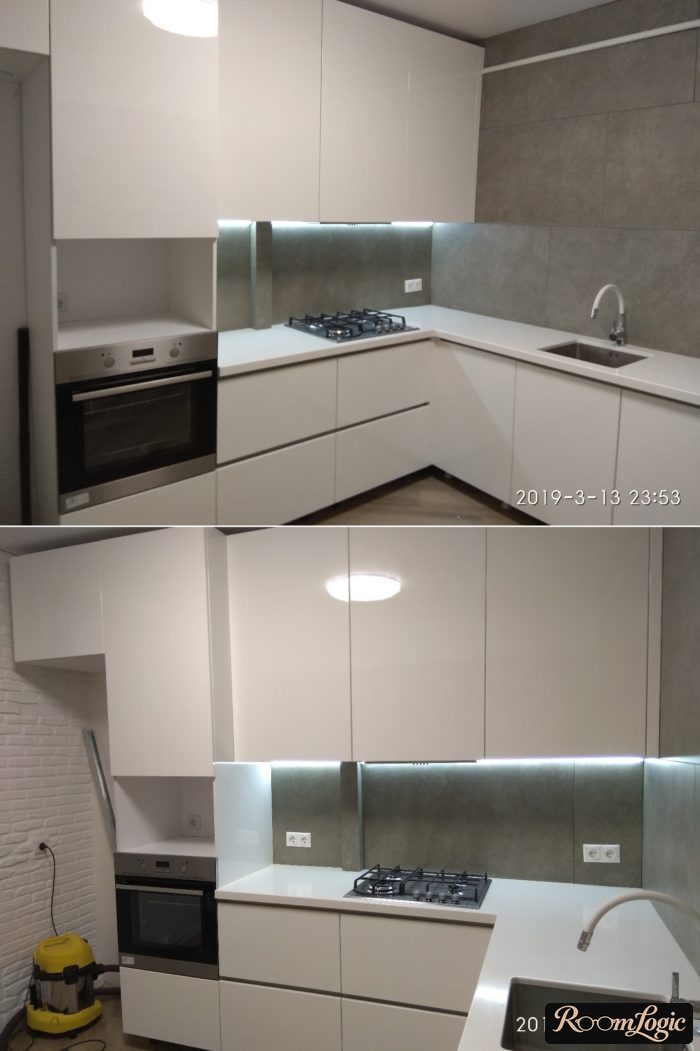
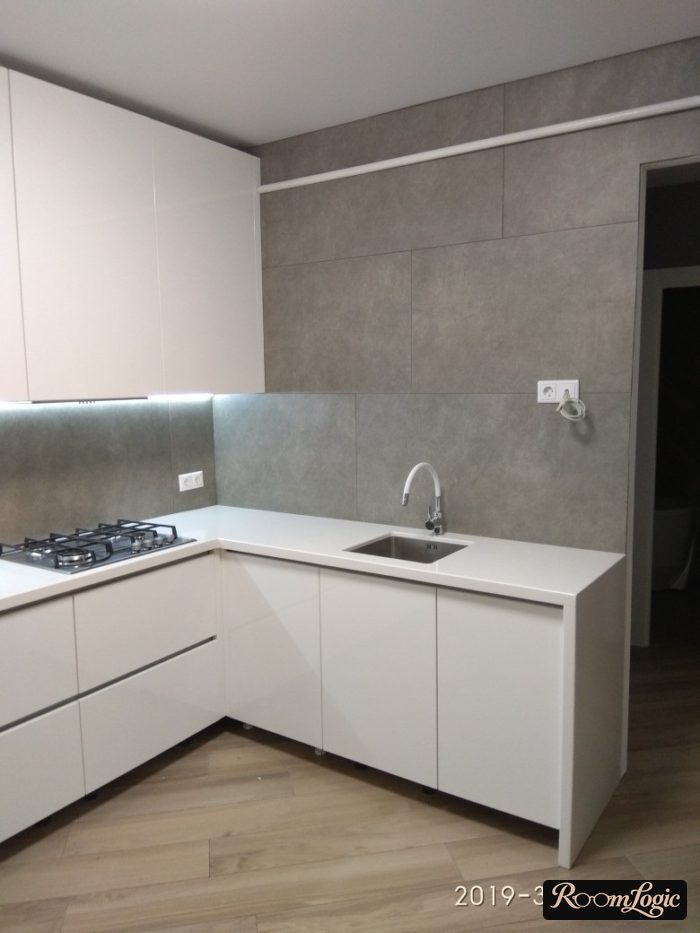
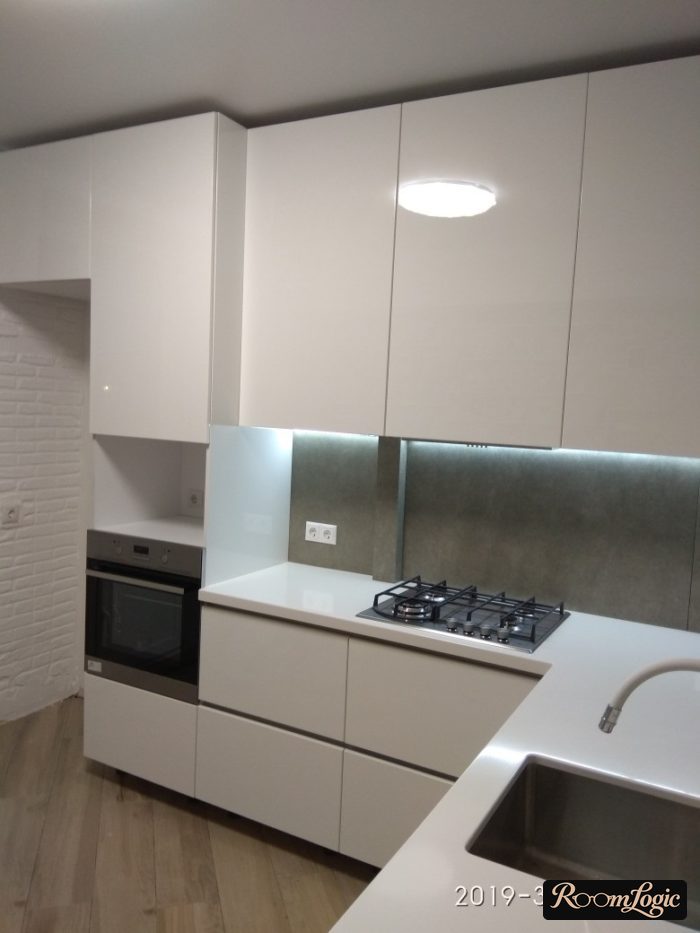
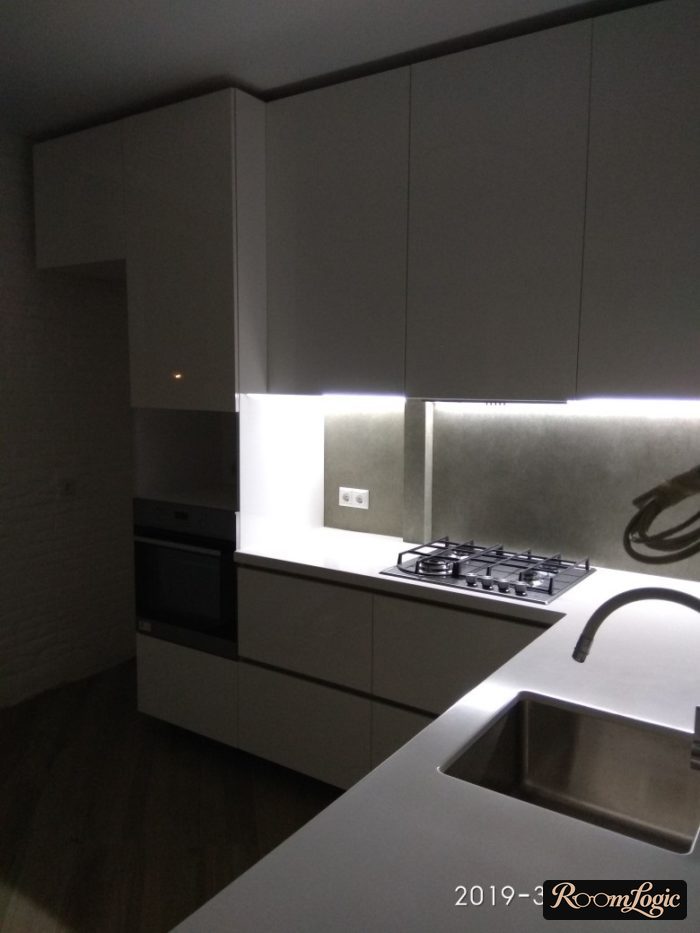
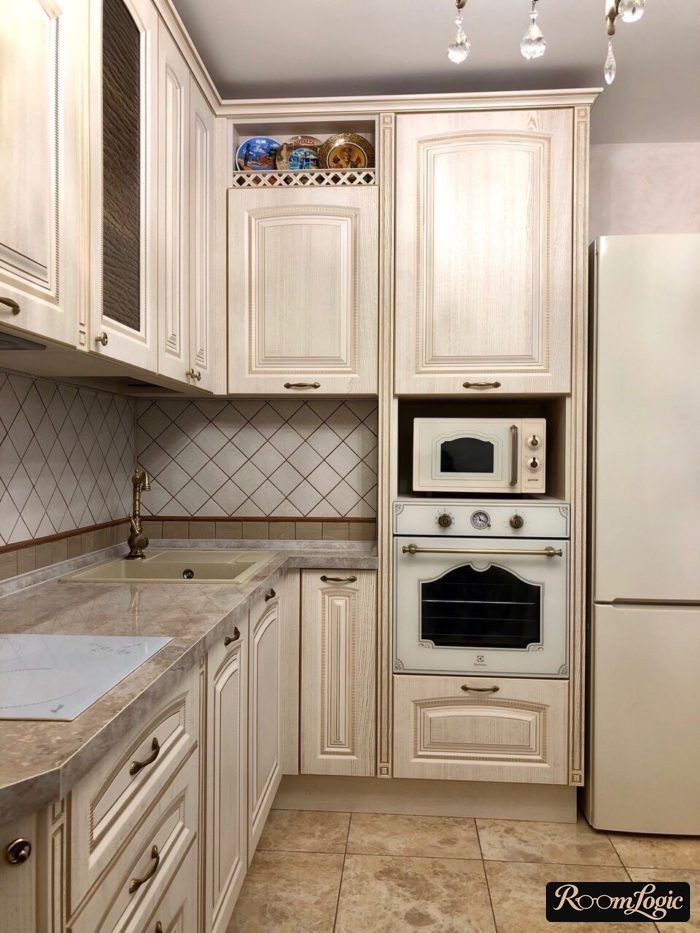
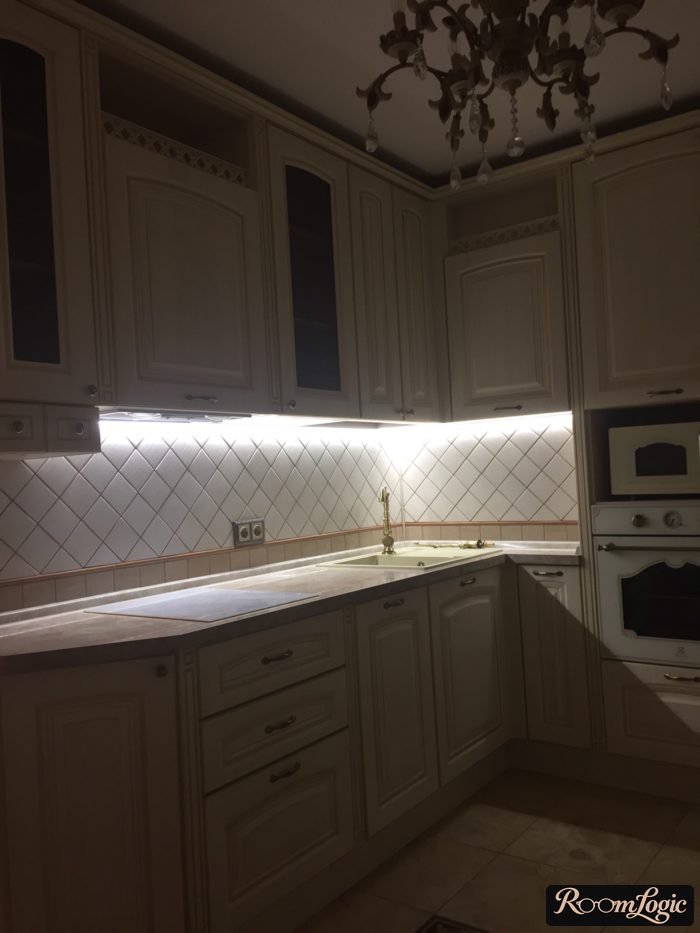
2 details to fuss over: the ideal color temperature for bulbs in every room except the bedroom is 4500K – the shade closest to daylight that is still not cold. Above the place where you eat, 3000–3500K is better because food looks more appetizing that way. (This is an evolutionary thing because our ancestors ate near a fire, and its color is warmer. Every restaurant owner uses this.)
Do not even think about lighting the toe kick. It is always a little dirty and spotted, and believe me, you do not want to see every drop – you will live more peacefully.
6. Backsplash
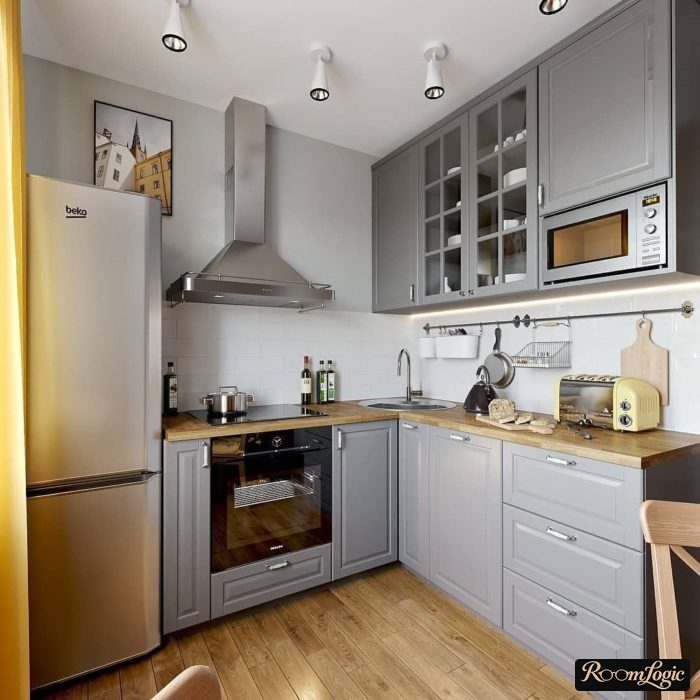
A 100-square-foot kitchen has enough cabinets and clear countertop space to put away all the utensils and skip the hanging rails.
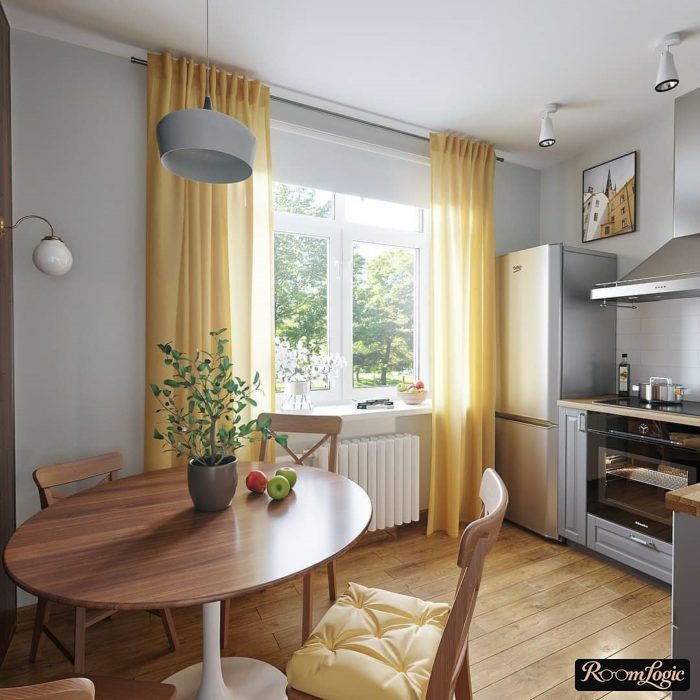
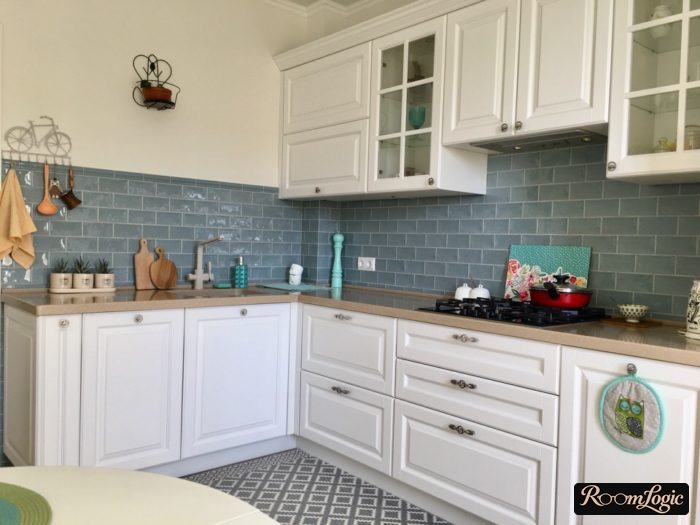
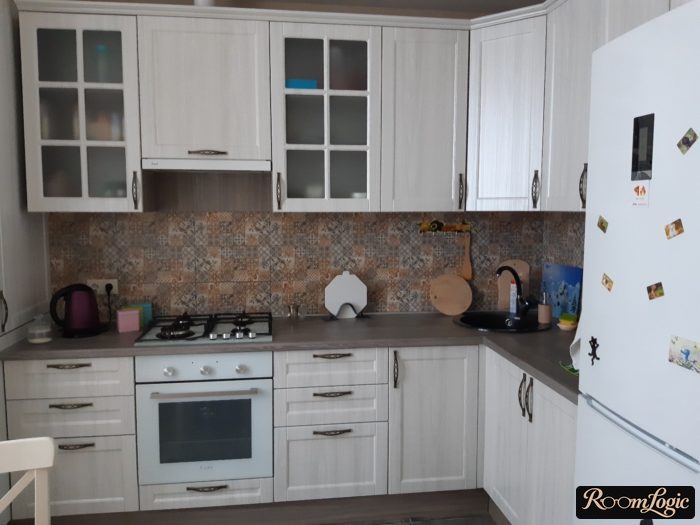
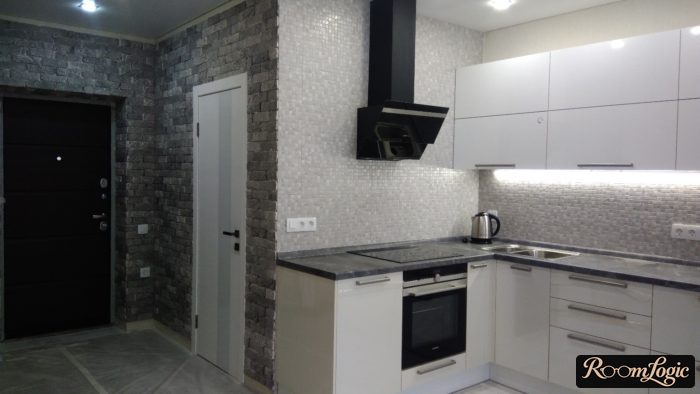
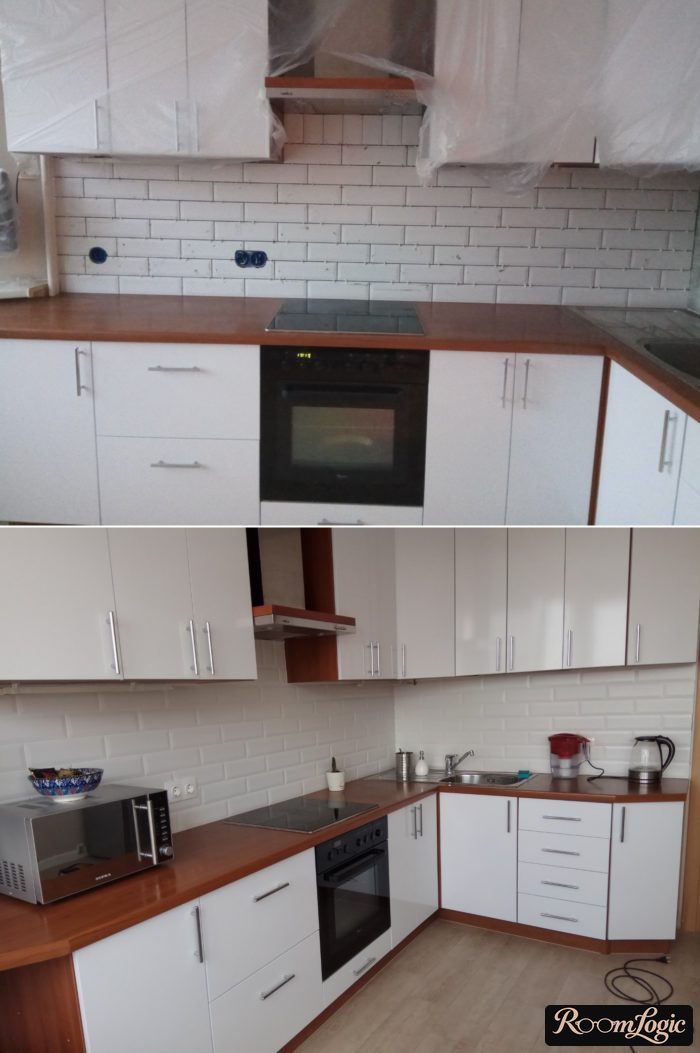
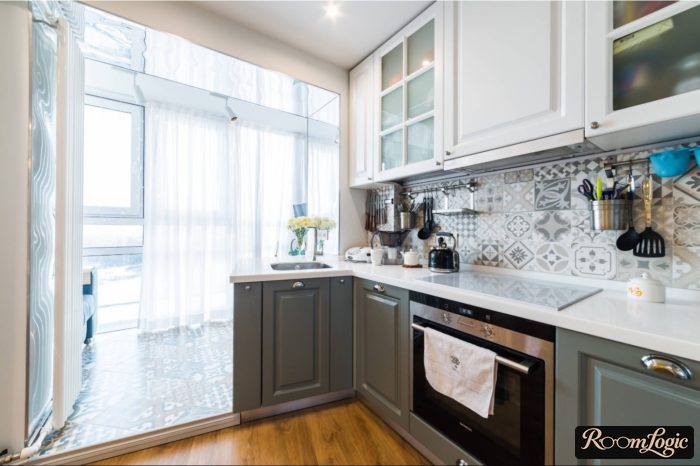
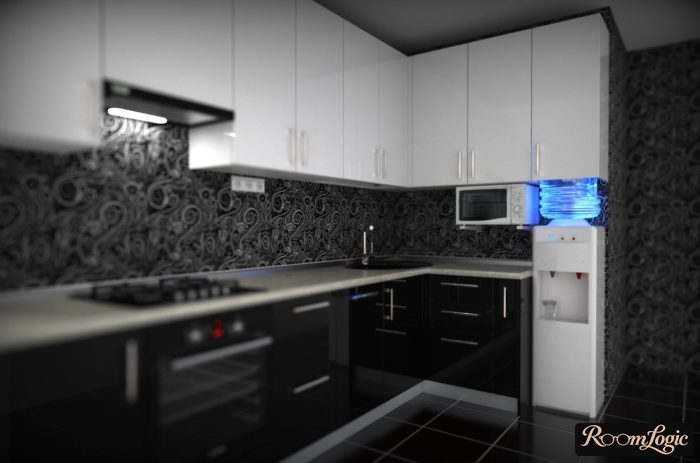
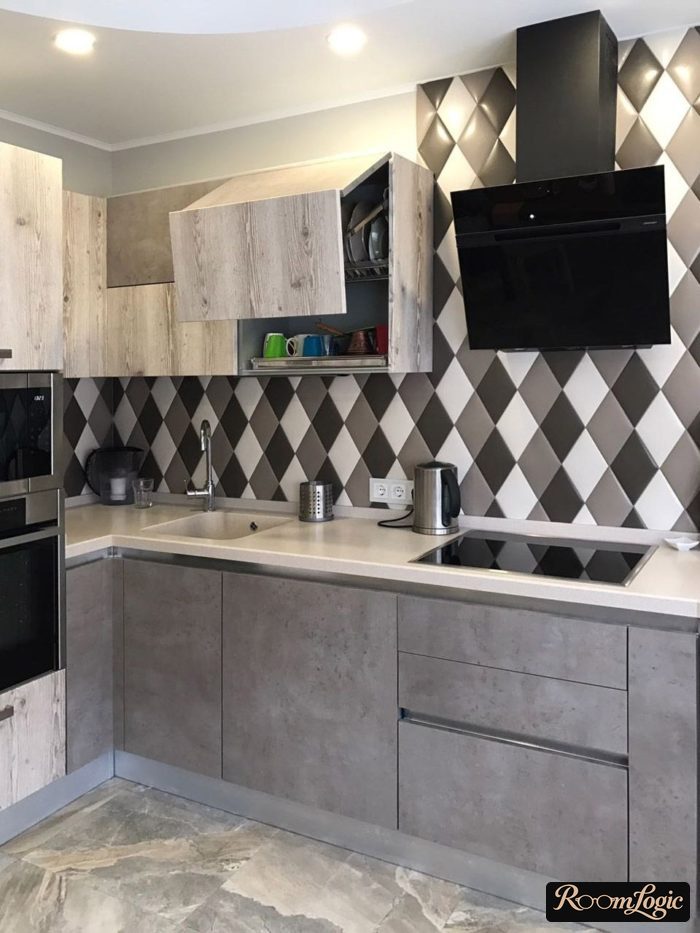
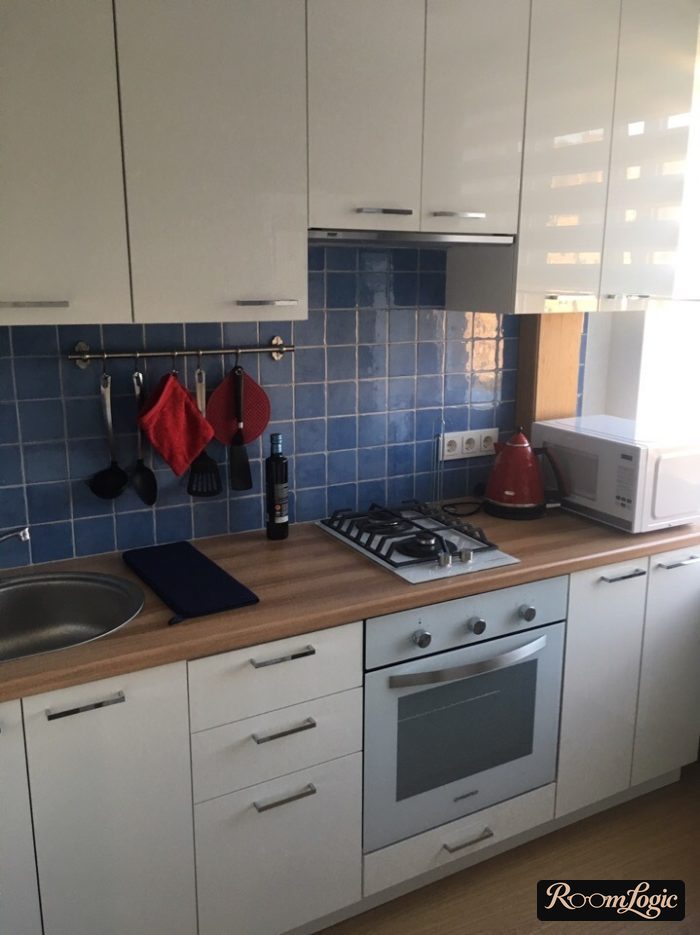
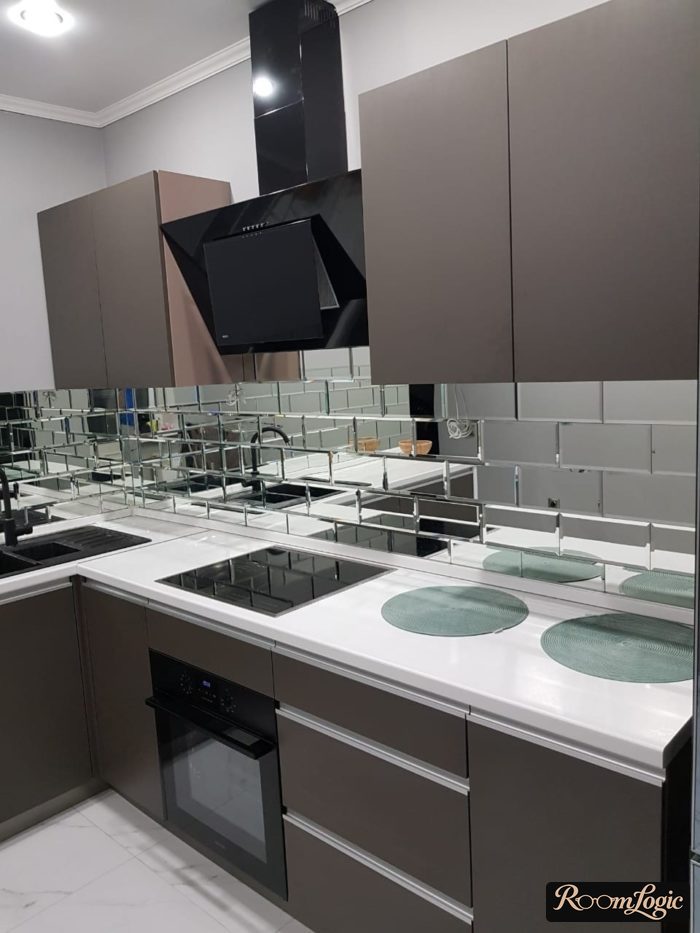
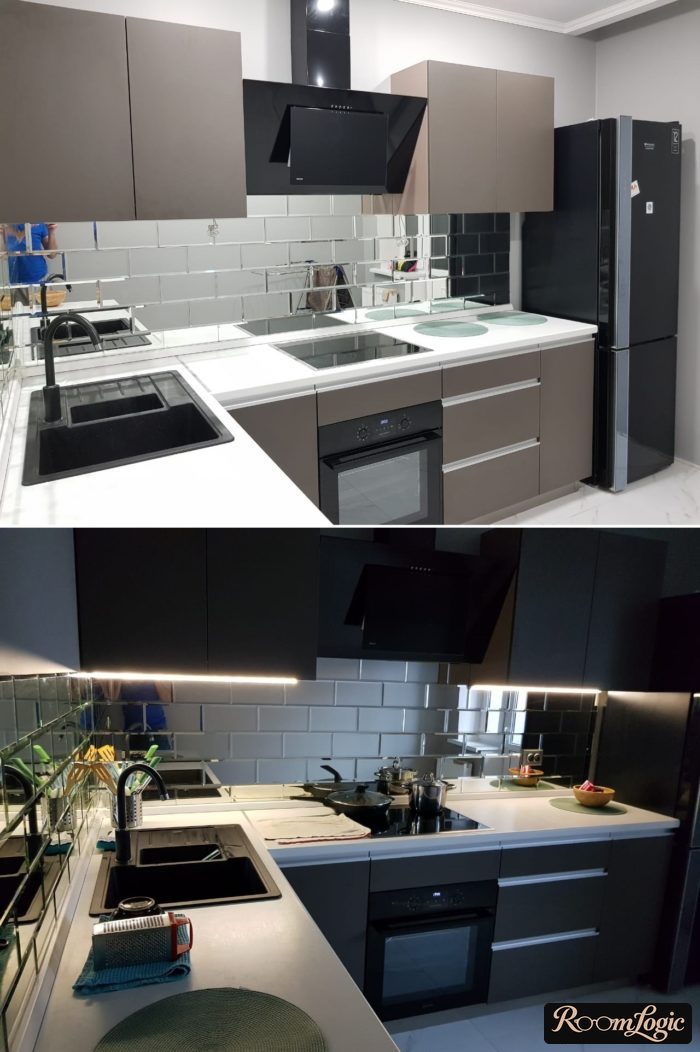
An open backsplash can be a stylish accent. Textured tile plus lighting gives you beautiful shadows and depth. Or use a glass panel with 1 solid color behind it and no pictures or patterns as a modern design option.
7. Color
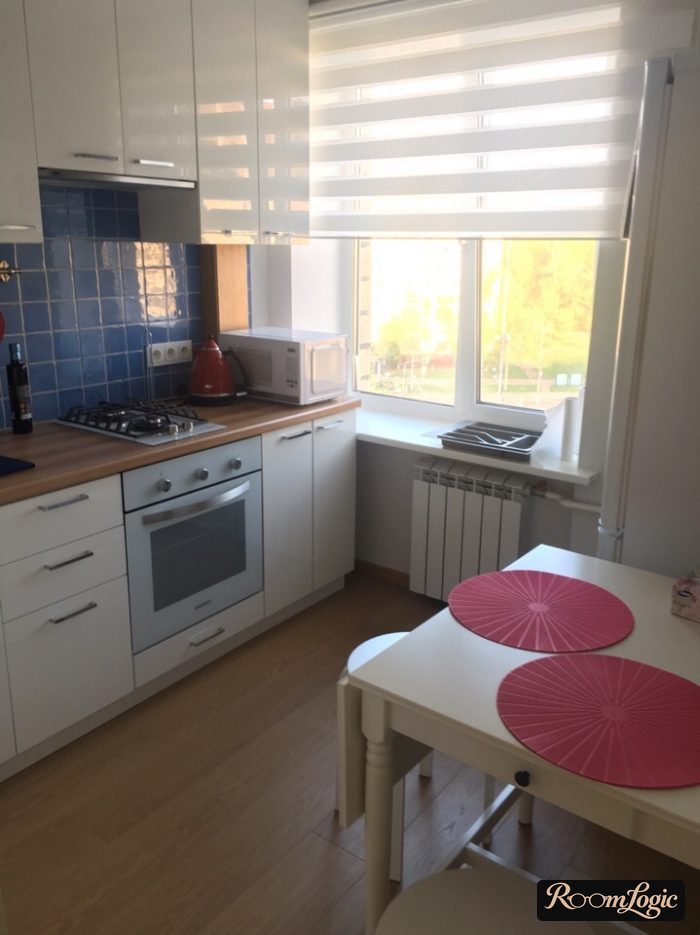
In kitchens up to 100 square feet, I always advise against experimenting with color. When there are no clear preferences, choose glossy white and generally stick to light colors.
This is the standard low-risk option that will give you at least a decent design. Read the detailed discussion with lots of photos about white kitchens with wood countertops.
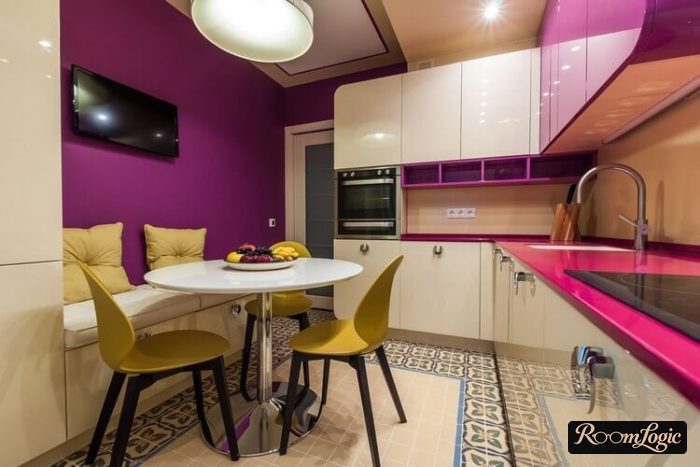
A 100-square-foot kitchen is the point where you can start experimenting if you really want to. I strongly recommend reading my detailed article about combining colors in an interior – it will help you avoid the usual mistakes.
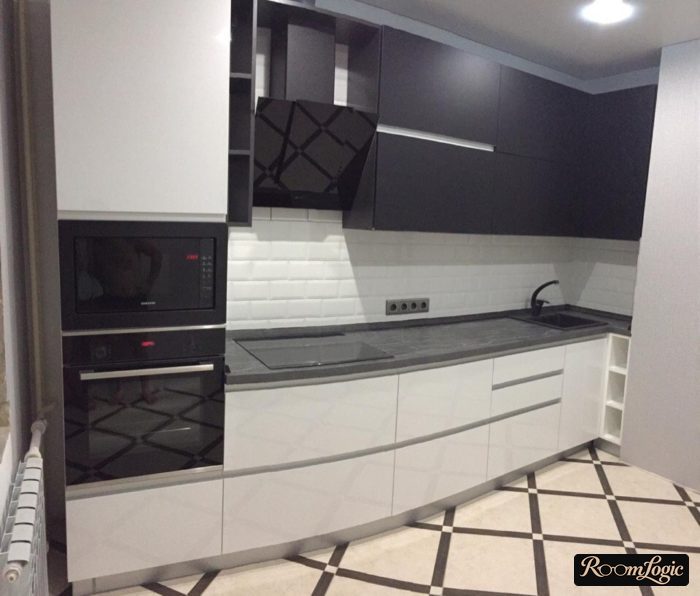
Alternatives that work fairly well in 100 square feet are shades of gray (matte is stylish but impractical) and every variation of muted blue.
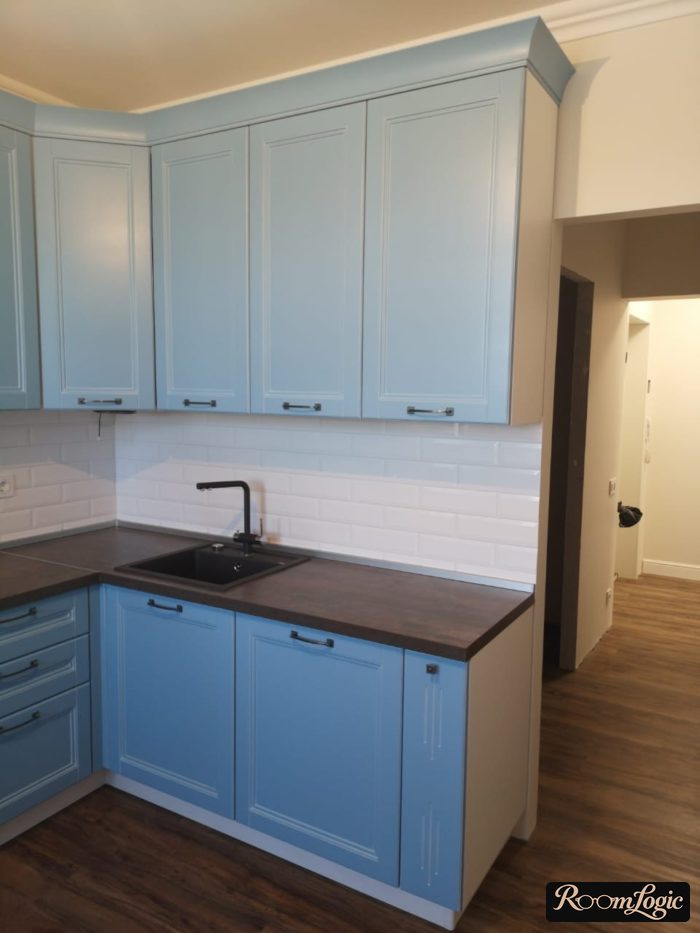
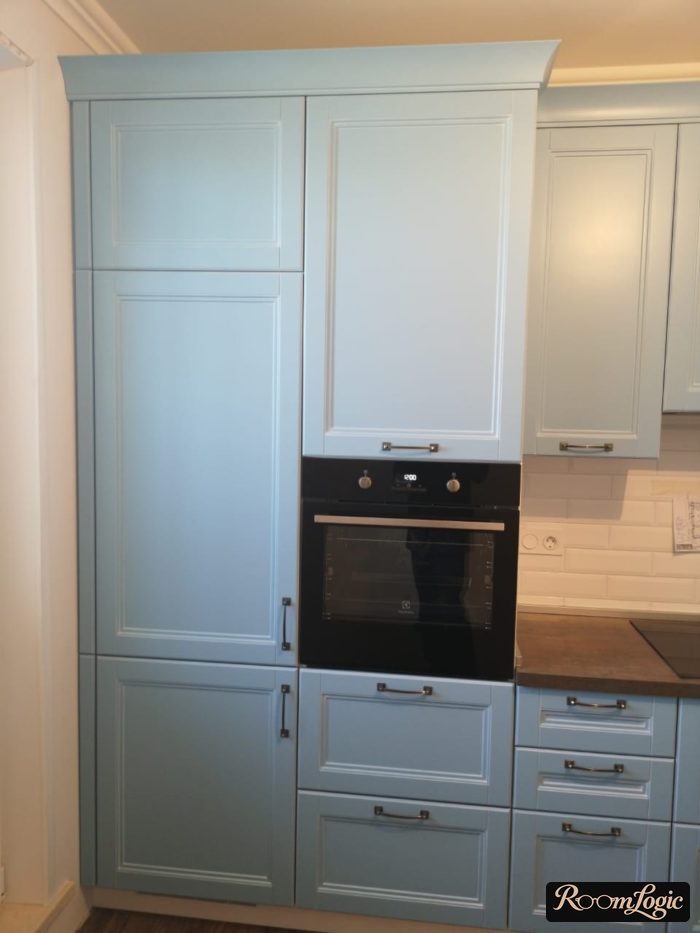
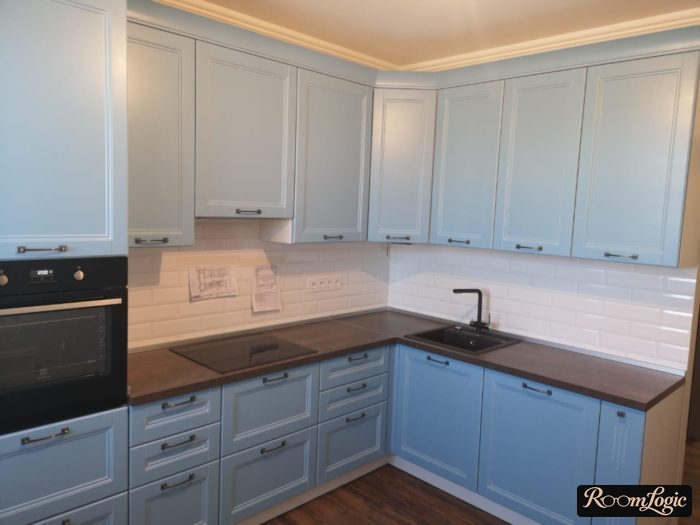
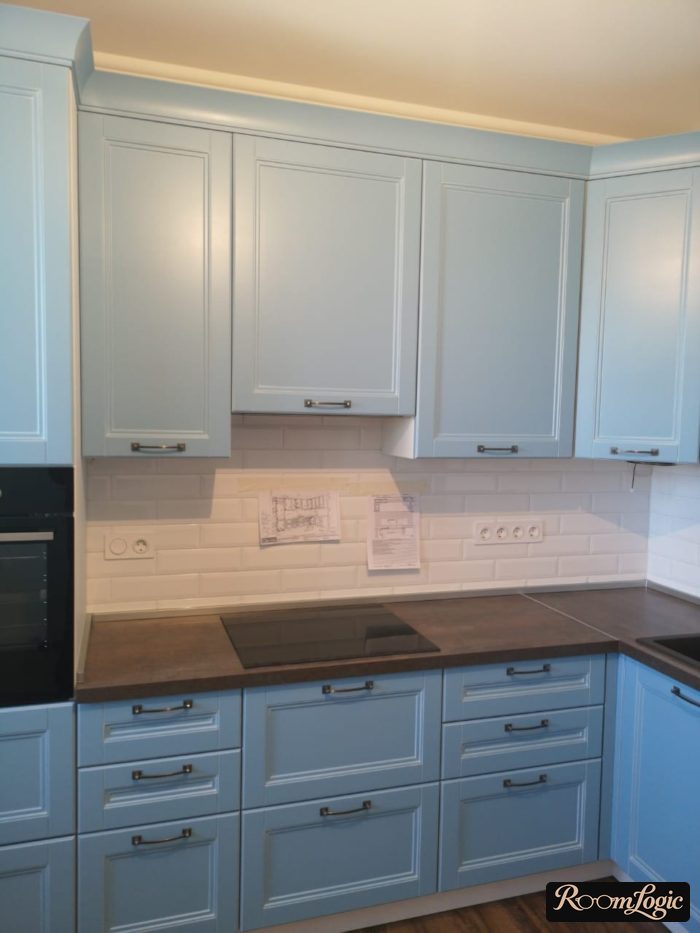
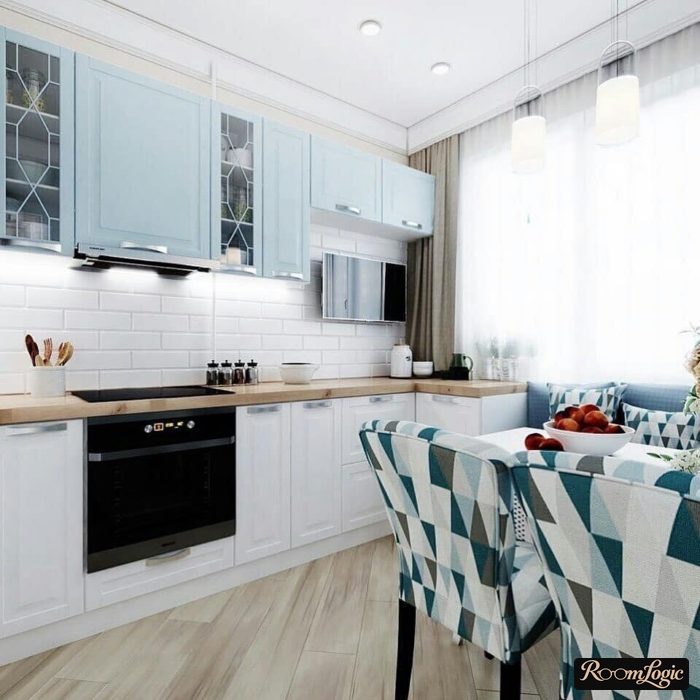
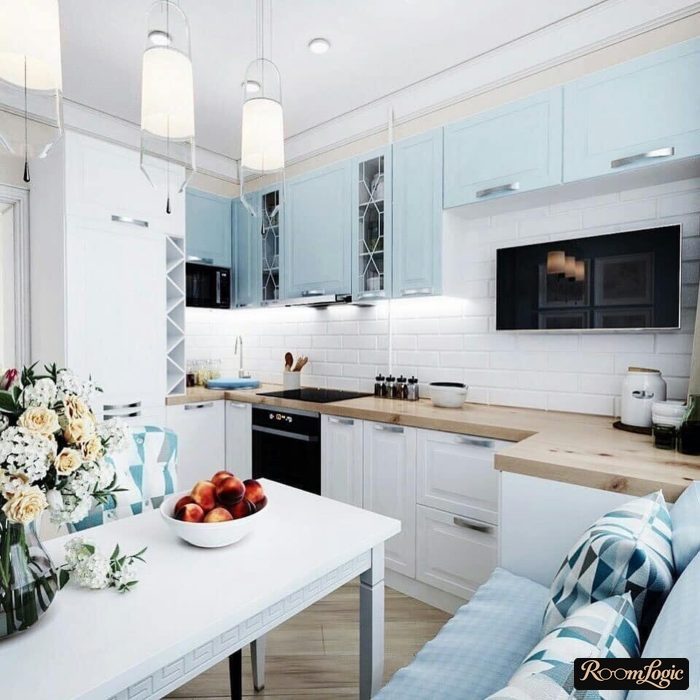
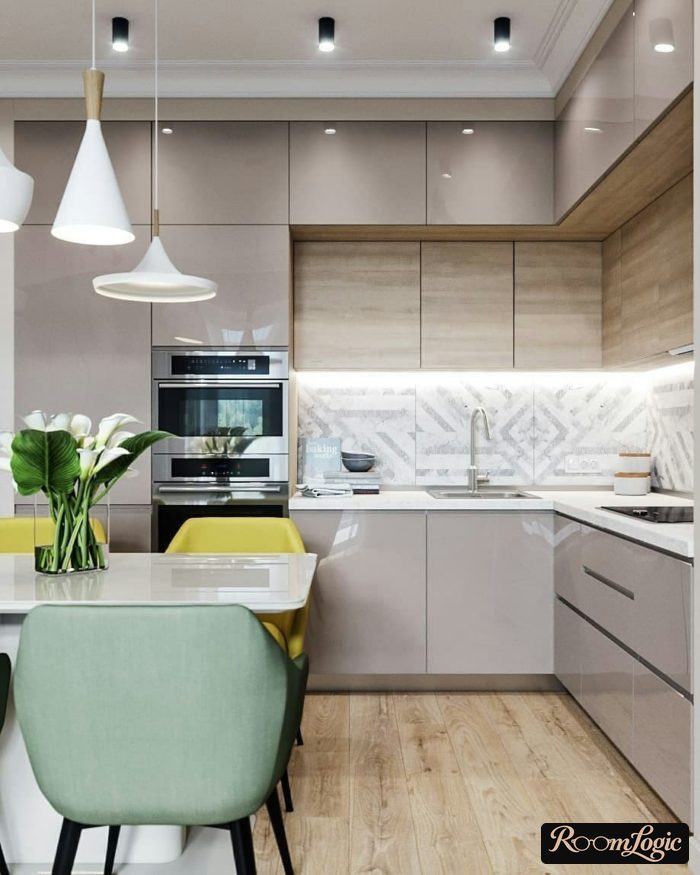
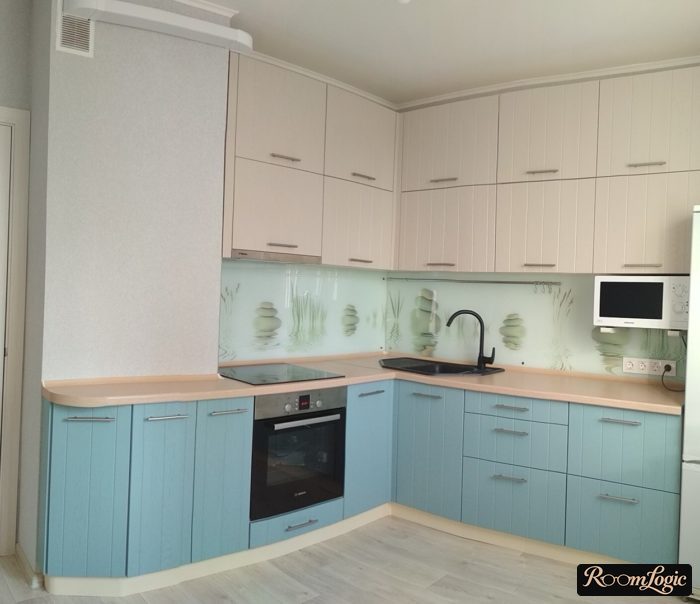
See many beautiful, unusual options in the general article on kitchen design – I collected lots of interesting color schemes there. There is plenty of gray in the article on the neoclassical kitchen.
8. Decoration
I am against nonfunctional decor.
Lighting, furniture, and the backsplash are almost always more than enough to finish a kitchen interior.
Open shelves with dishes on display and the rest of that stuff are dust collectors. It can look great, but there are more rational ways.
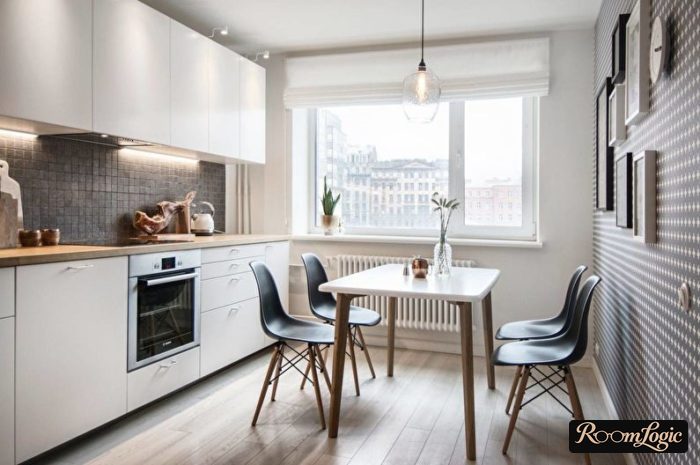
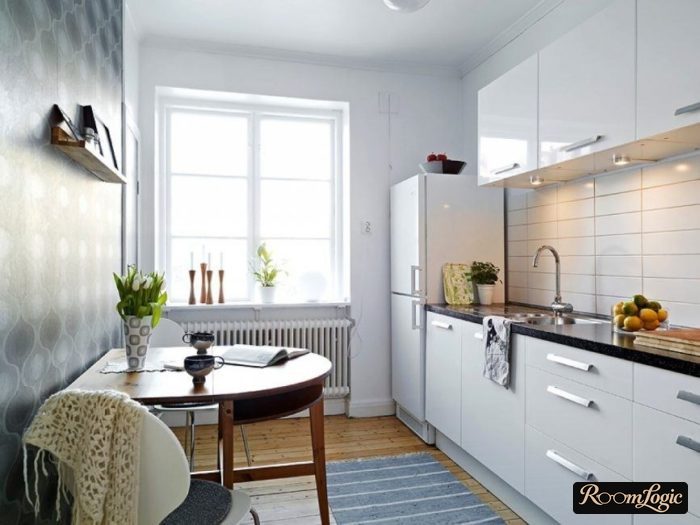
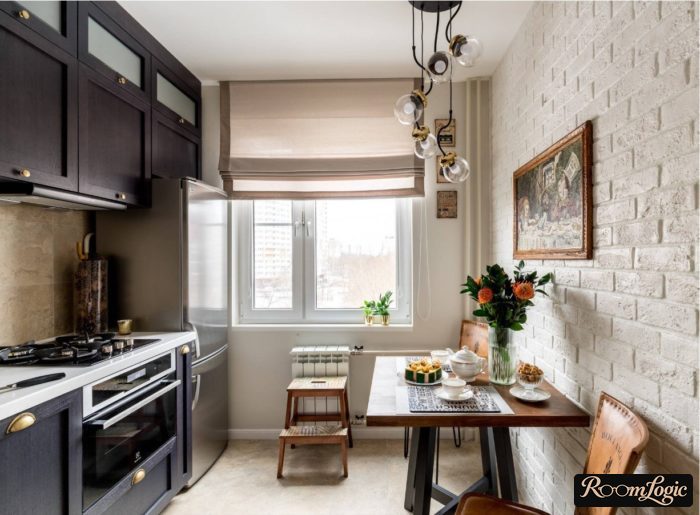
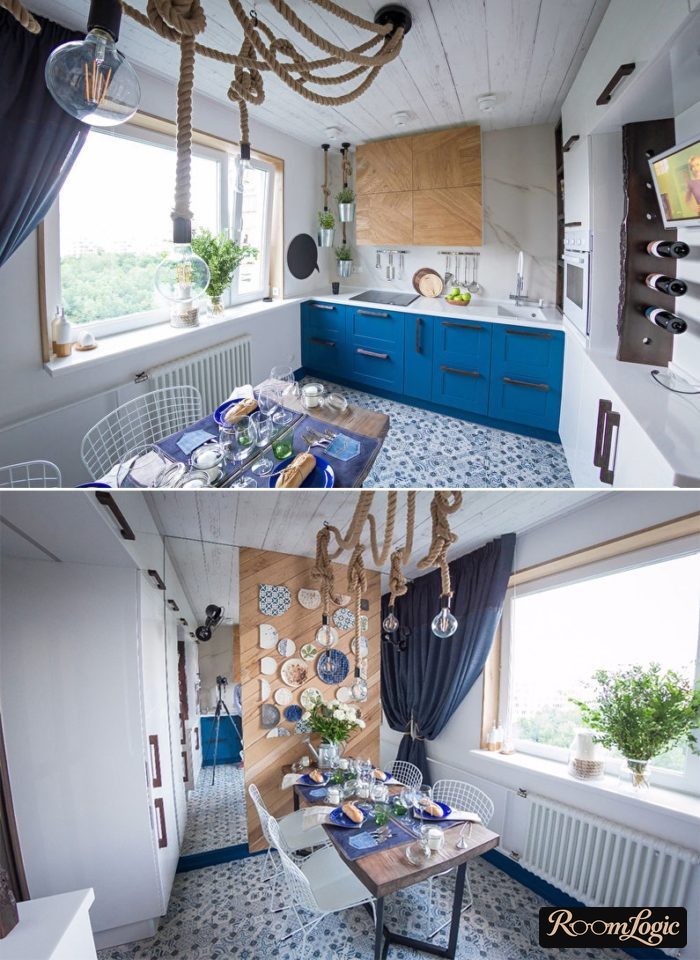
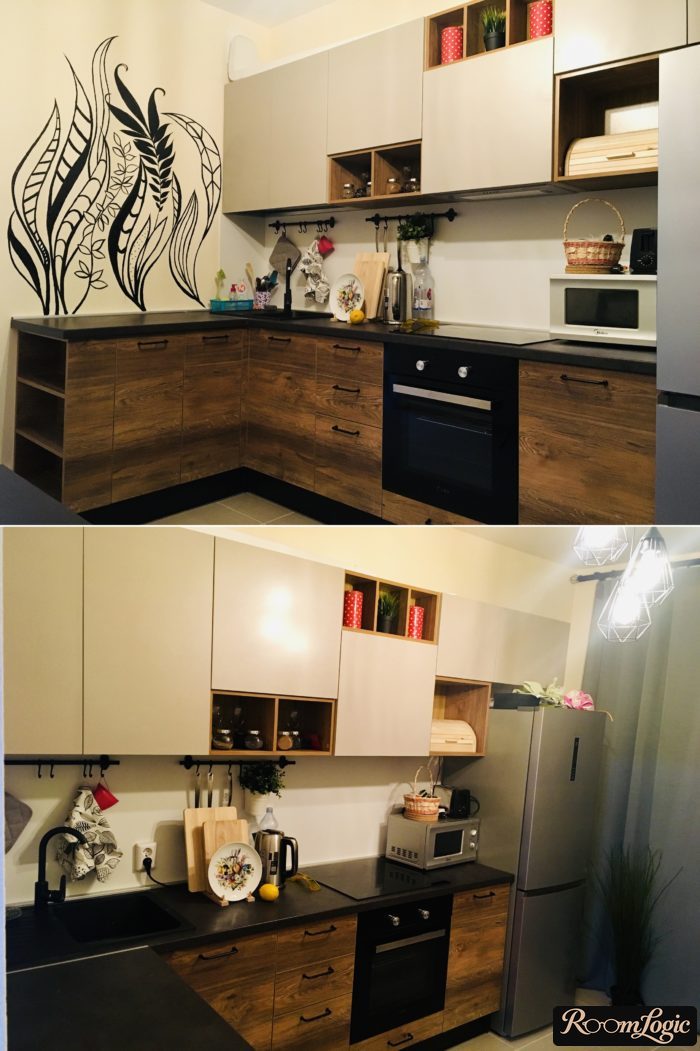
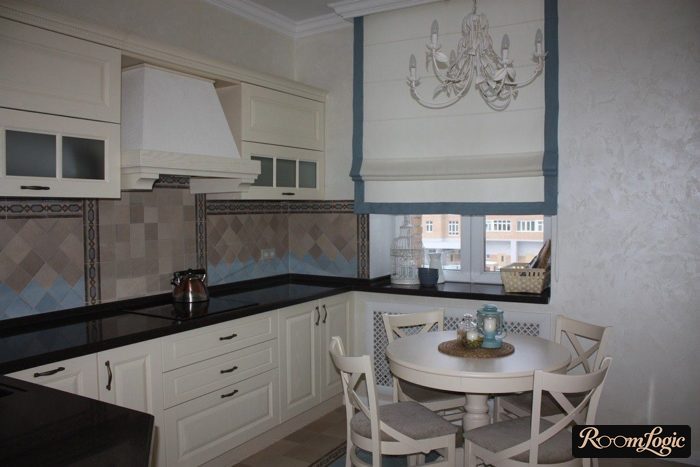
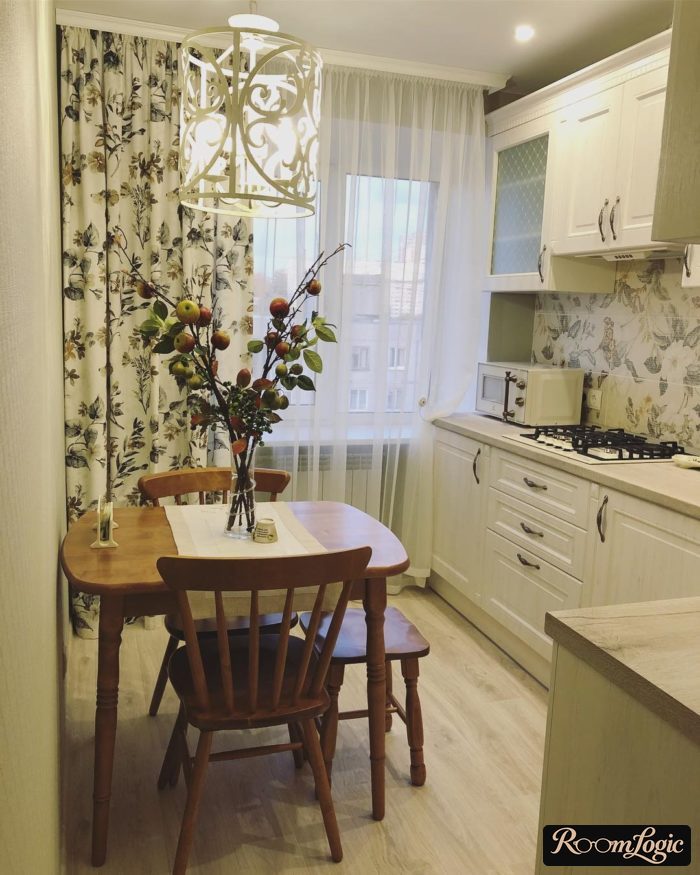
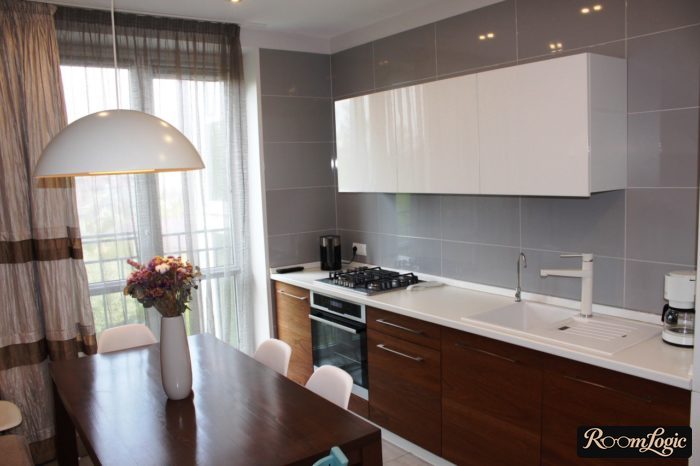
If you still want to add accents and the remodel is almost finished, read about kitchen curtains (the focus is on short options, but regular ones are there too) and kitchen curtains for patio doors (those are long).
I also covered reasonable ways to add accents without clutter in the articles on the Scandinavian kitchen and Provence-style kitchen – that should be enough.
I will repeat once again: if the rules in this article are followed, no additional decor is needed.
Also see the articles on 110-square-foot kitchen design and 130-square-foot kitchen design – almost the same thing, but the photos are different.
100 square feet is a great size where you can already make a stylish and functional kitchen without compromises. That is what I wish for you. Good luck with your remodel!