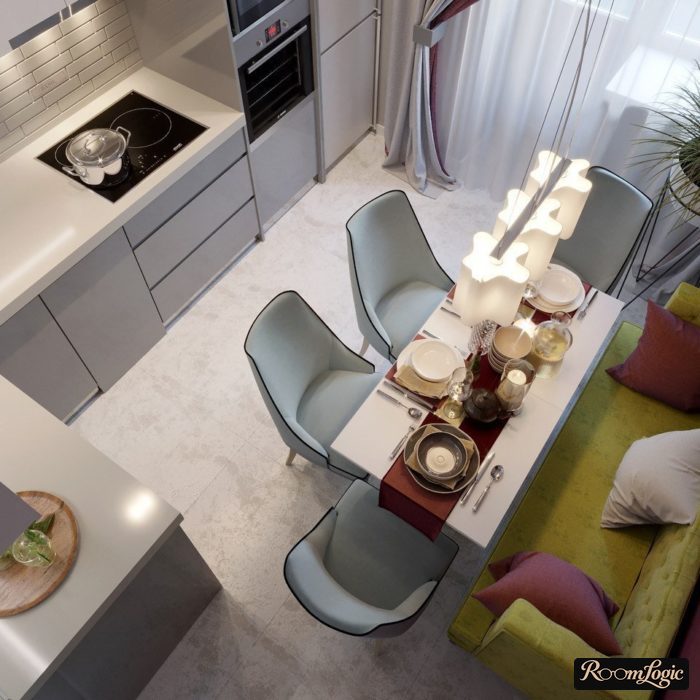
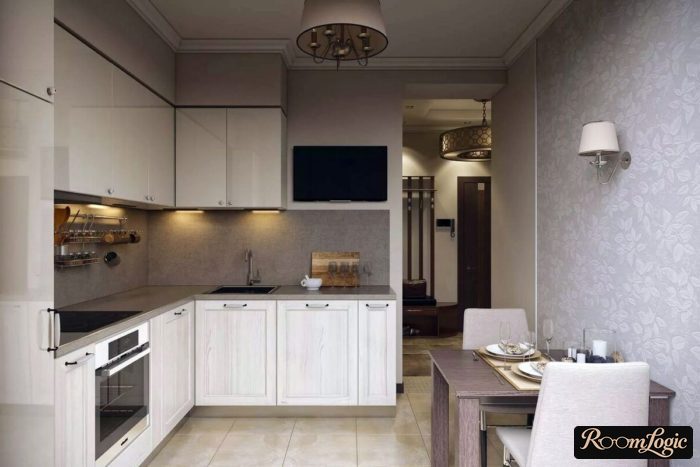
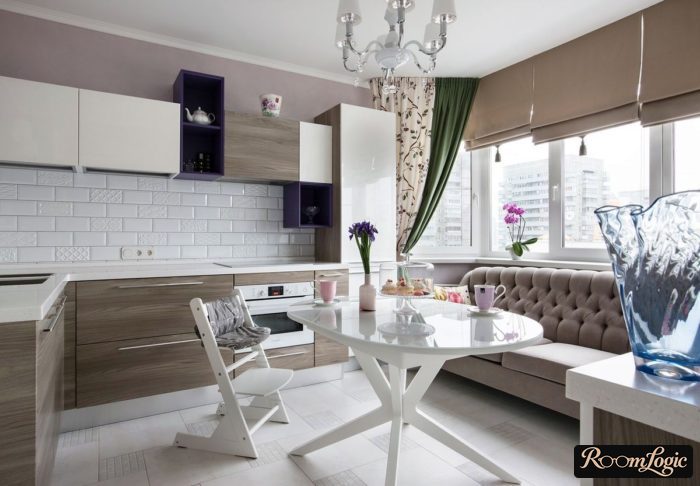
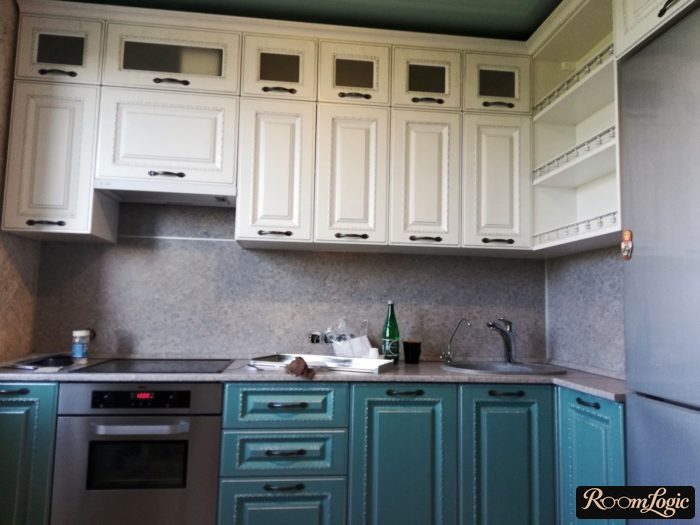
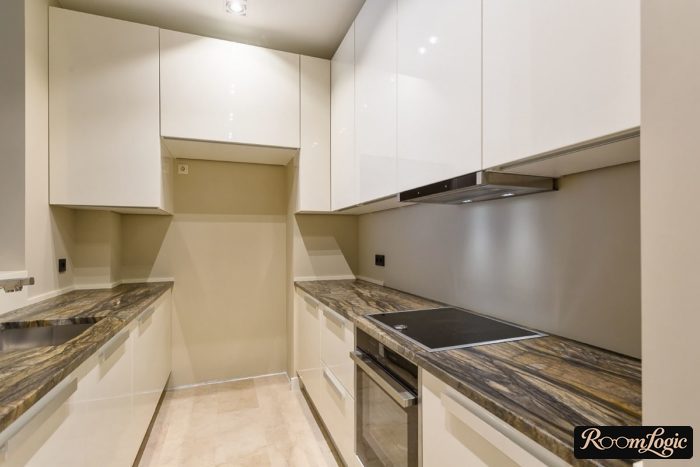
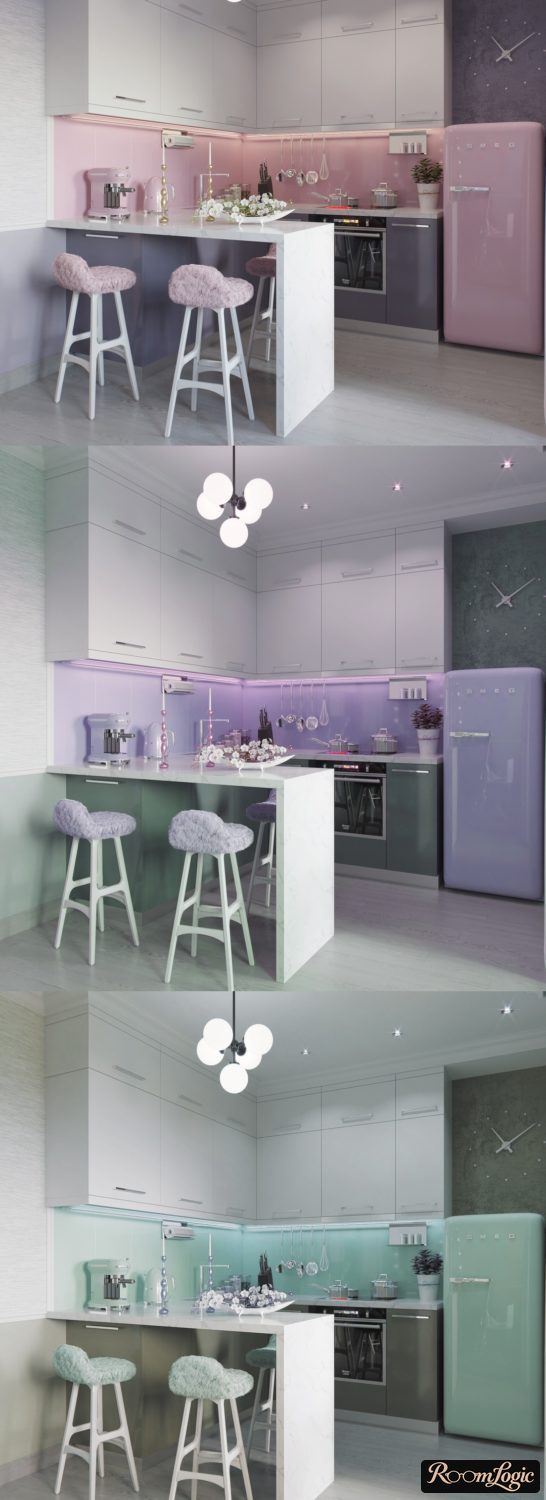
Giving up upper cabinets is a trend in modern styles.
But let’s be honest right away:
- From a design standpoint, a kitchen without upper cabinets really does look cool. But…
- This is not about saving money or practicality. The chance of messing it up so badly that daily use annoys you is high.
It is important to think in implementation methods, not pictures.
Let’s figure out what you really need to notice in the photos and how to create an open upper area so you do not regret it later.
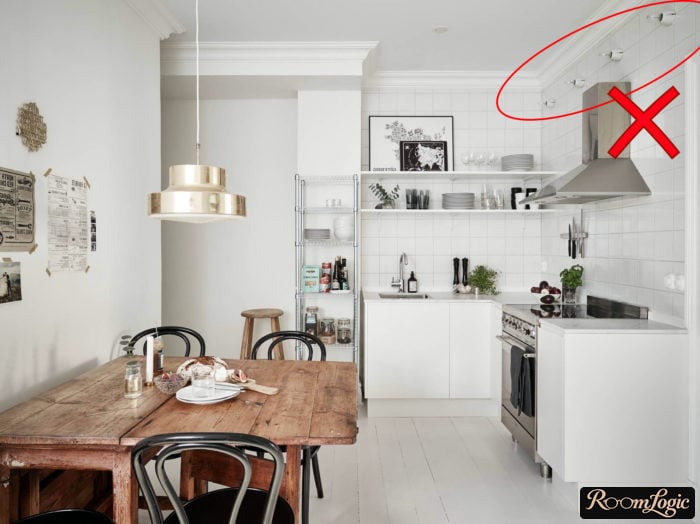
- many people do not care as much about an empty wall as they care about not seeing this (I do not like it either):
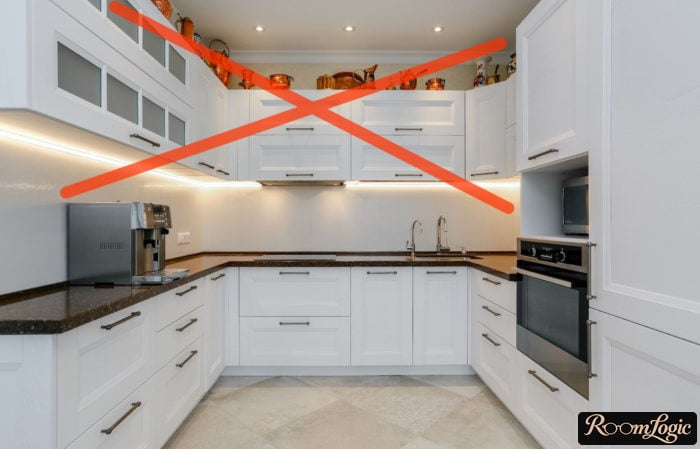
And then I will suggest a super-practical alternative.
5 Design Problems in a Kitchen Without Upper Cabinets
Not knowing the mistakes is practically the same as stepping into some of them. So we will start by stating the problems and solutions, so it does not turn out like this:
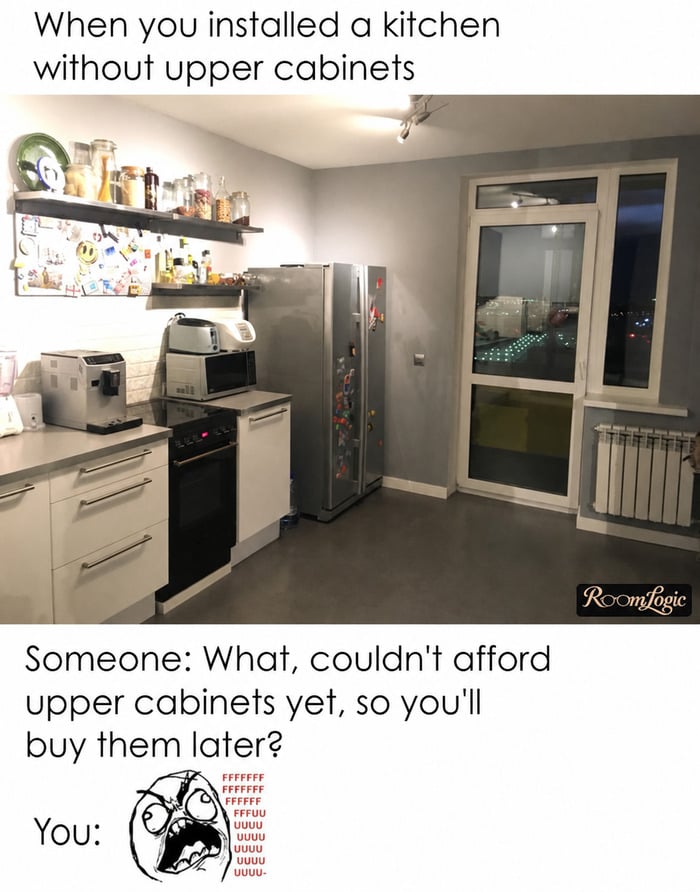
1. Dish-Drying Rack
Most of the functions of upper cabinets can be distributed elsewhere. But they also usually contain this:
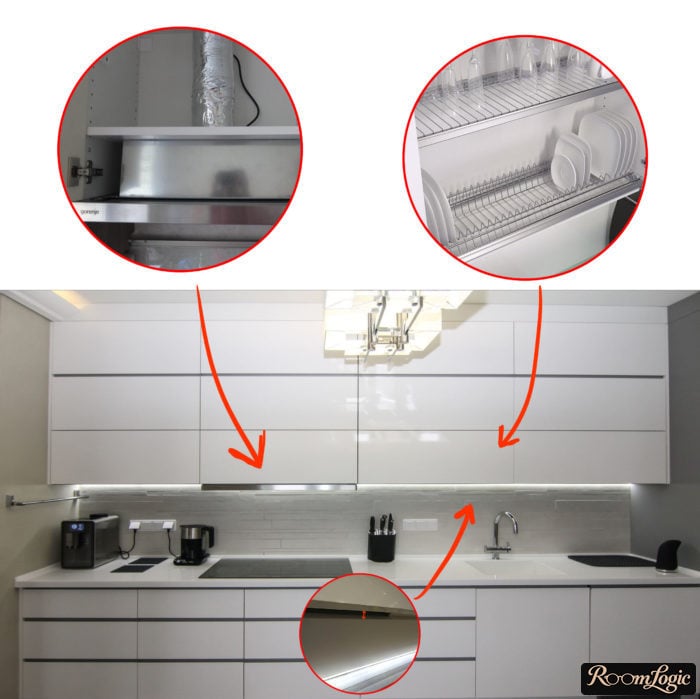
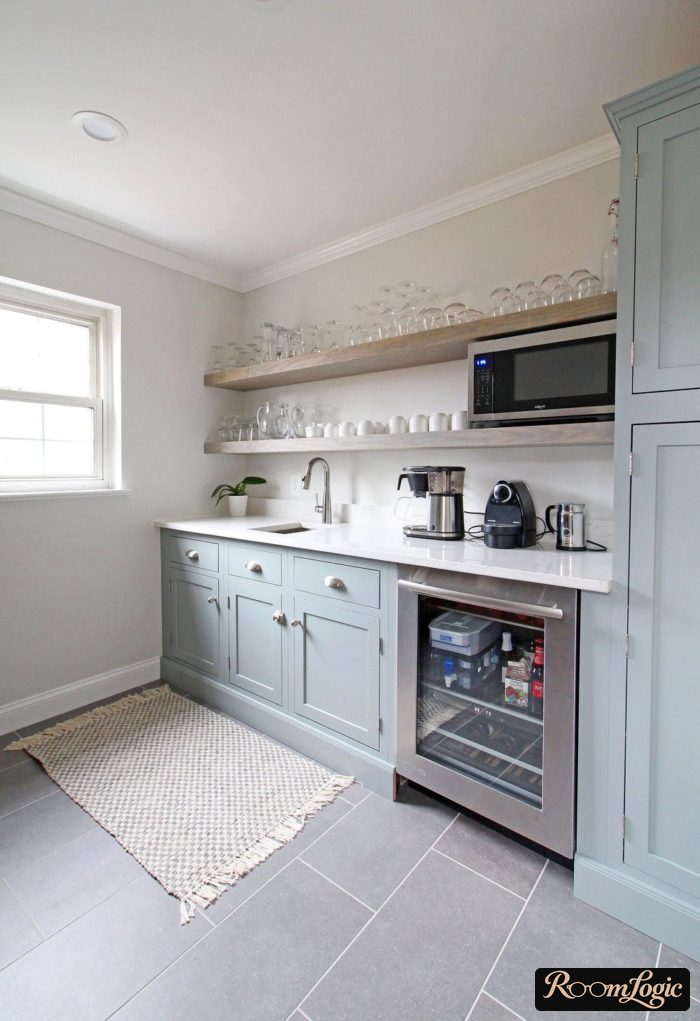
The cabinet above the sink is made either without a bottom or with a gap between the doors and lower edge, which lets air circulate and keeps moisture from stagnating. So simply moving it below will not solve the problem. Plus, bending down to put dishes into and take them out of pullout drawers is inconvenient. You do not want to carry them to another part of the room either, and if the kitchen is small, there is nowhere to carry them.
Dish-drying racks for lower pullout drawers exist as a replacement.
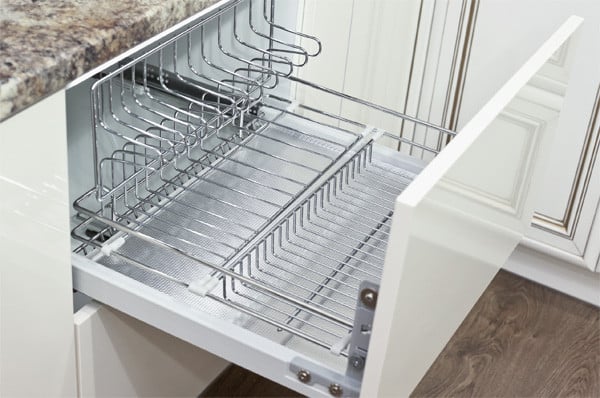
And yes, I am also an active dishwasher user, but every day you still end up washing something by hand, and it has to dry somewhere (we are not going to towel-dry dishes).
The swing-door hardware for the cabinet that usually holds the drying rack costs about $2 for 1 soft-close hinge – in other words, pennies. A pullout mechanism that barely replaces the upper cabinet starts around $30. I covered questions like this in the article about choosing kitchen cabinets.
2. Range Hood and Duct
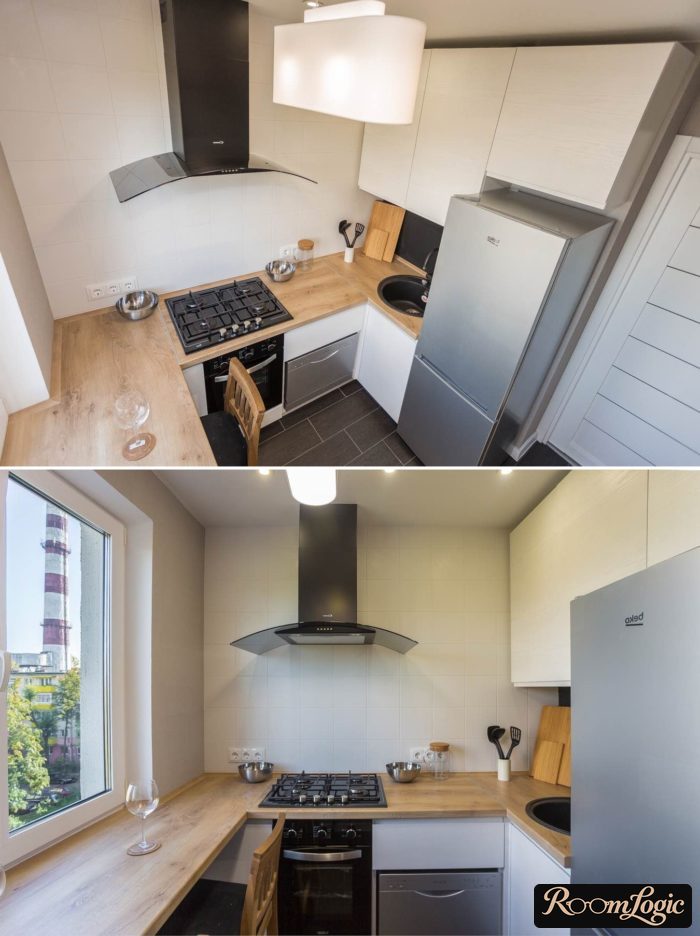
If you never fry or braise anything, you can, of course, give up the range hood along with the upper cabinets. Otherwise, here is another issue.
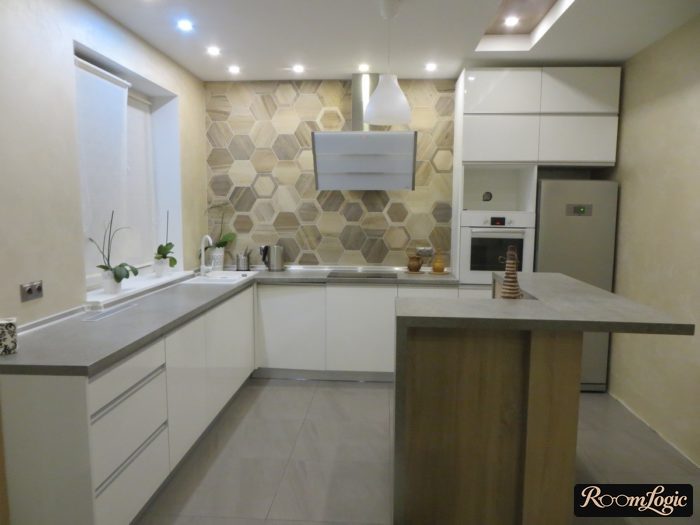
The cheapest range hoods are built in (into what?). Correct – into the upper cabinets, which our kitchen does not have.
The solution: you will have to buy an exposed box-style or ceiling-mounted hood. A separate one, in short.
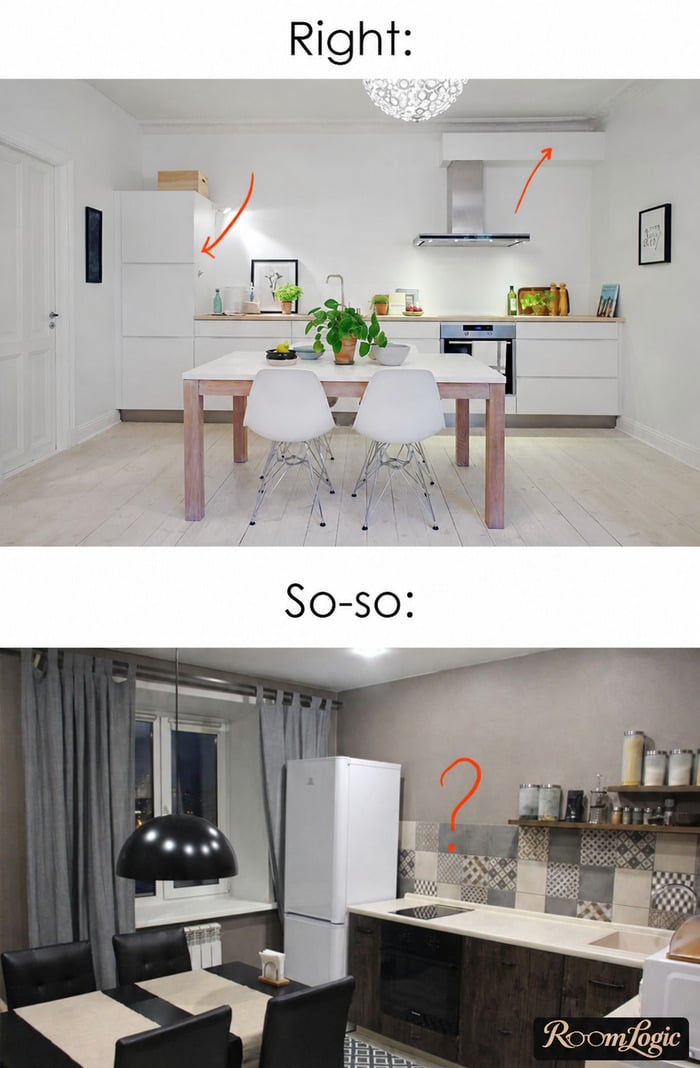
But kitchens without upper cabinets are usually Provence style, Scandinavian, loft, minimalist, or high-tech. And the prices of models that fit such a design will not make you happy.
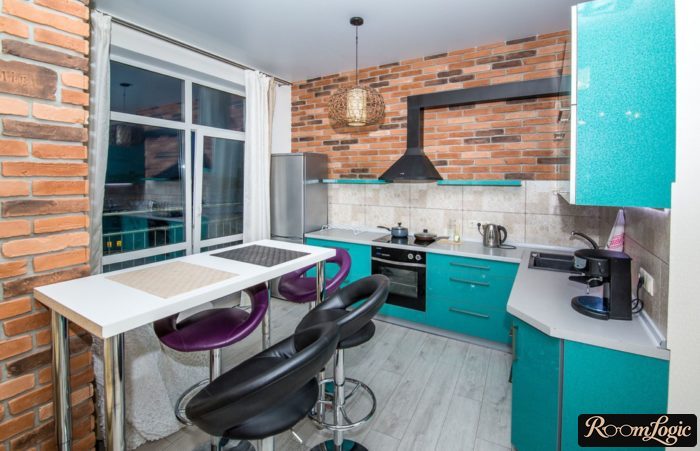
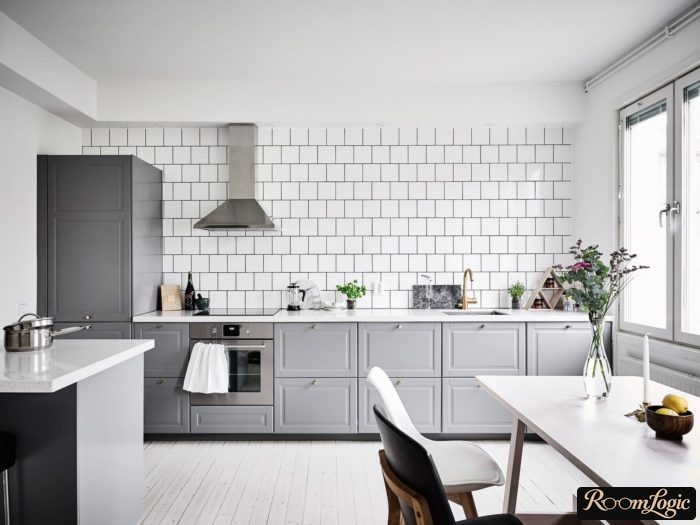
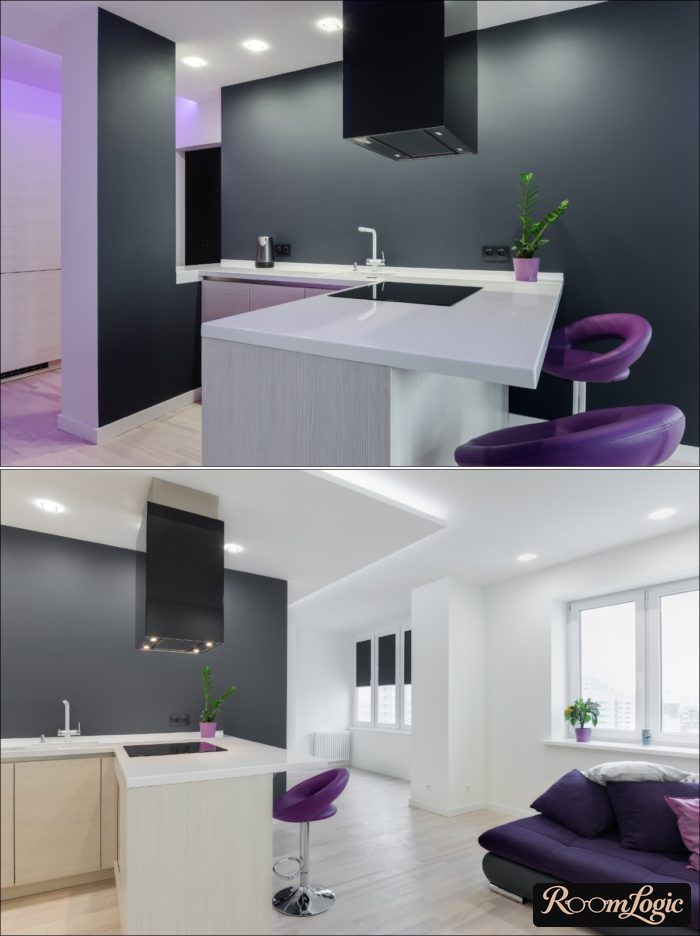
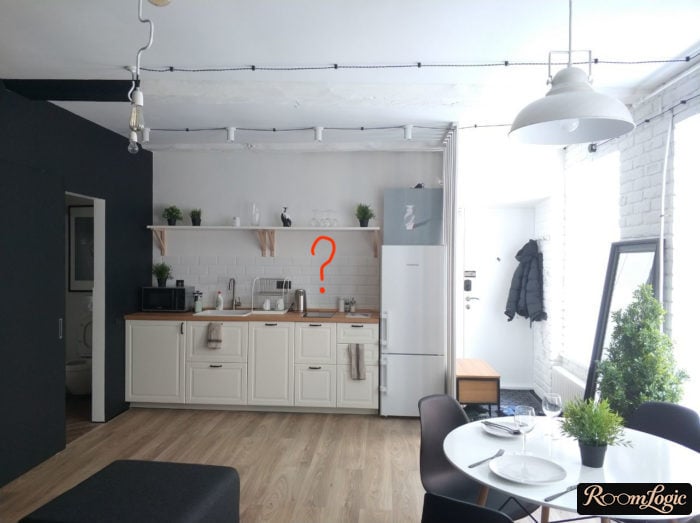
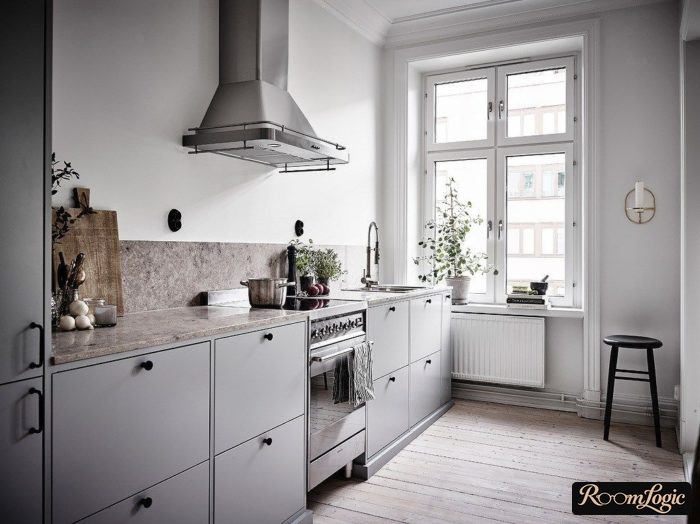
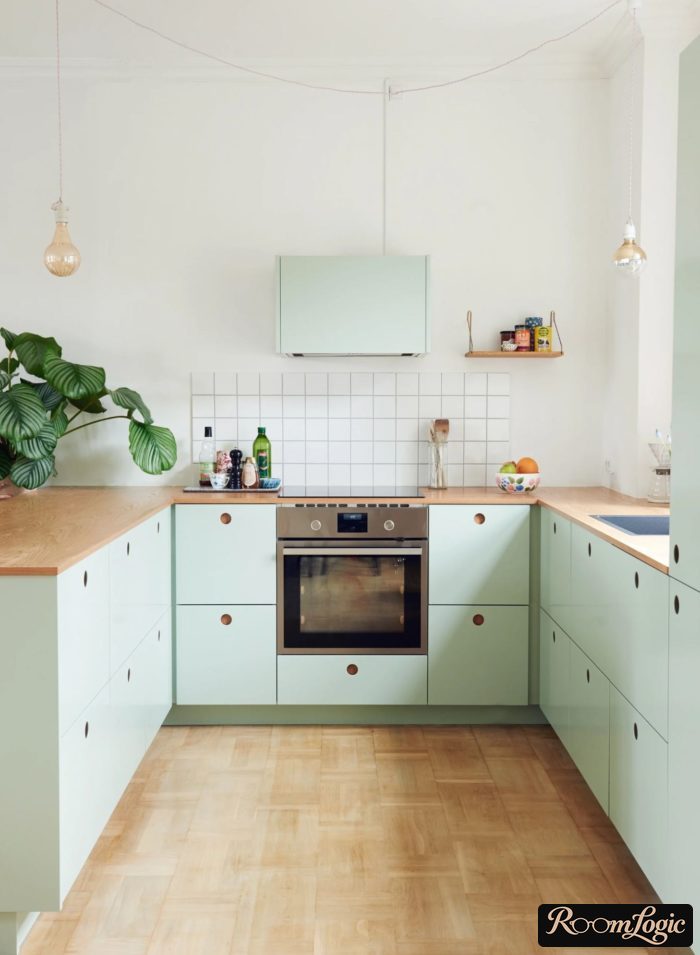
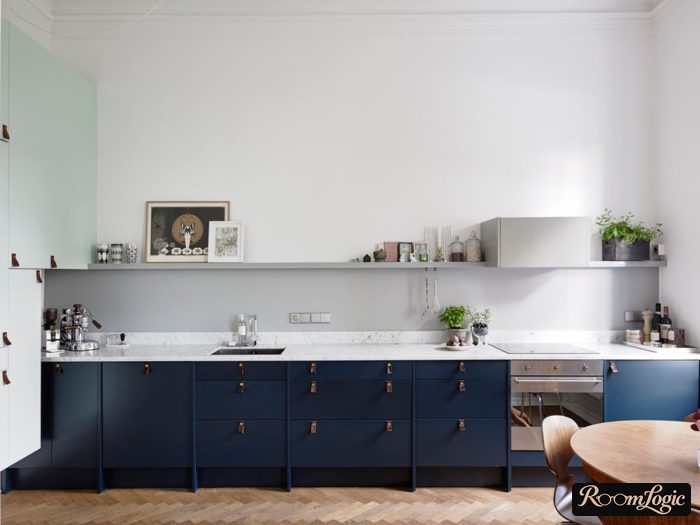
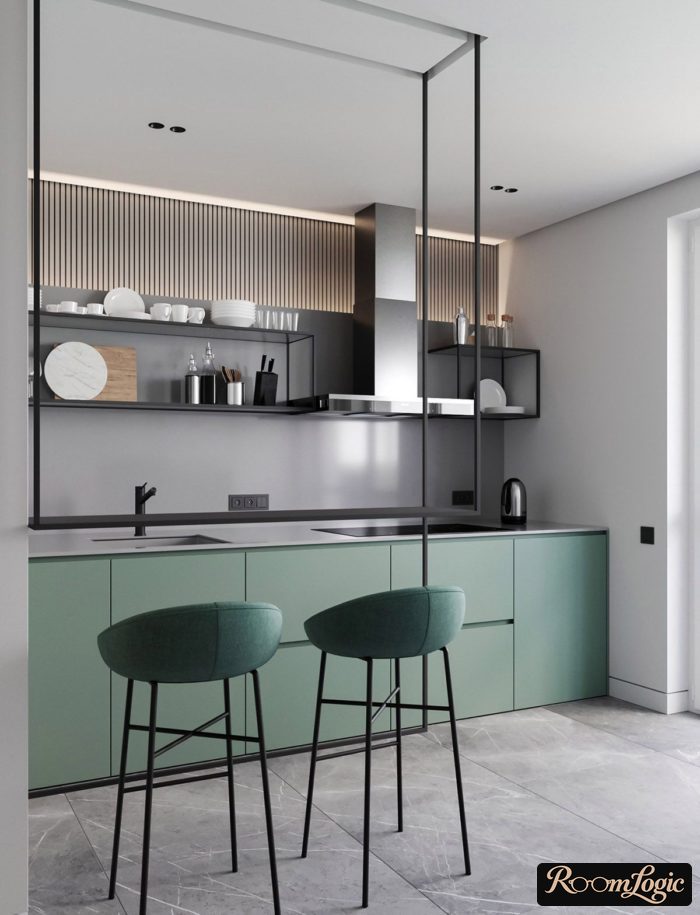
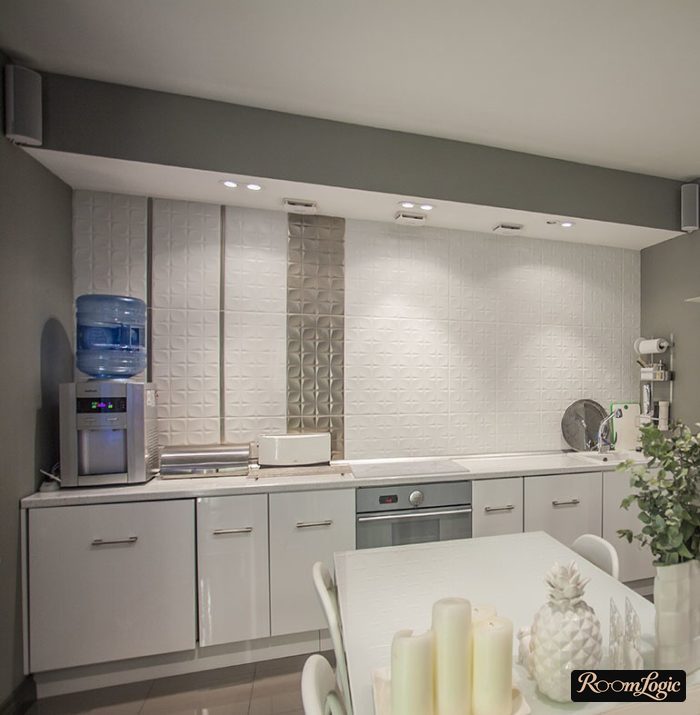
Then there is the range hood duct. Normally, it is hidden in, above, or behind the upper cabinets. We do not have them, so either build a chase and hide it there or use filters and run the hood in recirculating mode. But if you have an open-plan kitchen and living room, I would not risk recirculation; the EPA recommends outdoor-venting kitchen exhaust.
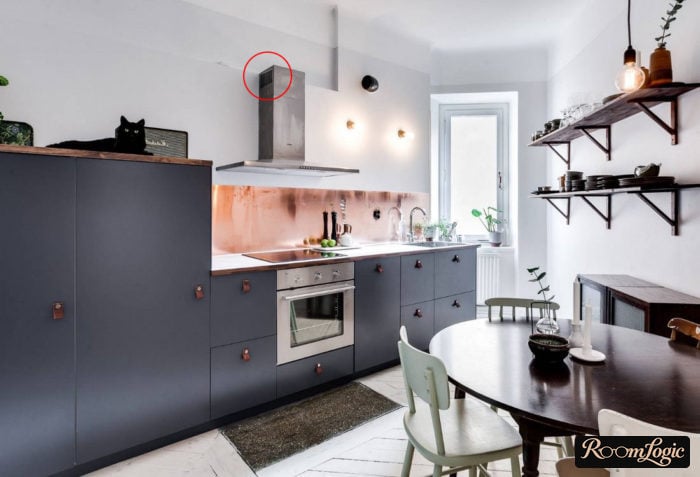
3. Refrigerator, Microwave, and Wall Oven
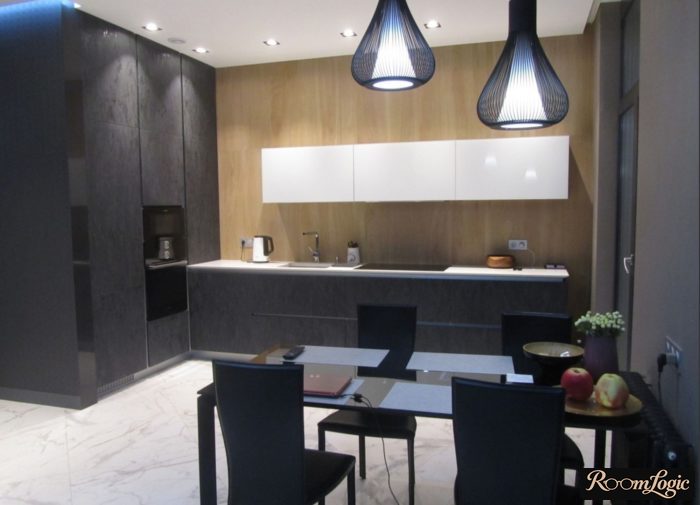
When people want to get rid of upper cabinets completely, they picture a one-wall kitchen design on 1 level.
But…
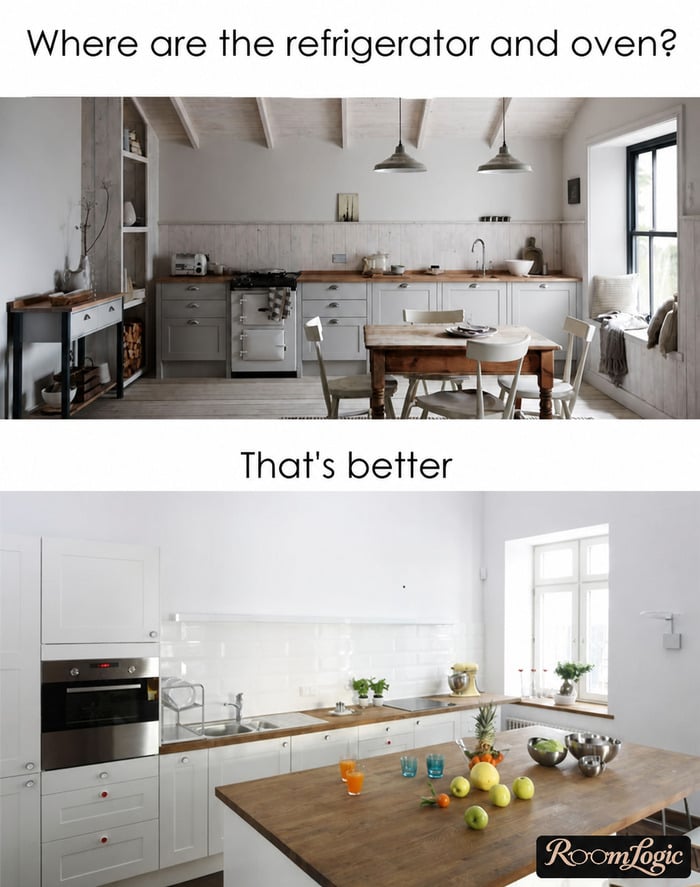
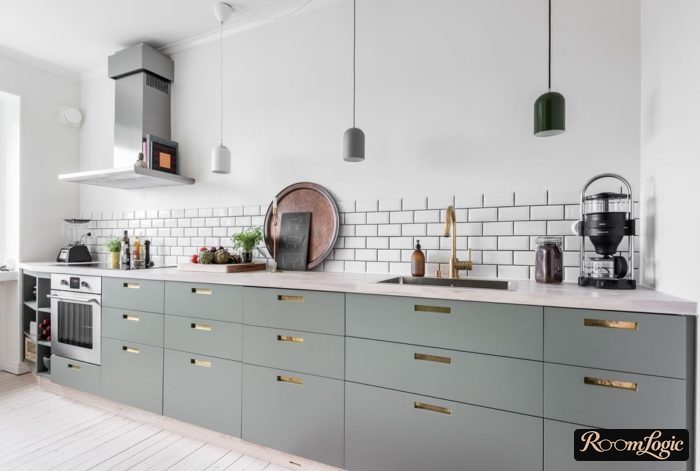
A freestanding refrigerator will break all your minimalism, and you will not get a straight line. So use a built-in one. Inexpensive models exist. The drawback is less interior capacity.
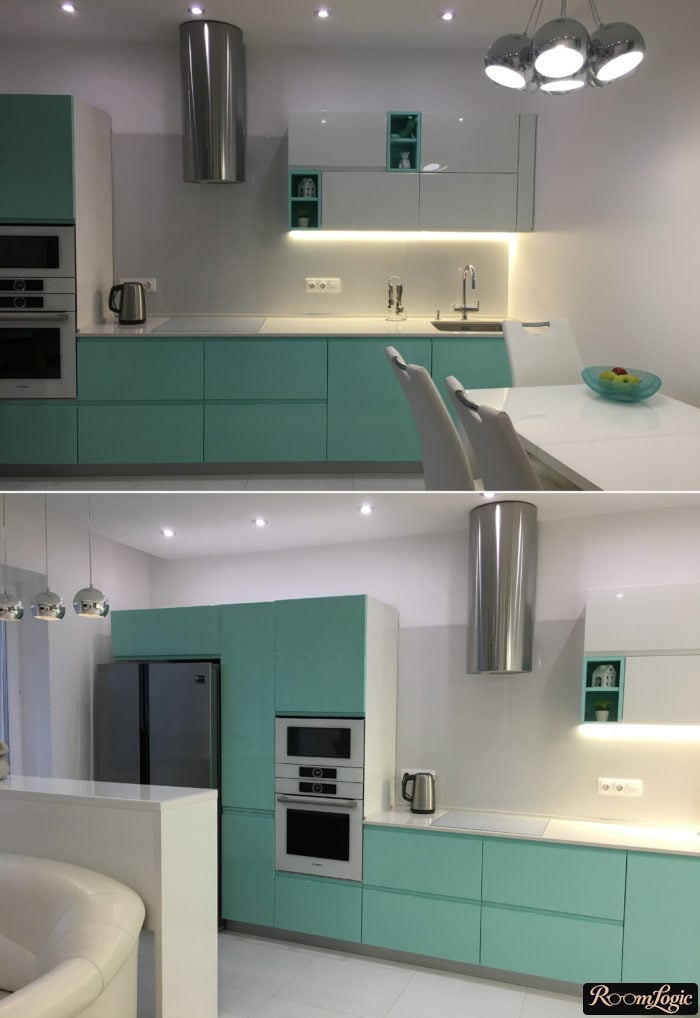
For giving up upper cabinets to make sense, you need to maintain a seamless kitchen design. Ideally, that means taking the tall cabinet with the built-in refrigerator to the ceiling, with something like a soffit cabinet above.
A built-in microwave (you are not going to put a regular one on a shelf) and wall oven naturally go there too. It is convenient when they are at arm level rather than below. You can, of course, build them into the lower row, but function suffers.
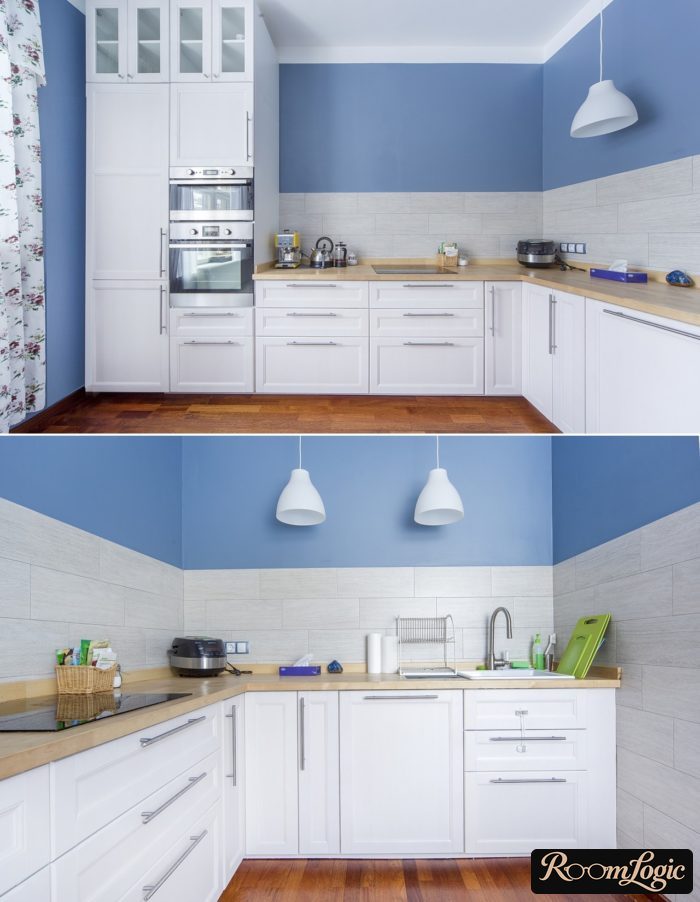
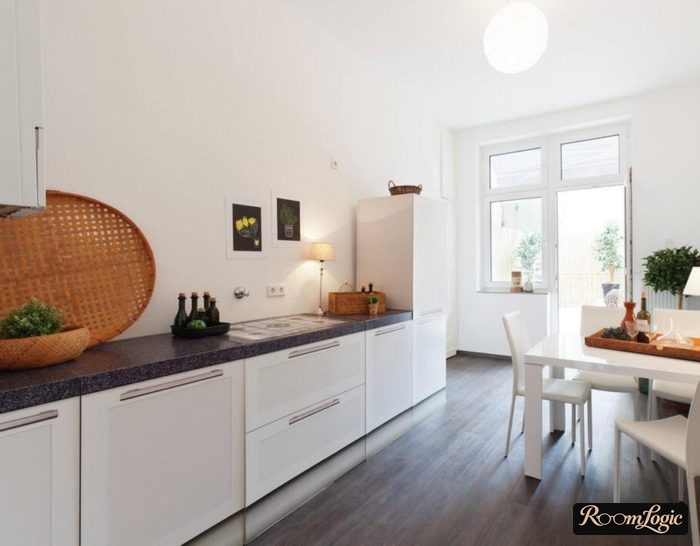
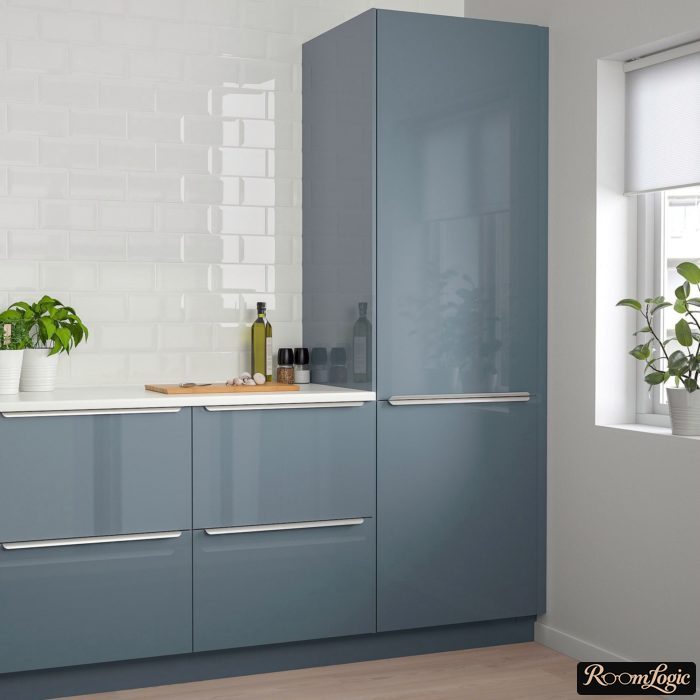
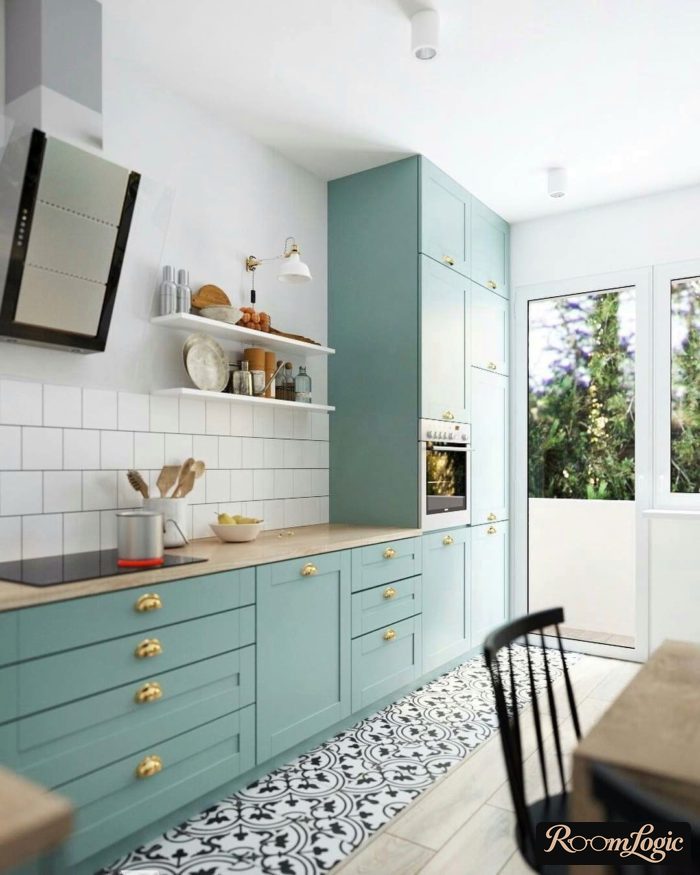
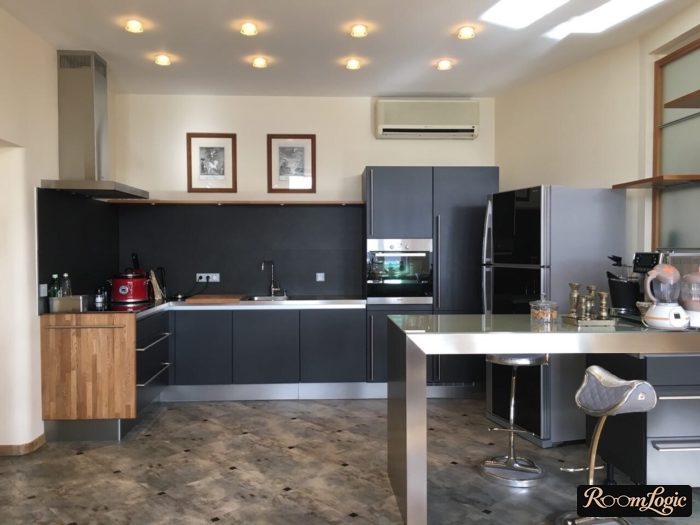
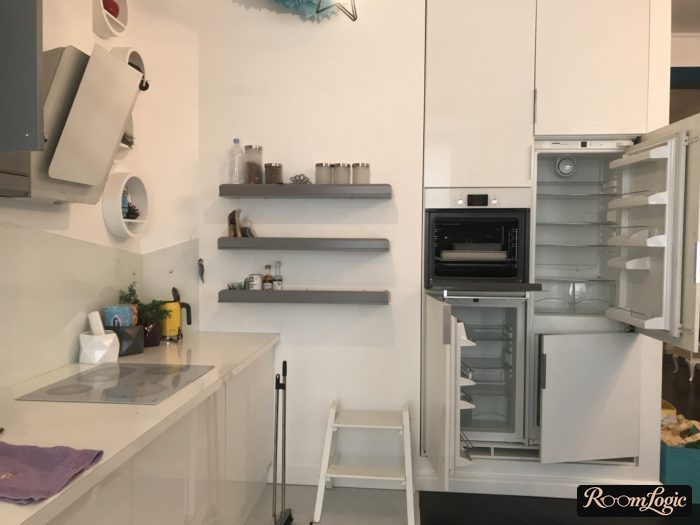
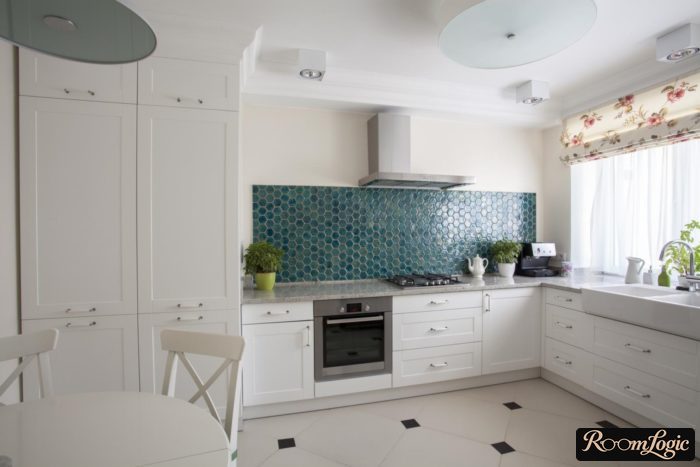
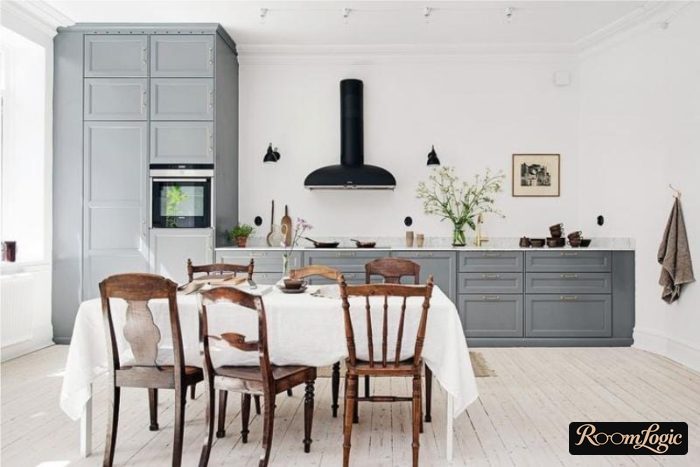
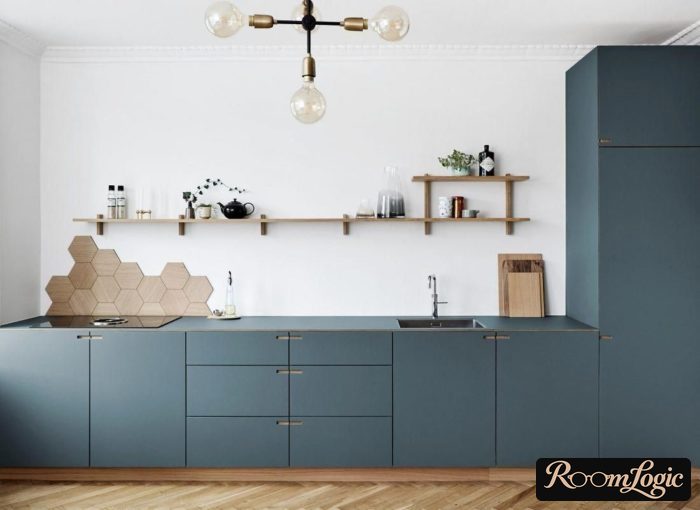
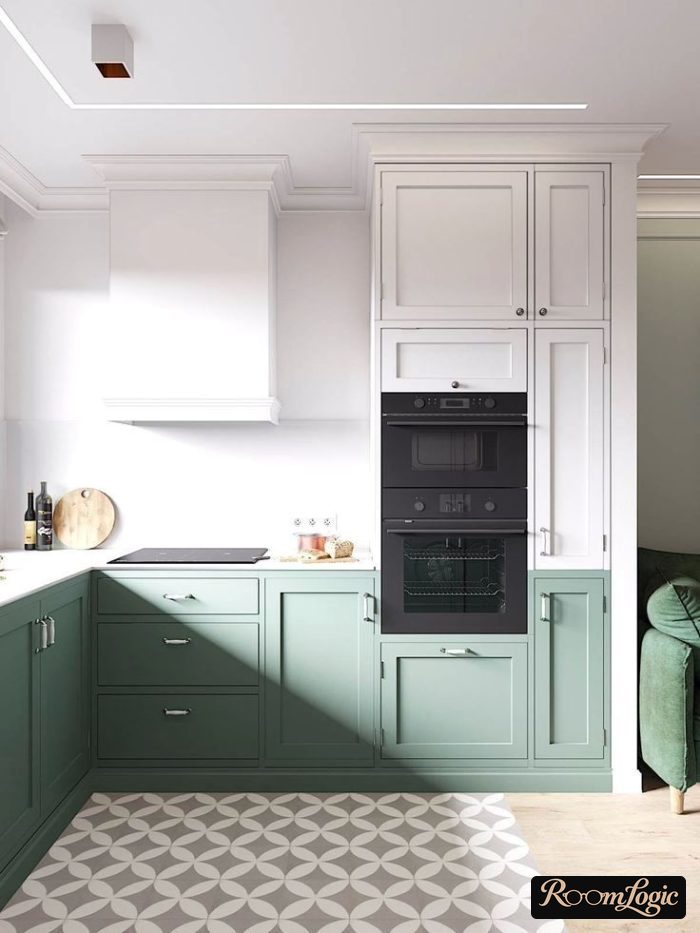
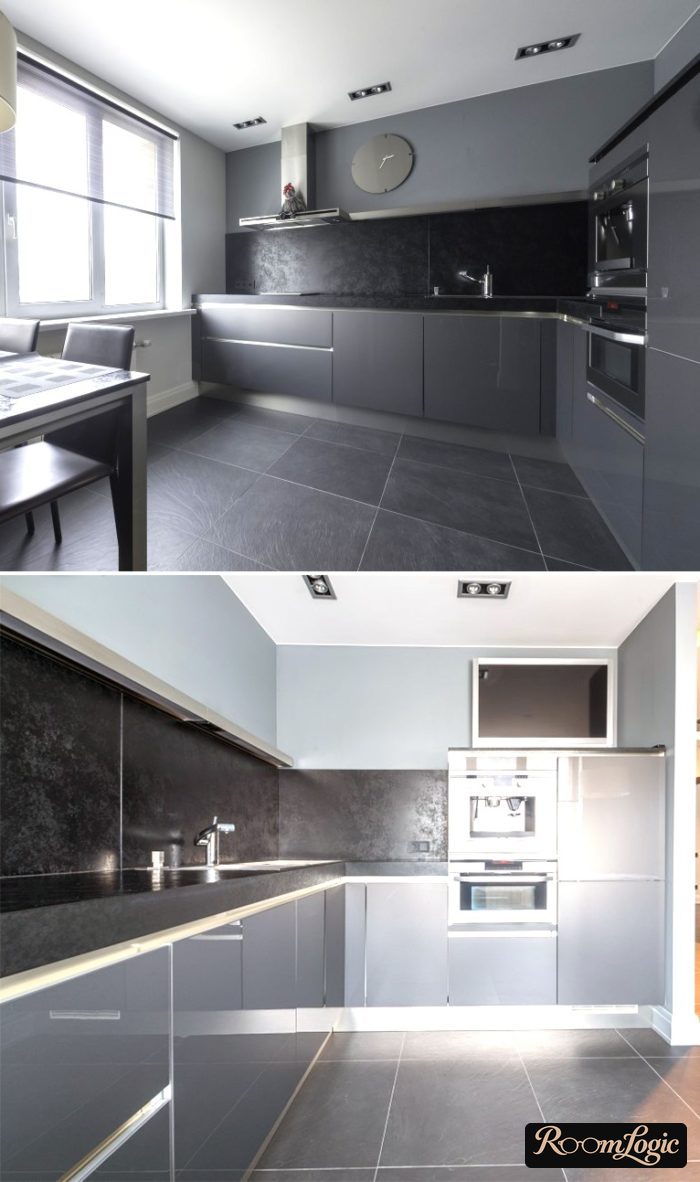
You already understand what to look for in the photos and how to tell whether this kitchen design without upper cabinets can realistically be implemented:
- There is a place above or somewhere near the sink for wet dishes to dry.
- There is a range hood and duct.
- The kitchen is not only 1 straight line; it ends with a tall cabinet containing built-in appliances.
4. Lighting
Anyone who has planned kitchen lighting correctly and put the light under the upper cabinets (aimed at the backsplash) on the switches with the other lights knows how convenient it is. The main overhead light is used only for cleaning. The LED backsplash lighting becomes the standard everyday light.
If open shelves are planned, there is no problem – route a channel and glue in an LED strip (do not forget to decide where the driver will go).
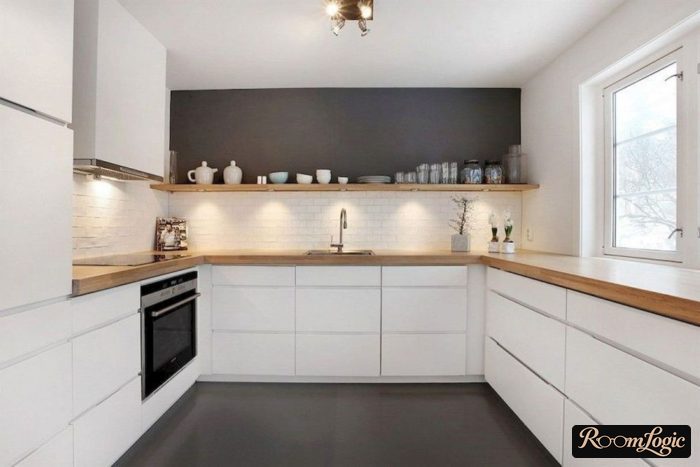
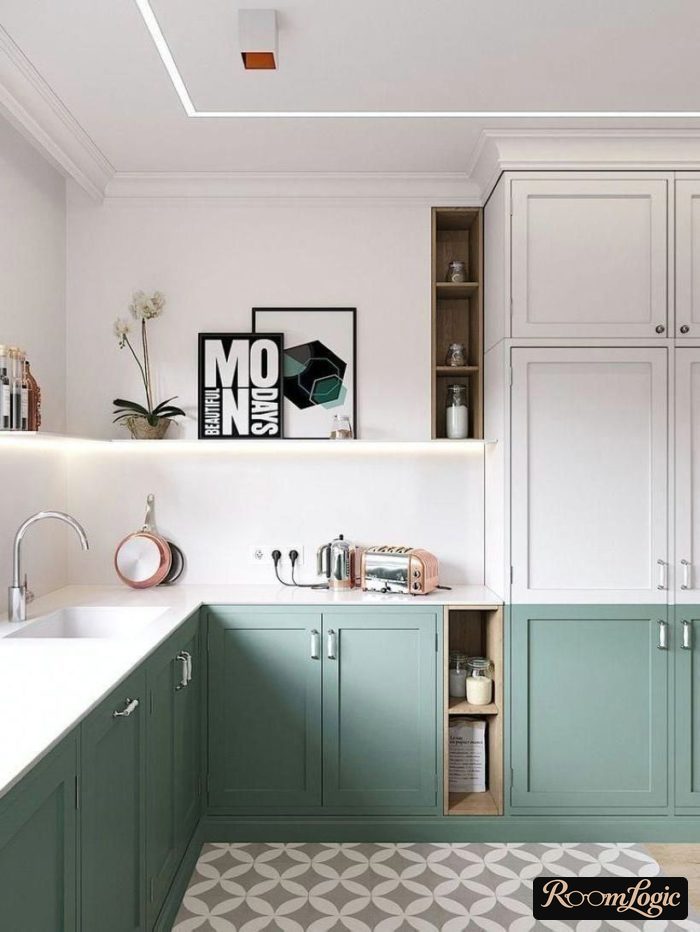
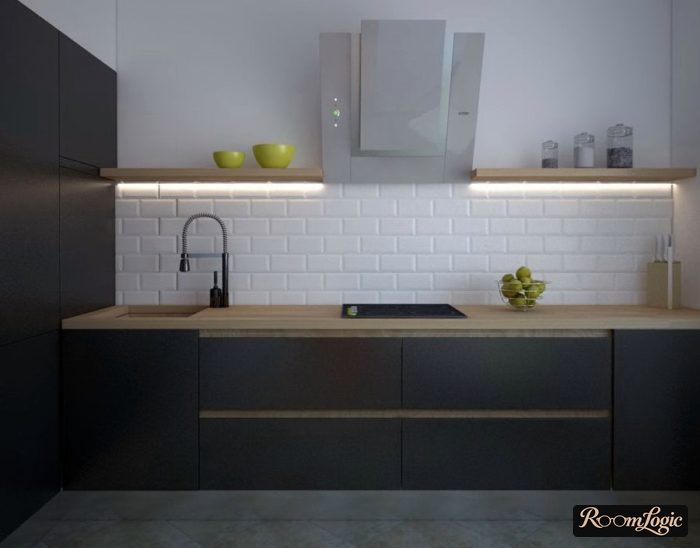
But if the upper wall is completely open, meaning the kitchen has neither upper cabinets nor open shelves, I still recommend additional work-area lighting.
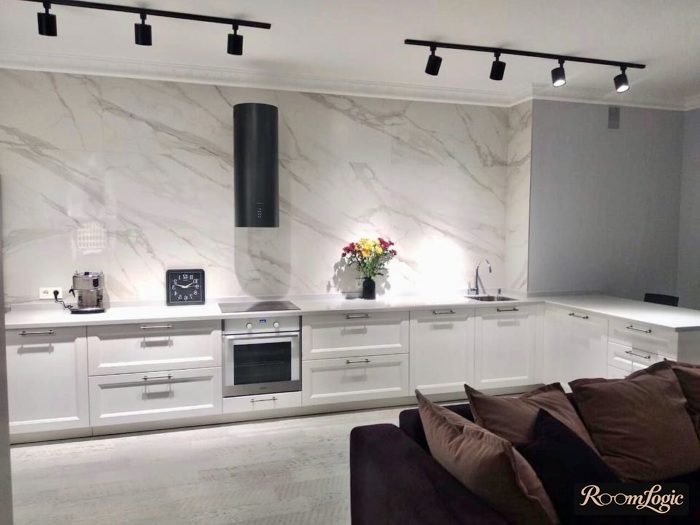
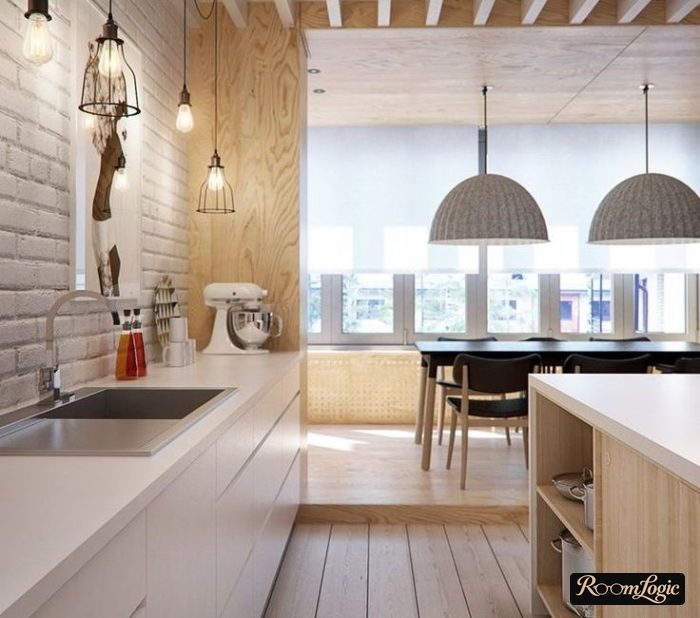
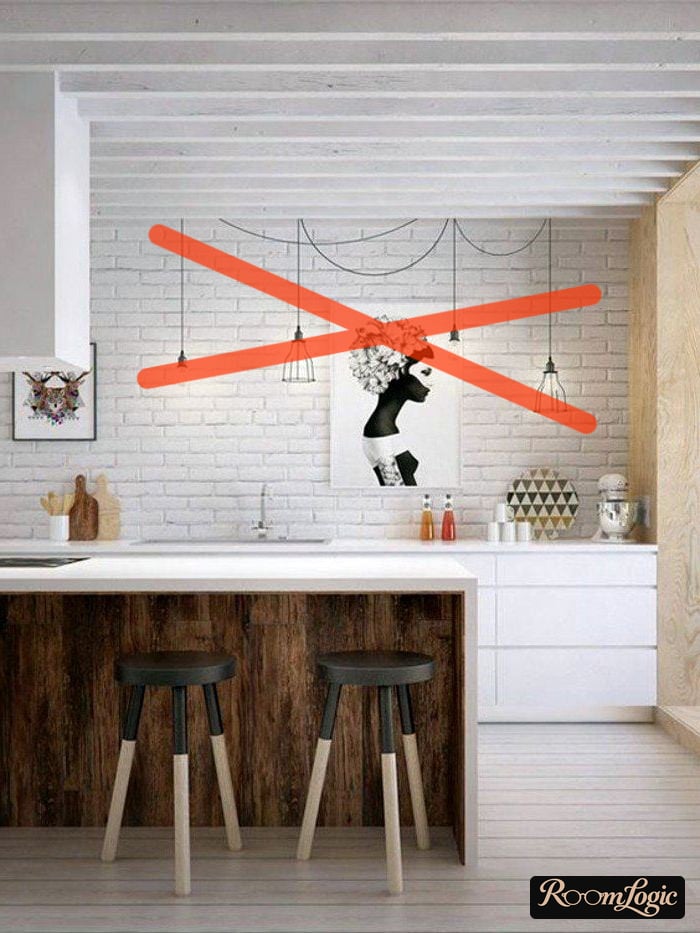
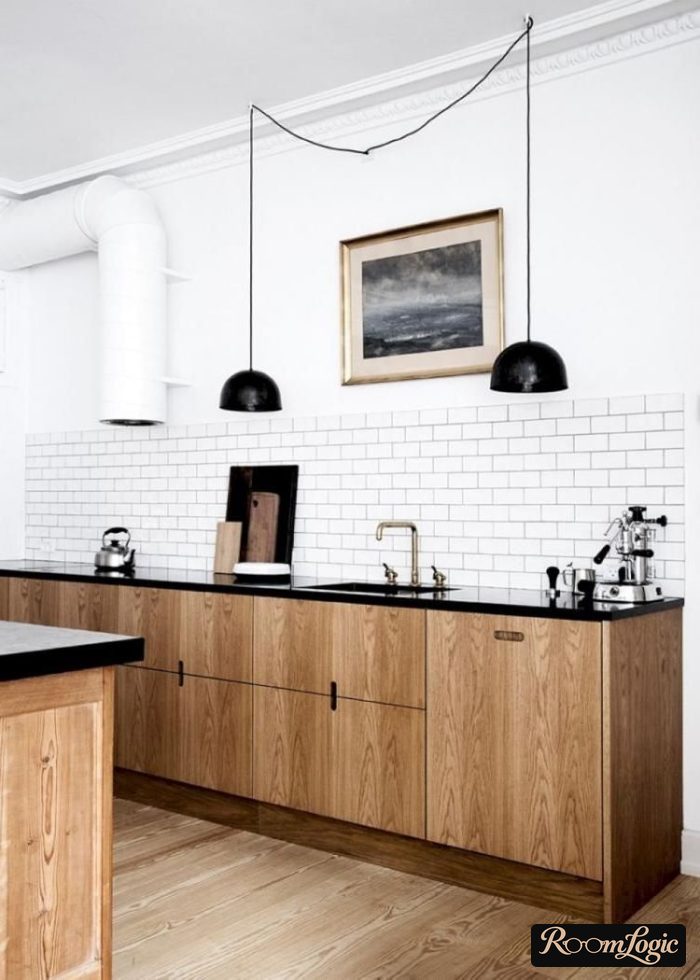
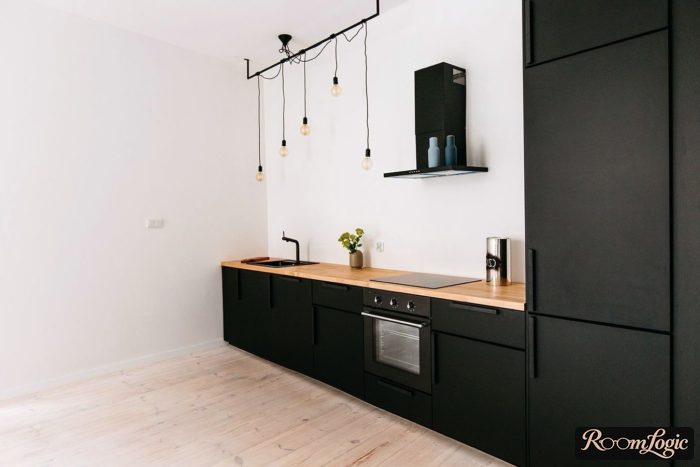
In Scandinavian styles, where upper cabinets are most often skipped, adjustable wall lights or ceiling track lights are used. The goal is the same: direct light along the textured backsplash to get beautiful shadows, plus light the work area itself.
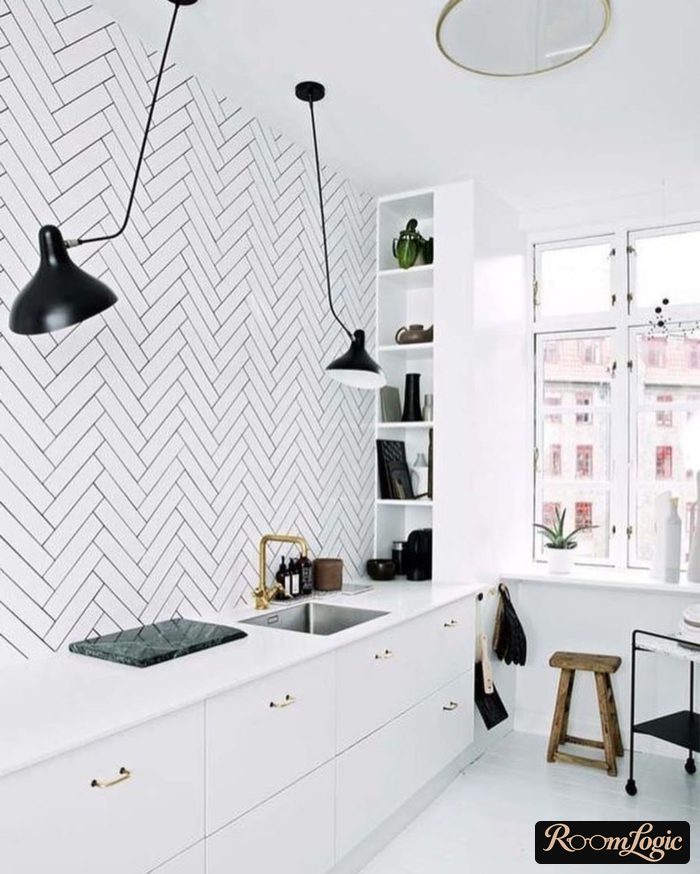
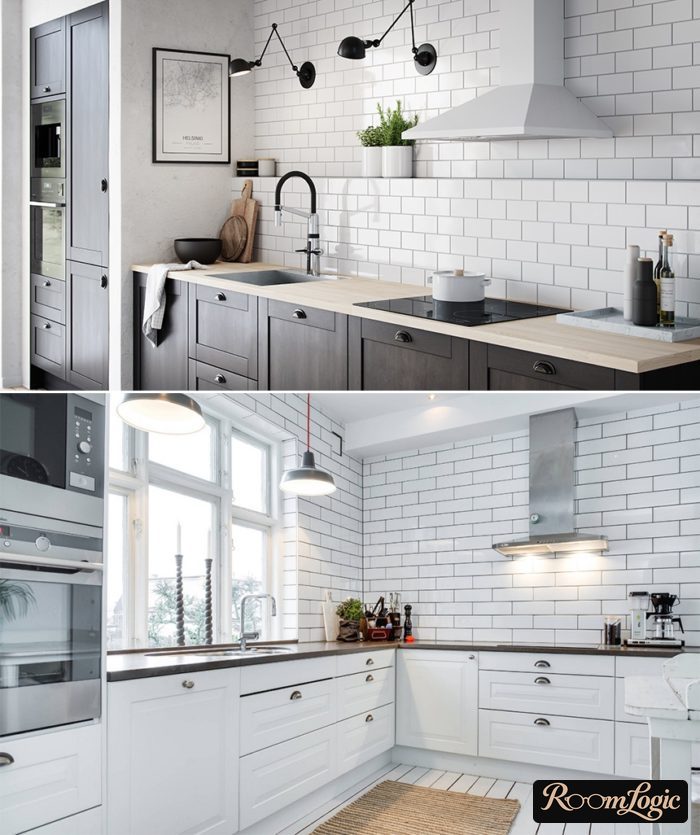
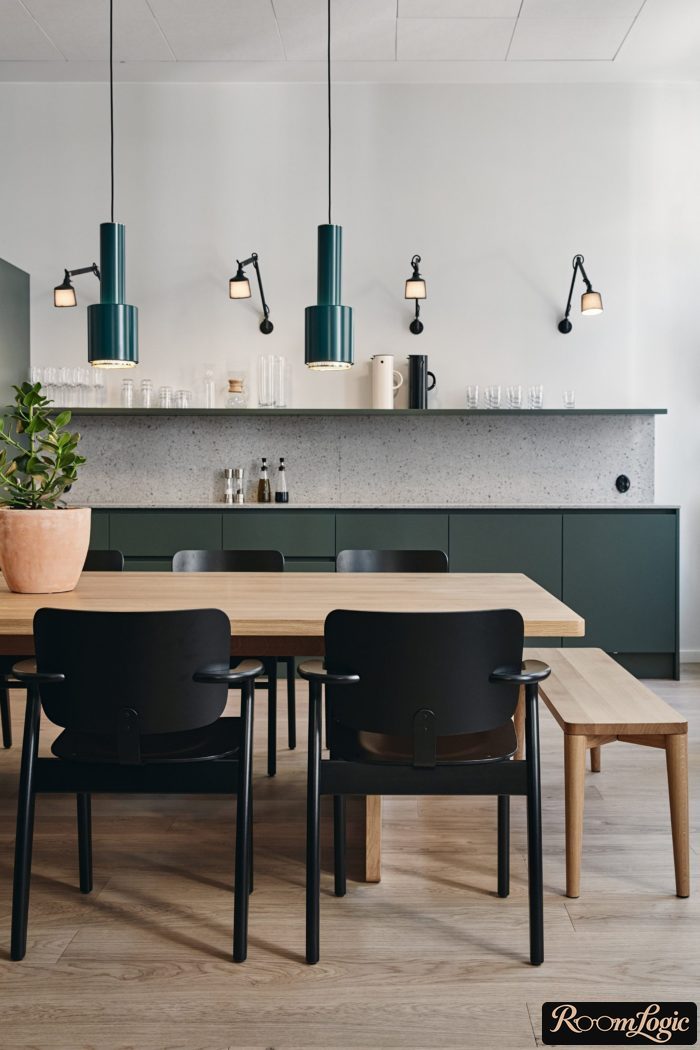
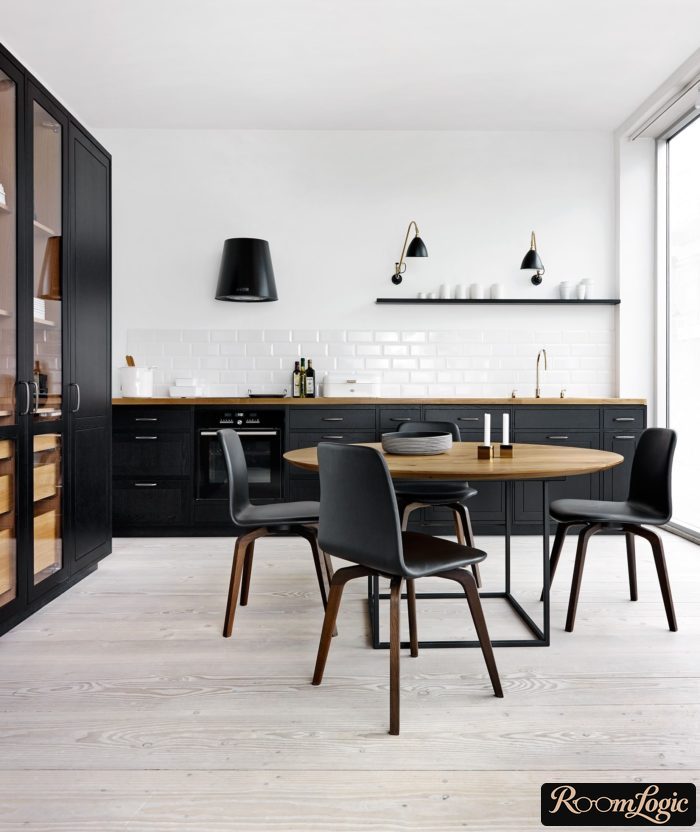
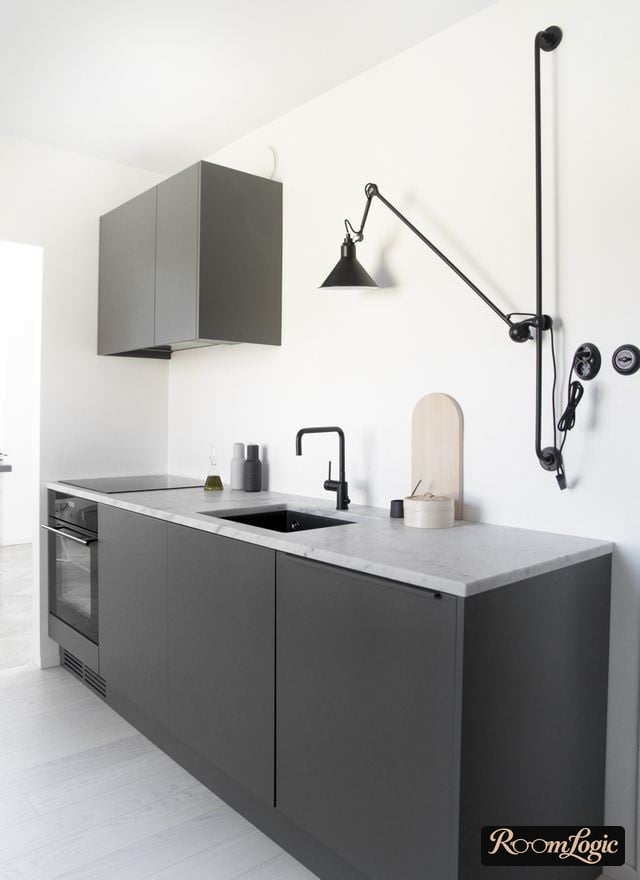
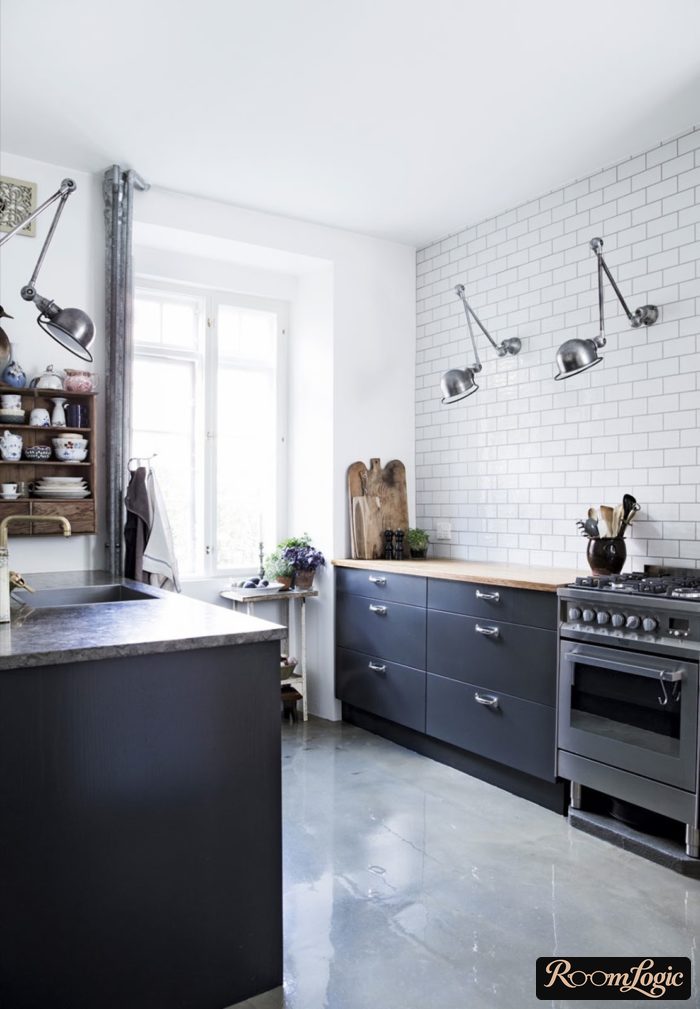
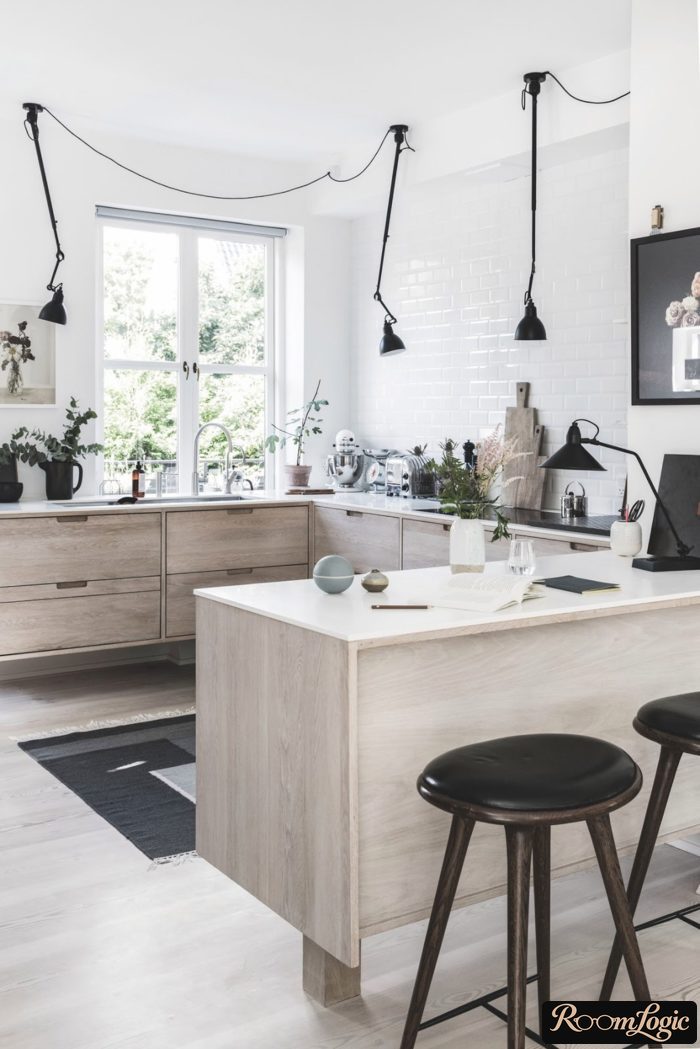
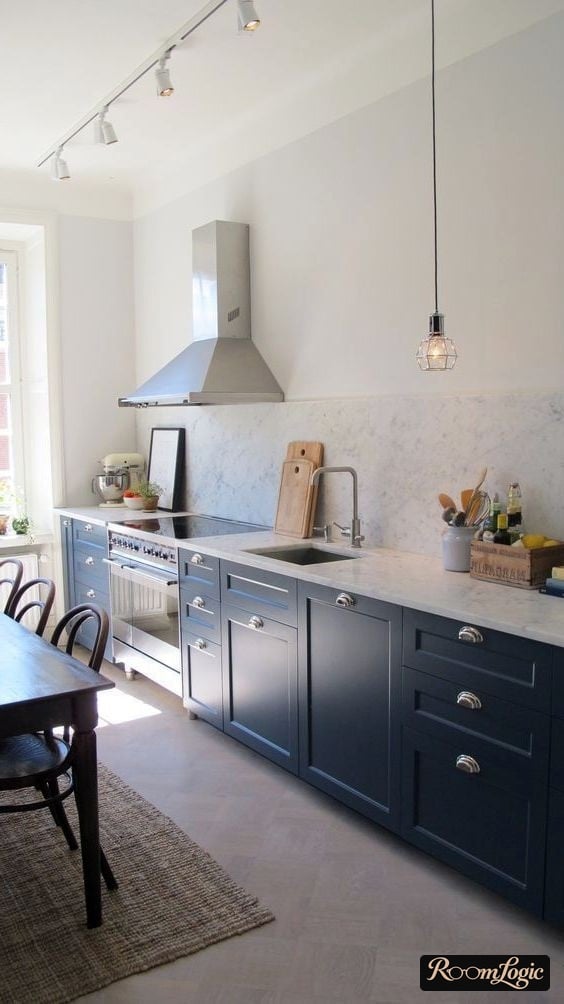
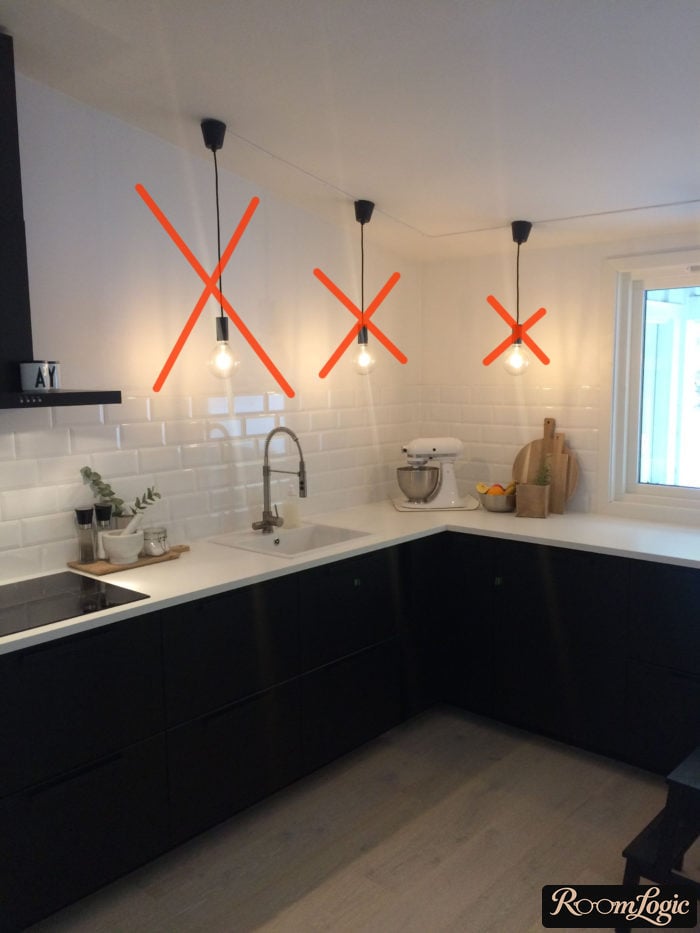
The alternatives are pendant lights or nondirectional bulbs. I recommend neither. Reviews say the first is annoying; the second is terribly impractical and shines in your eyes more than on the countertop.
5. Backsplash
A regular kitchen has a 24-inch area between the upper and lower cabinets, finished with tile or glass and called a backsplash or glass panel.
The bottom extends behind the countertop and the top behind the upper cabinets – no problems finishing the edges because they are not visible.
When there are no cabinets above, 3 questions arise:
- How high should the backsplash go? Answer: At least 24 inches of a material resistant to moisture and grease. It can go all the way to the ceiling.
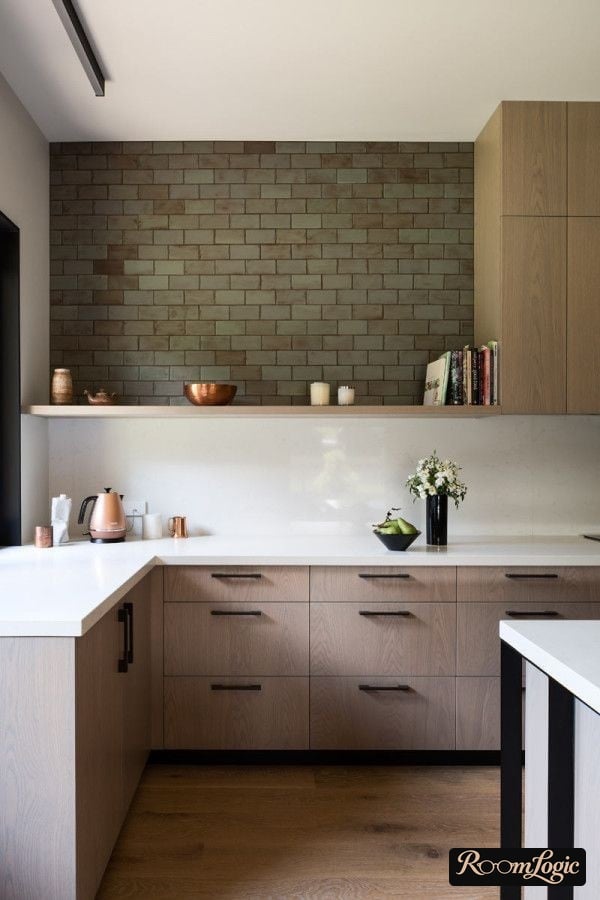
- How do you finish the tile edge? Answer: there are special aluminum or stainless-steel tile trims (do not even think about using plastic – they are pathetic). The flat part of the L-shaped trim goes behind the tile, and the rest covers the edge. A universal option is one continuous open shelf along the full length exactly where the cabinet would have been.
- How do you finish the wall above? The same way as the others. It is better not to overthink it – this is not an accent area. Wallpaper cannot be used there.
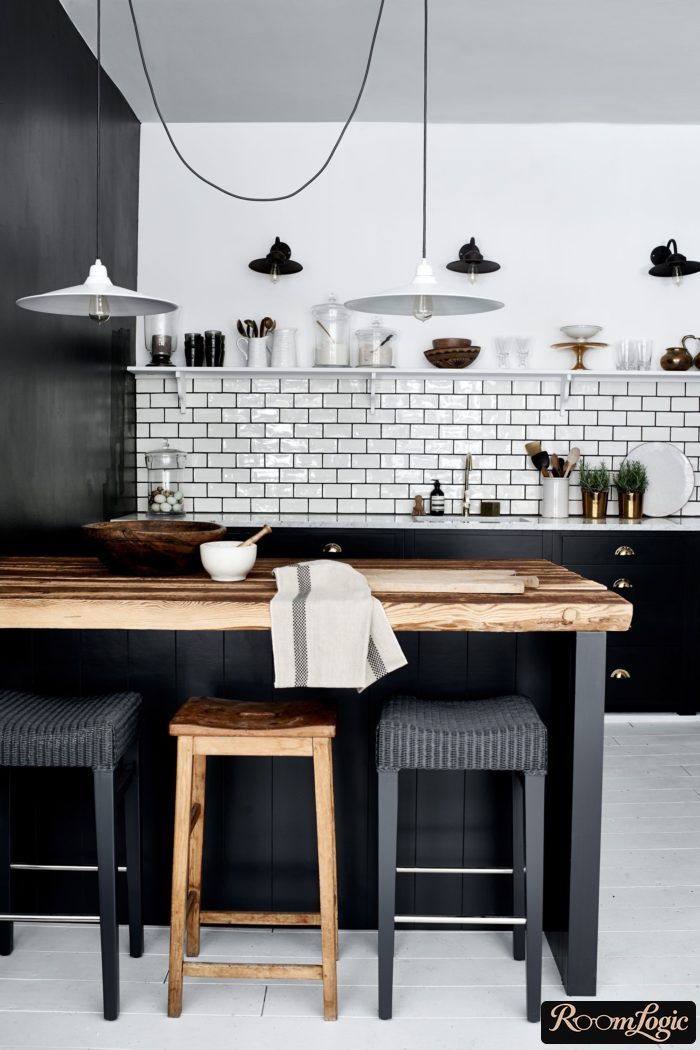
For modern kitchens without upper cabinets, white brick-shaped tile (white subway tile) is used most often on the backsplash. Because the area is large, this is the lowest-risk option. Something bright works only if you stop at the standard height; otherwise, you will overdo it.
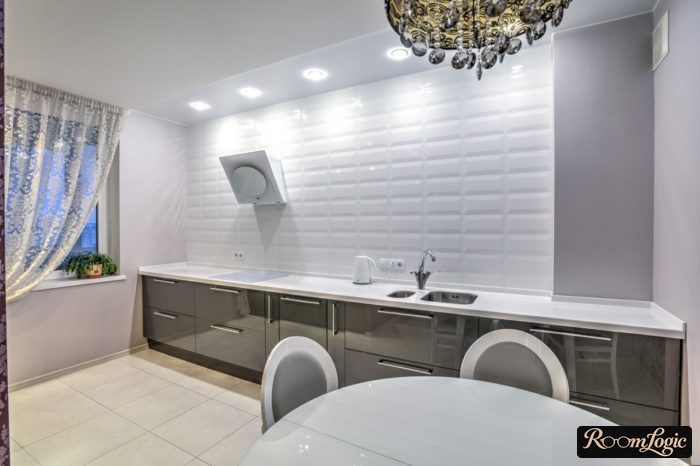
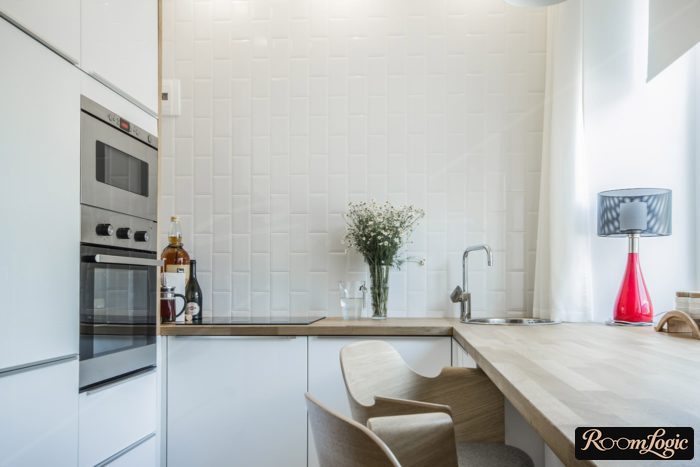
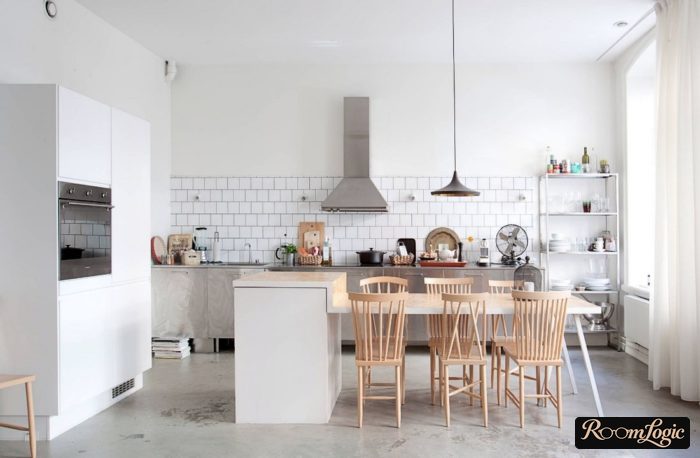
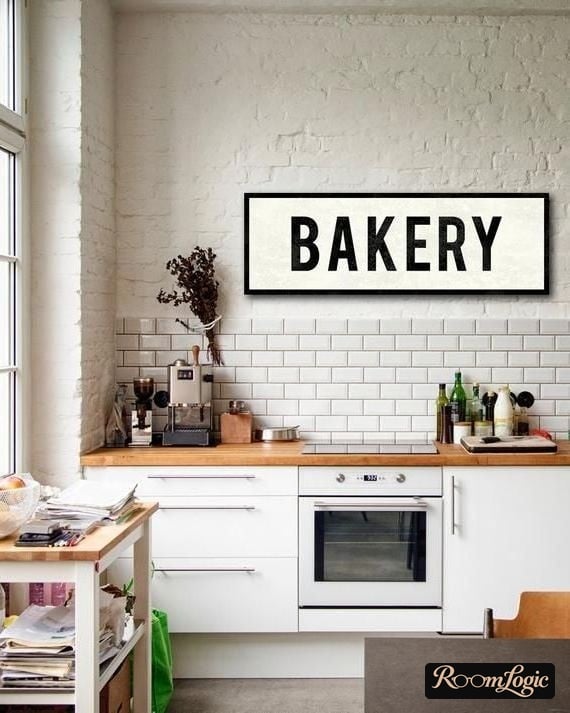
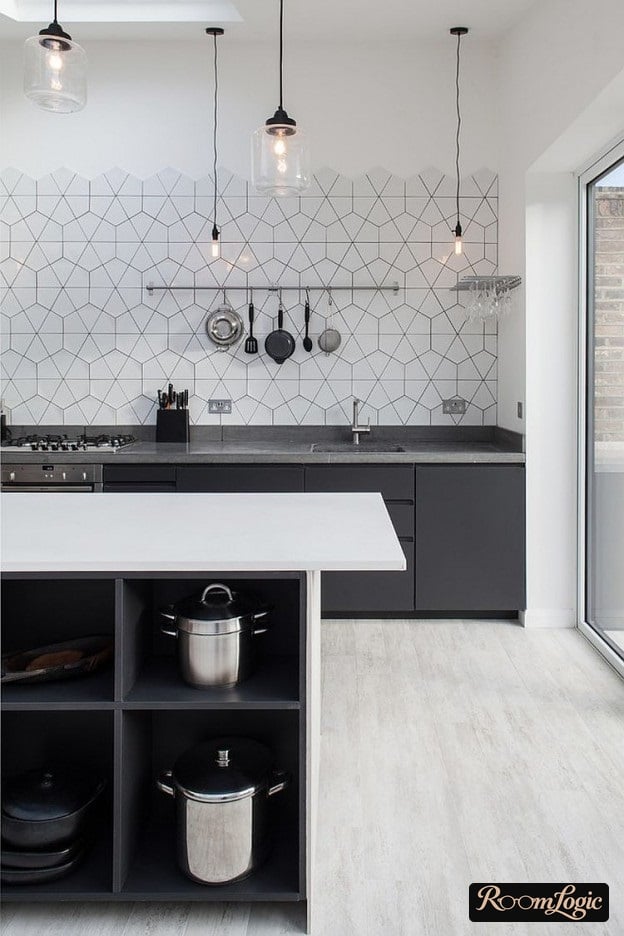
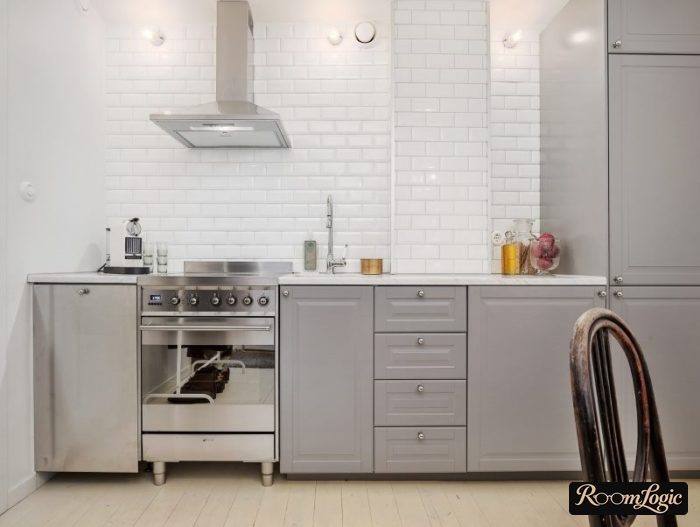
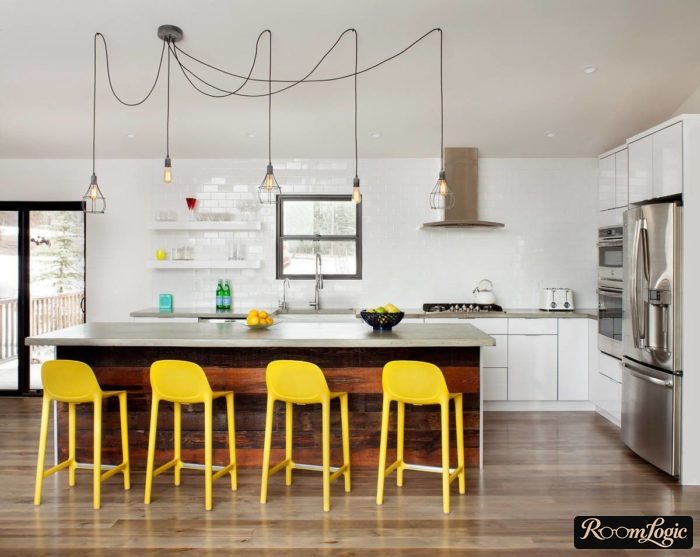
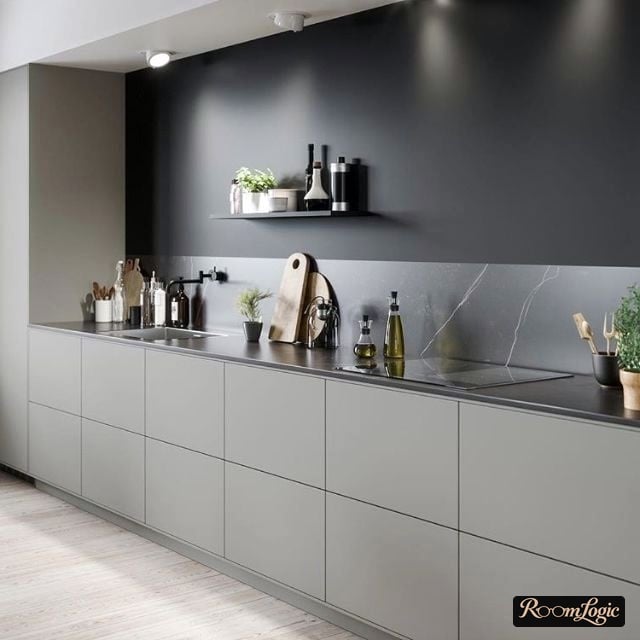
Decorative stone, brick, plaster, and scrub-resistant paint are still too delicate for the work area. Do not risk it.
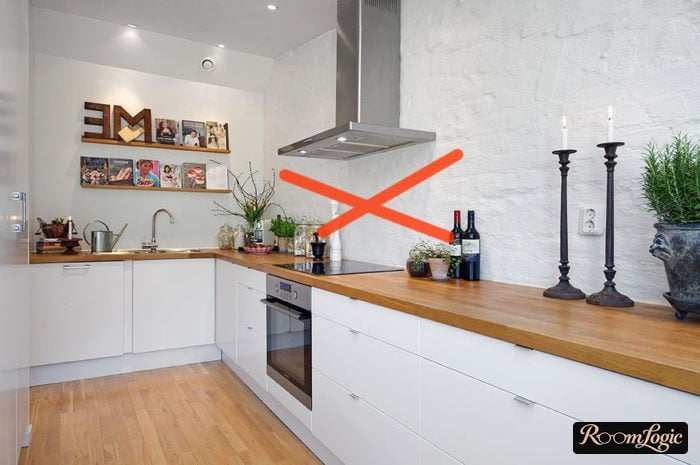
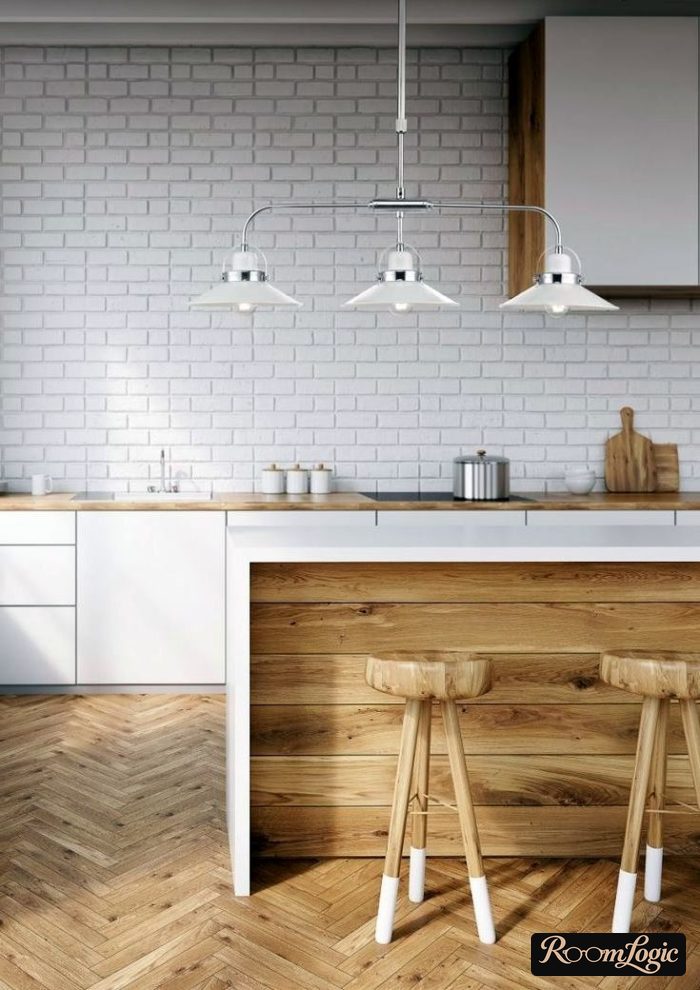
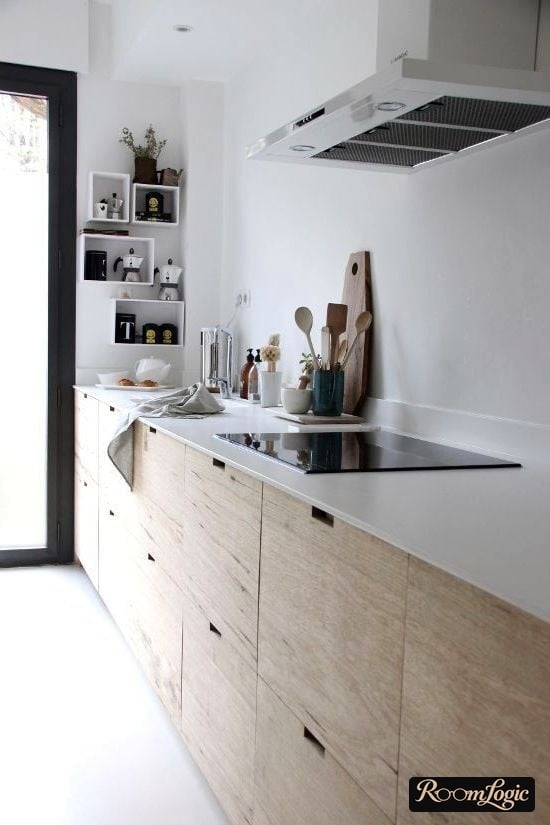
Alternatives to Upper Cabinets
It seems like kitchens without an upper section create nothing but problems. Let’s figure out what can replace upper cabinets without hurting the design.
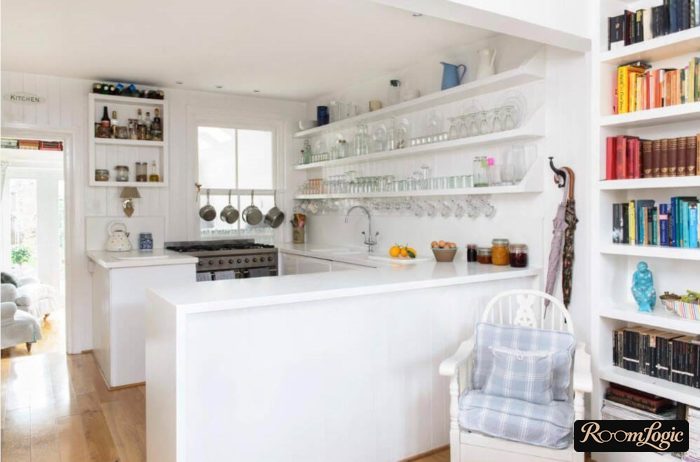
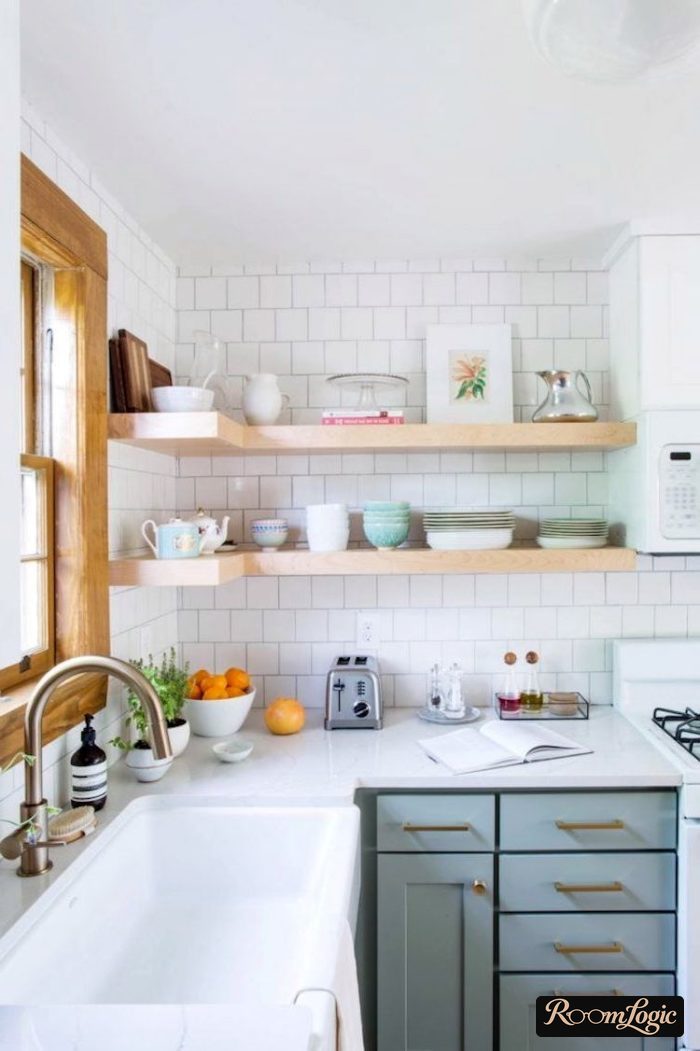
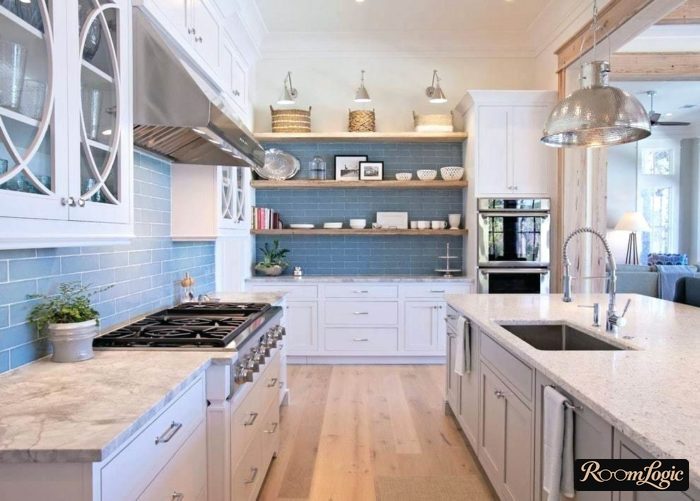
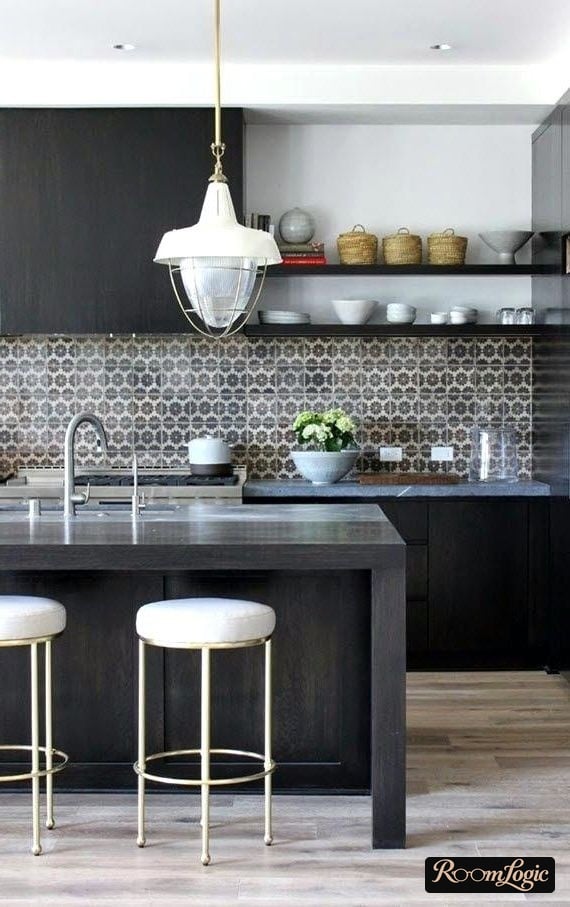
Kitchen with Open Shelves
Hanging shelves instead of cabinets solve only the lighting problem. As kitchen storage, they are questionable.
Yes, spices can be hung on rails (there are even special shelves with a rail for spices underneath). Grains, pasta, and other dry goods can be divided into glass jars and stored in view too.
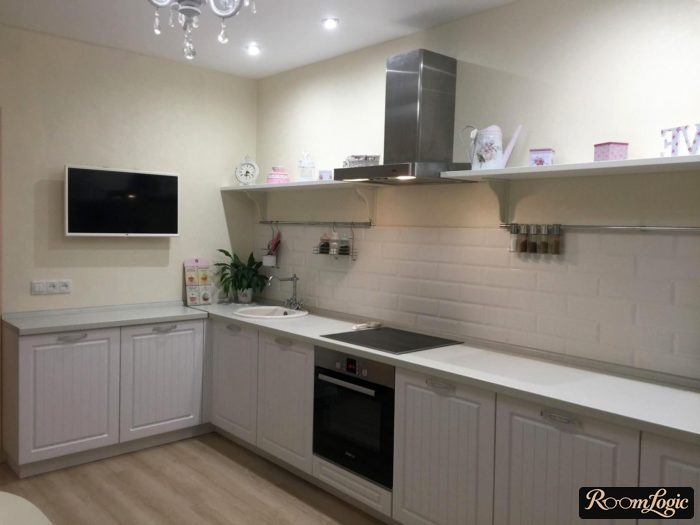
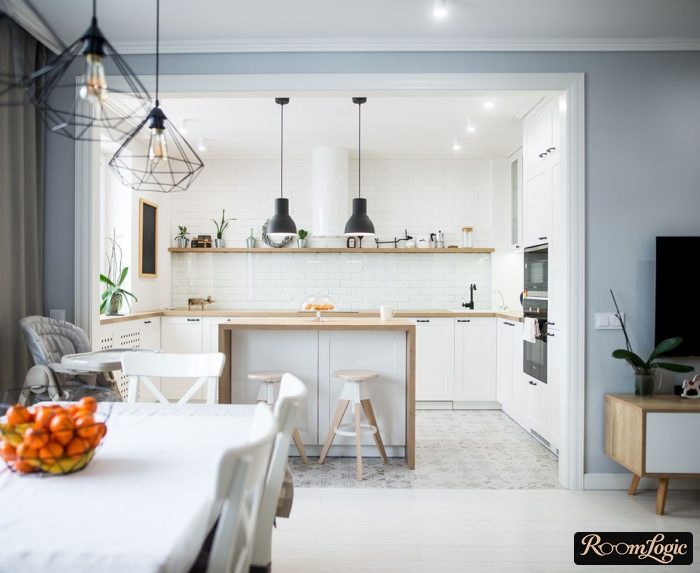
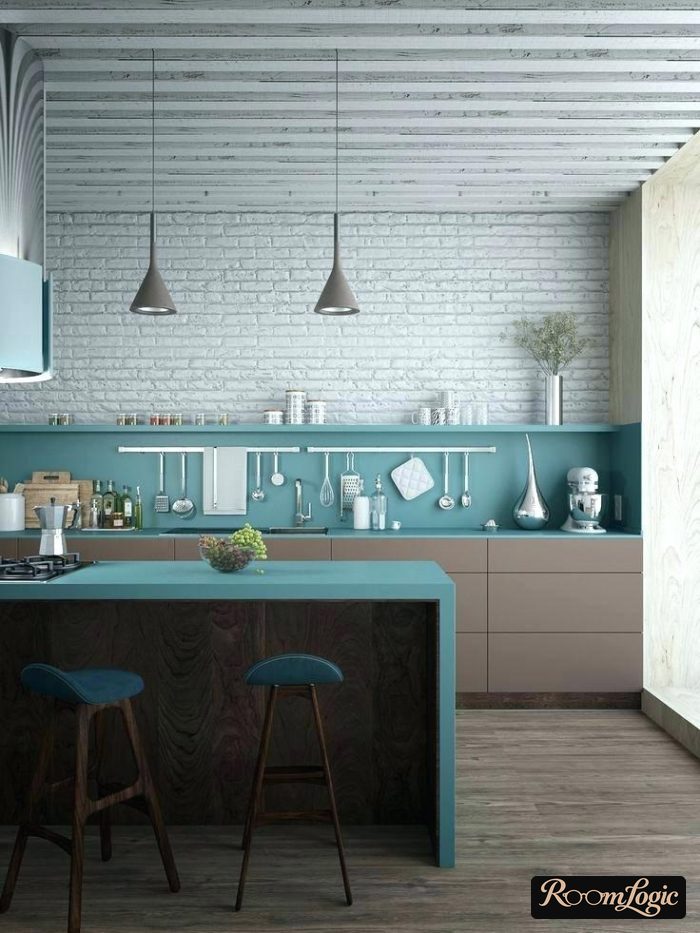
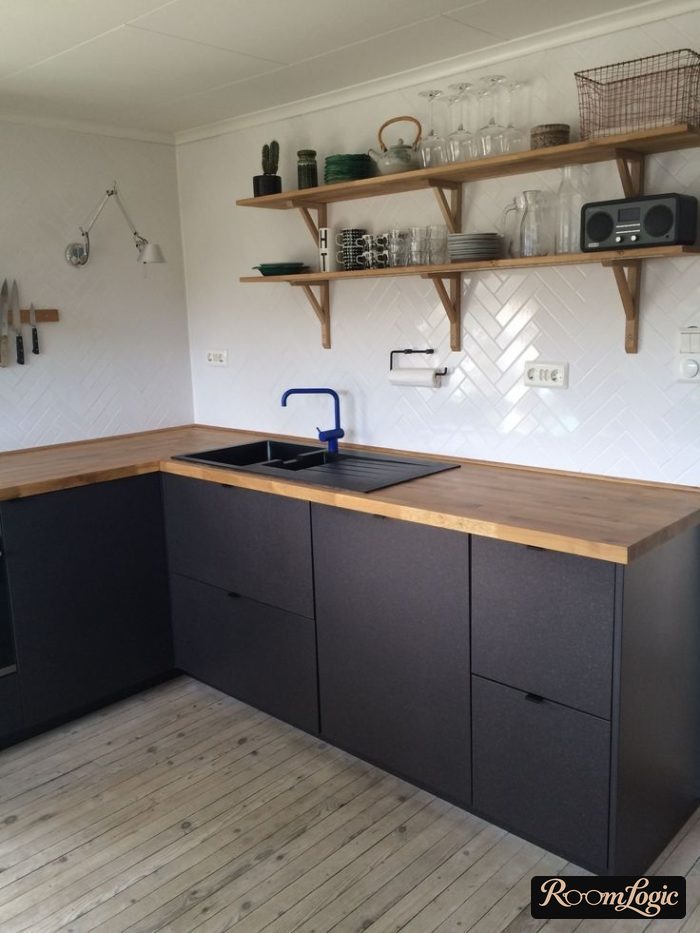
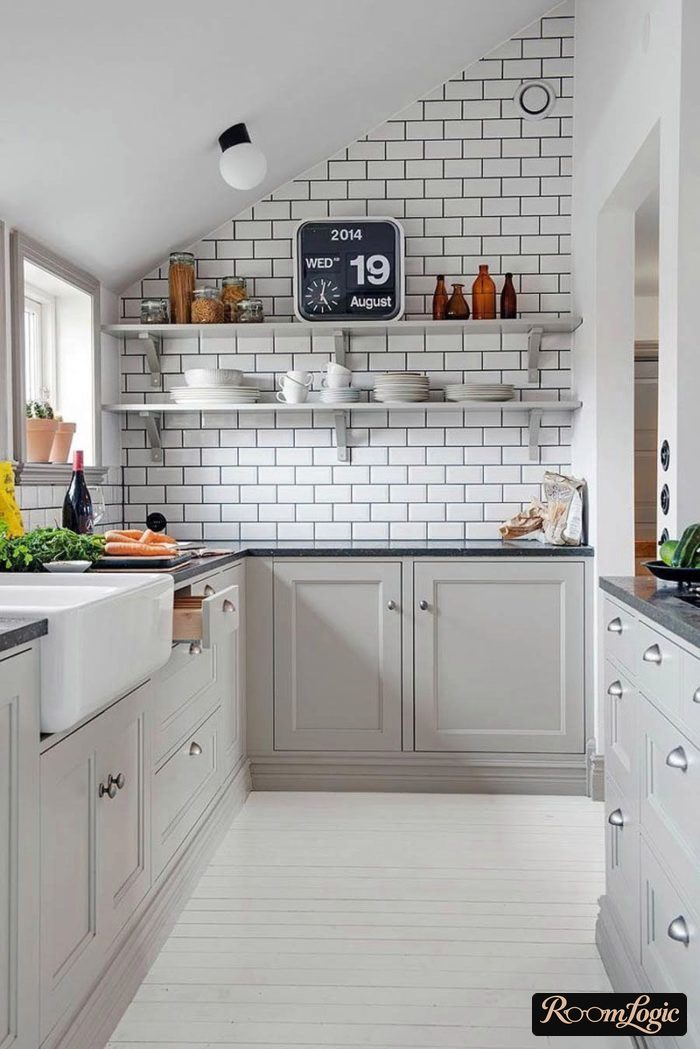
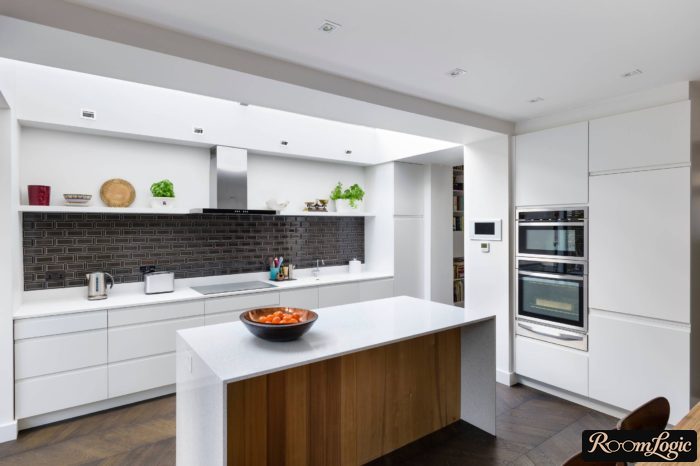
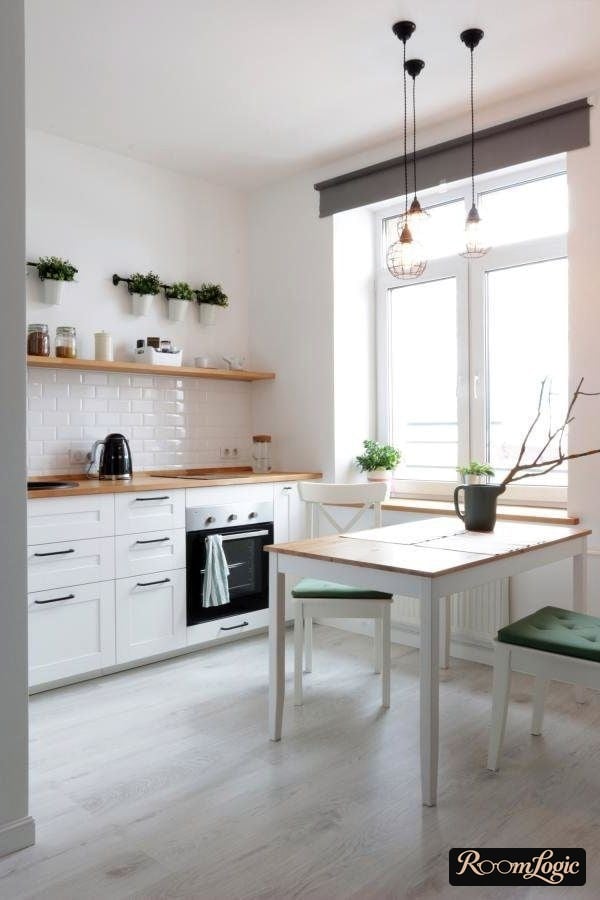
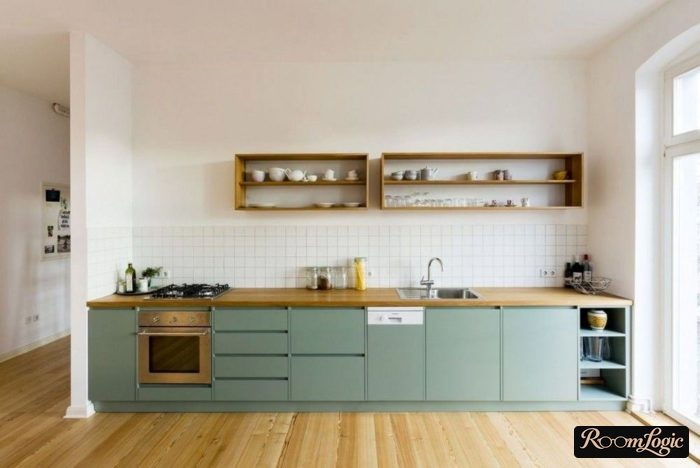
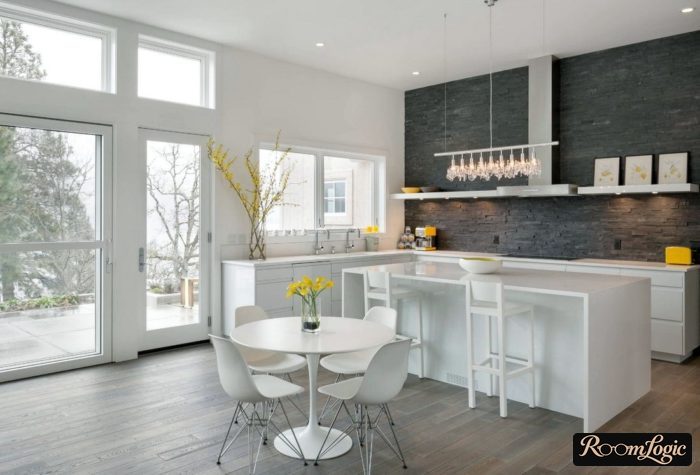
But a note right away: this is already a decorative element.
Not everyone wants to arrange beautiful matching jars with perfect gaps between them. Otherwise, it is a mess. That is why people often install open wall shelves first, then go to forums and ask what to put on them or how to close them. If you are not a perfectionist but want order, they will either stay empty or hold trinkets like fake grass.
Glasses, mugs, other glassware, and bottles can go there. But storing plates in a stack is very inconvenient. You cannot stack them while wet, and getting them out later is not great.
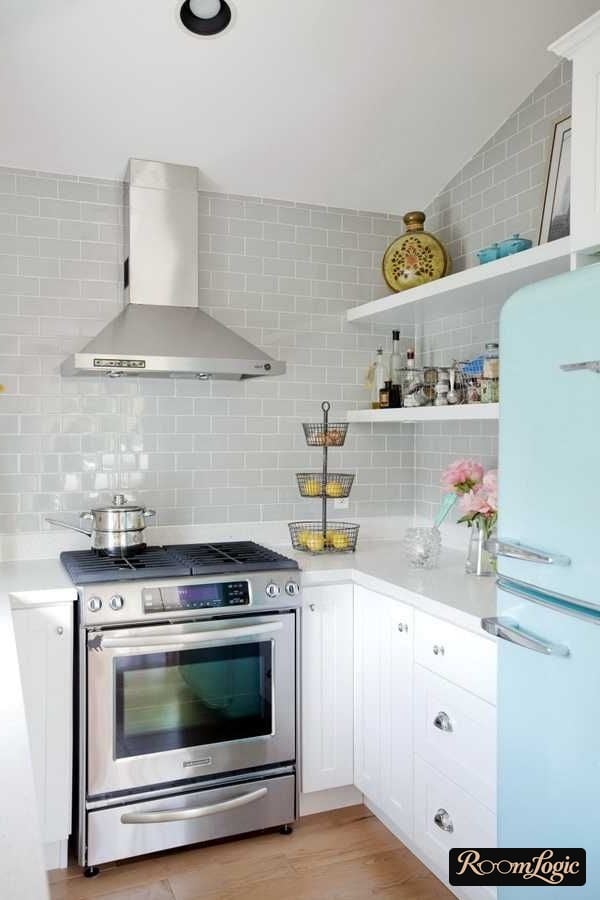
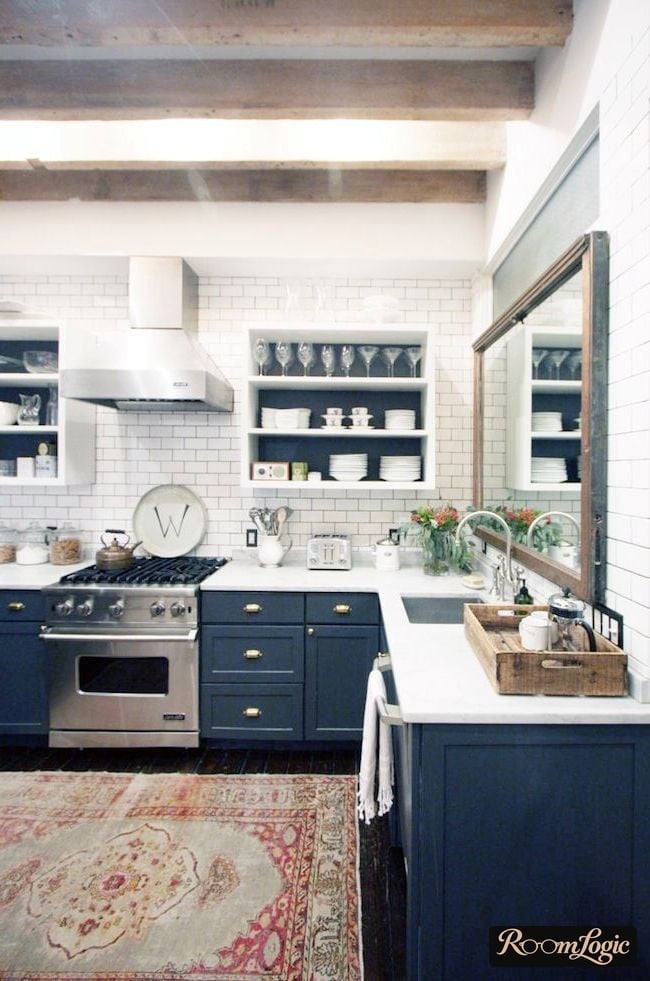
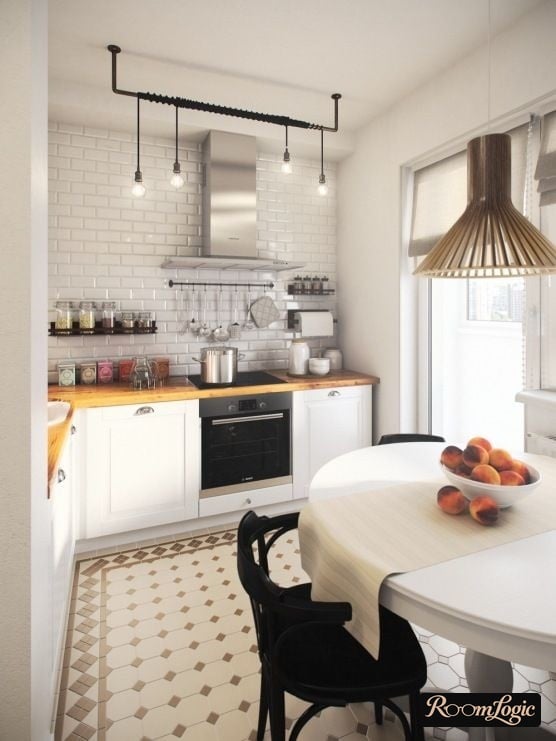
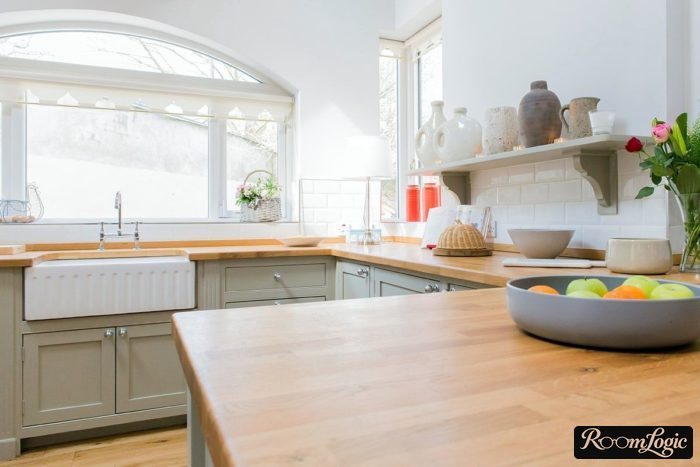
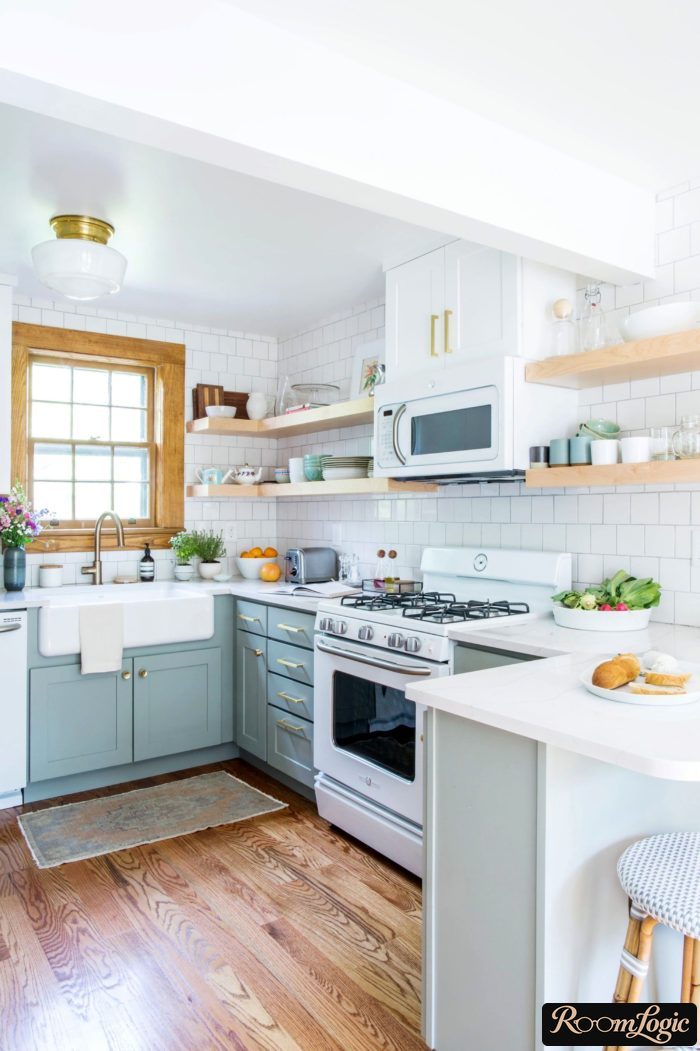
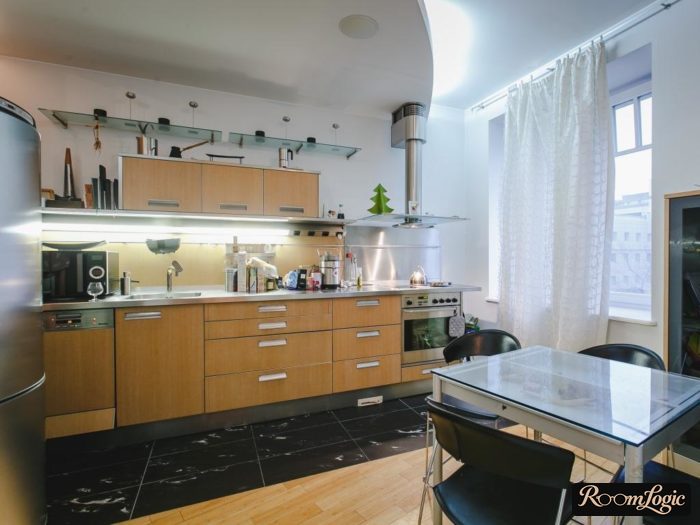
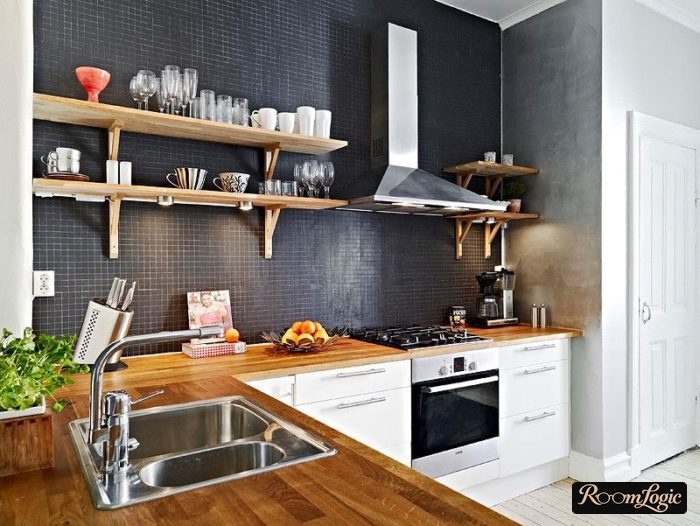
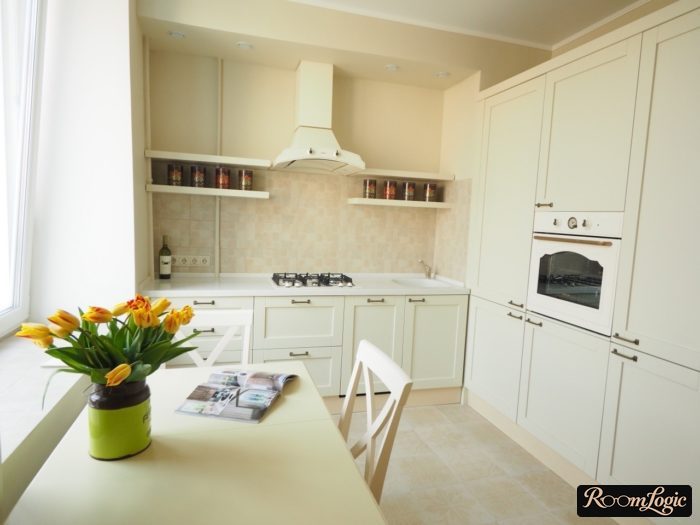
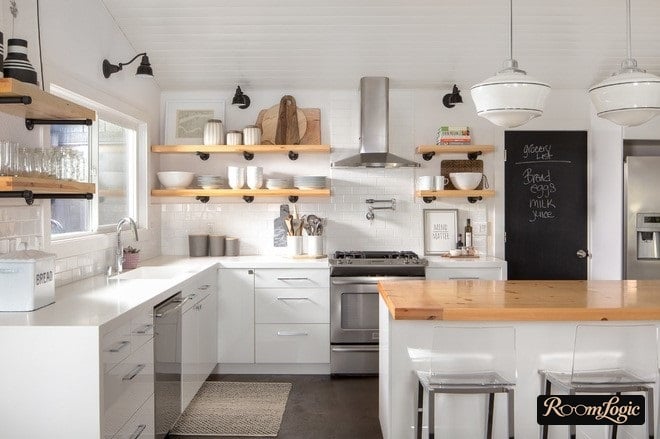
That is why the open shelves in many photos of kitchens without upper cabinets are half empty. As a design element, yes. As a storage system, no.
I do not recommend drywall or glass shelves. Wood or imitation wood (MDF) is good and will fit any style from modern to loft and Provence. Read about the white kitchen with wood countertops.
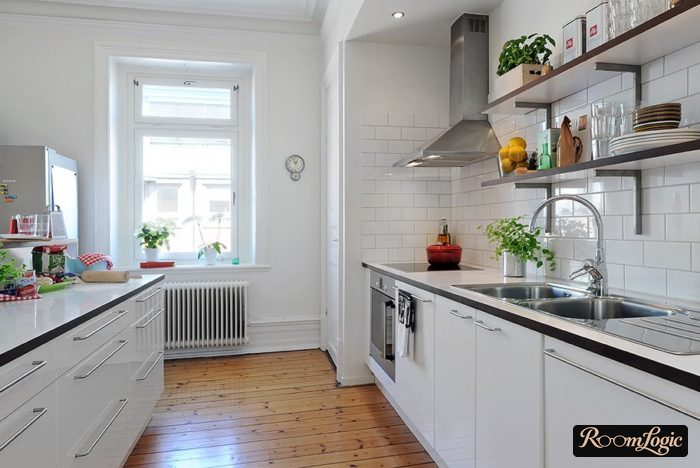
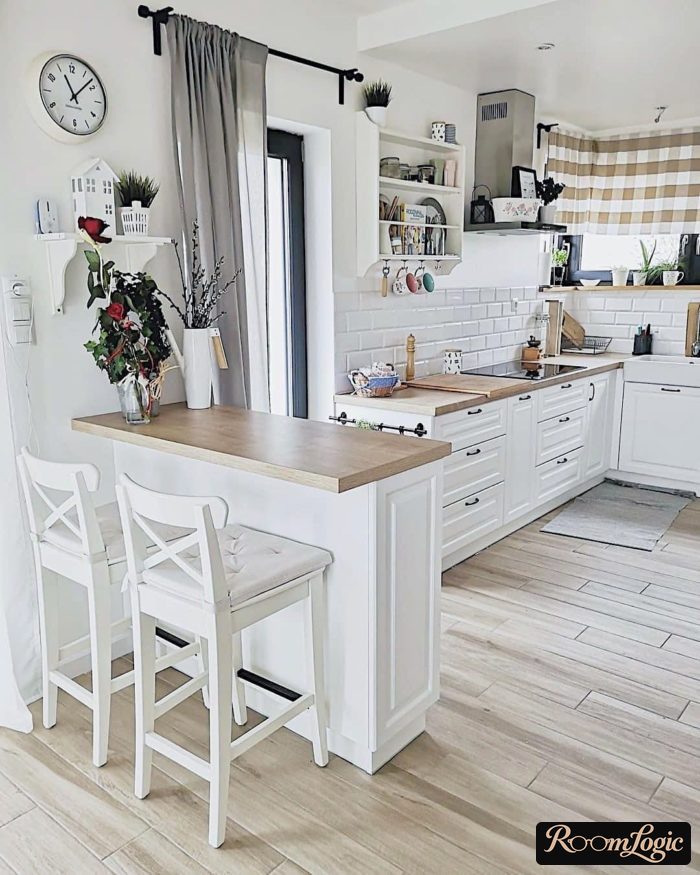
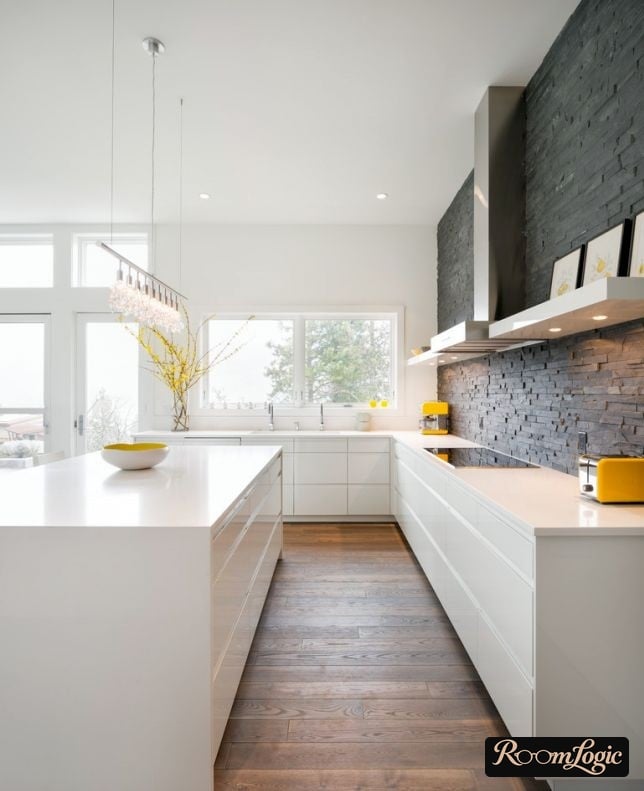
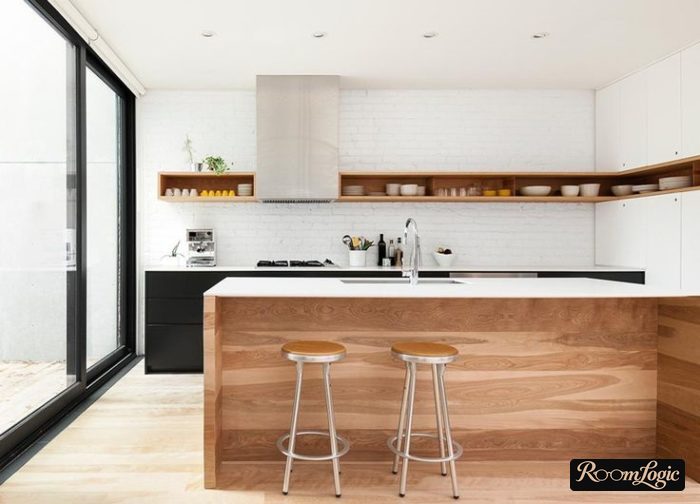
L-Shaped Kitchens Without Upper Cabinets
Most often, people think about giving up cabinets on only one wall of an L-shaped kitchen. And there is a good reason – the corner between two upper cabinets is hard to do well.
The 2 compromise options are a filler strip or a corner shelf between the cabinets. Every angled corner is ugly.
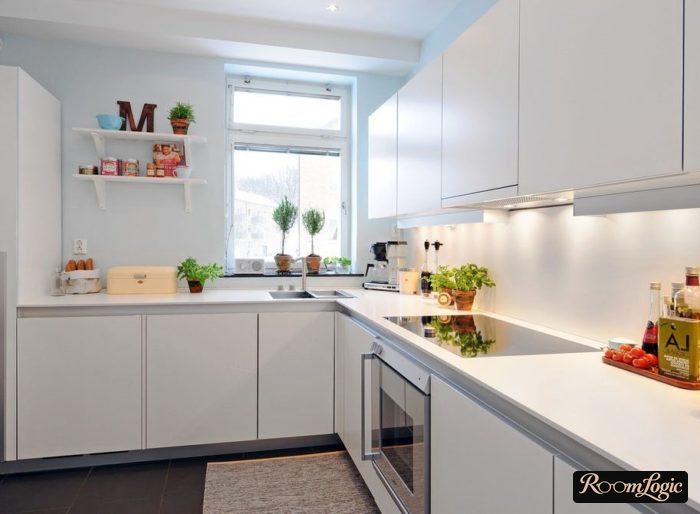
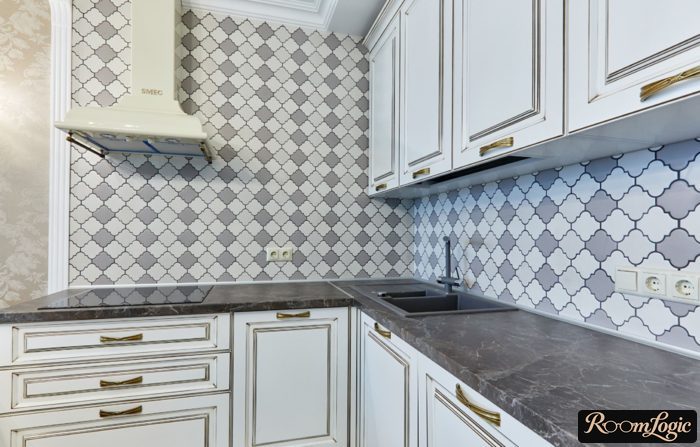
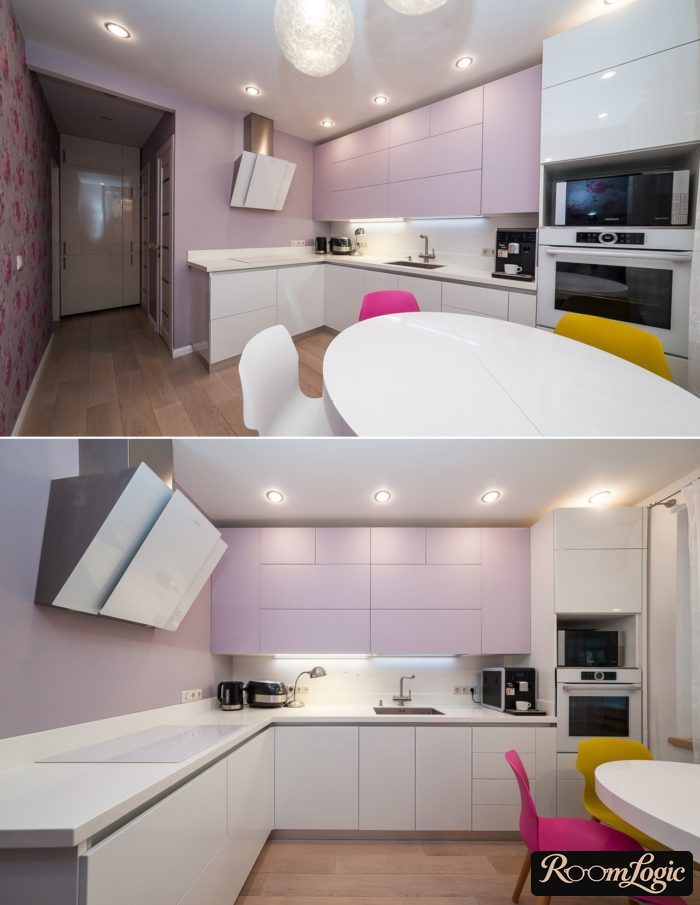
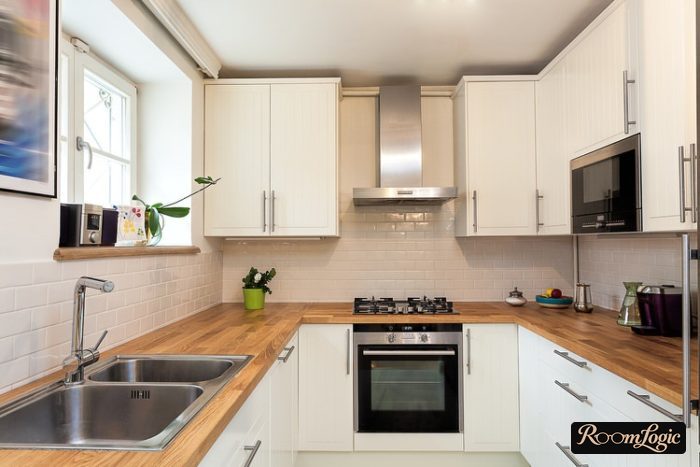
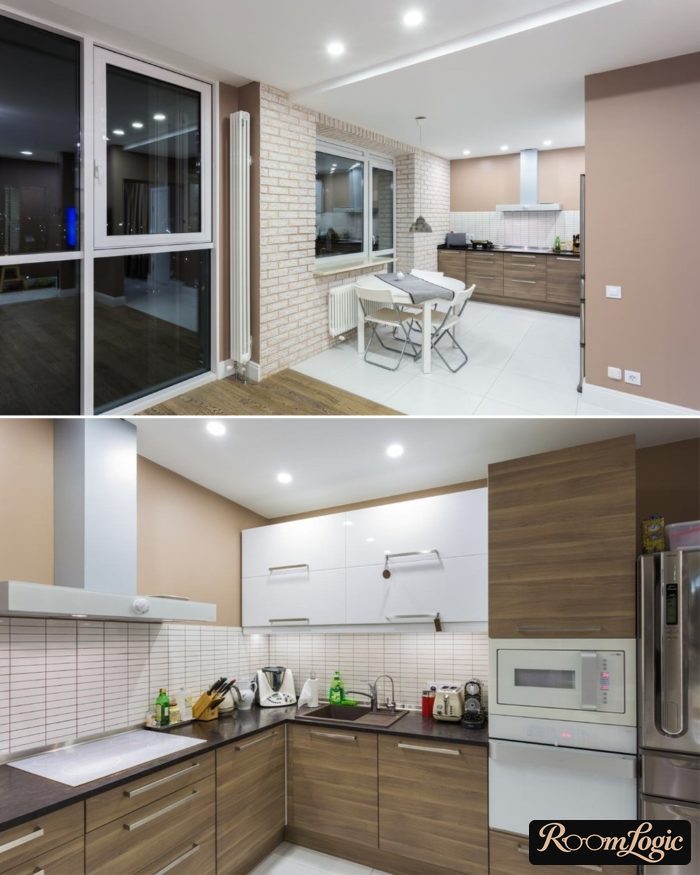
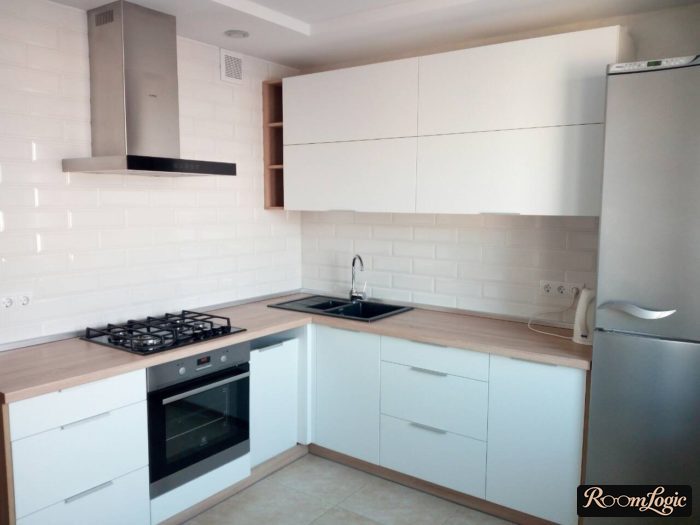
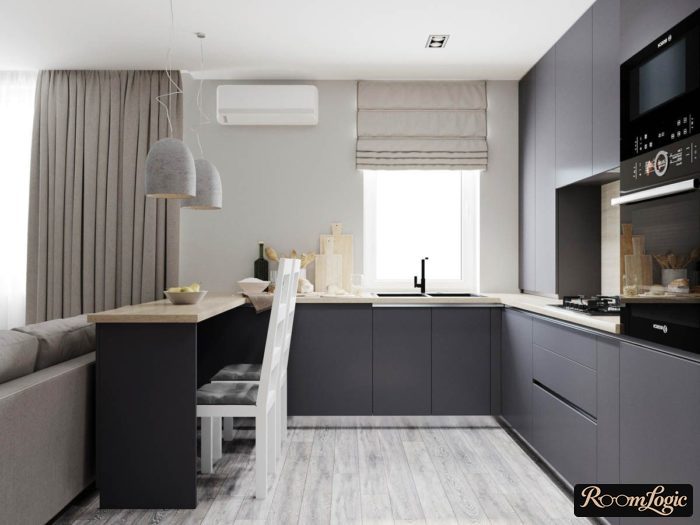
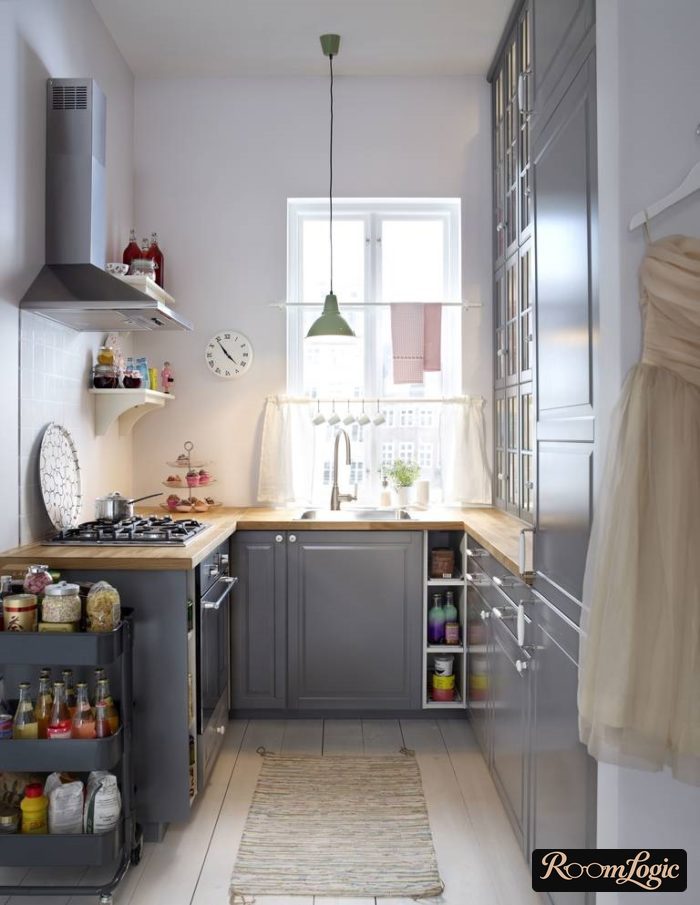
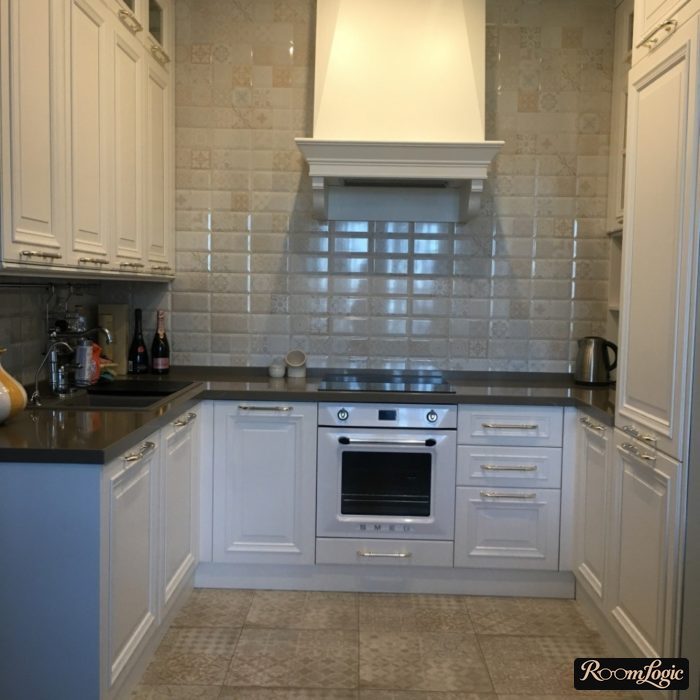
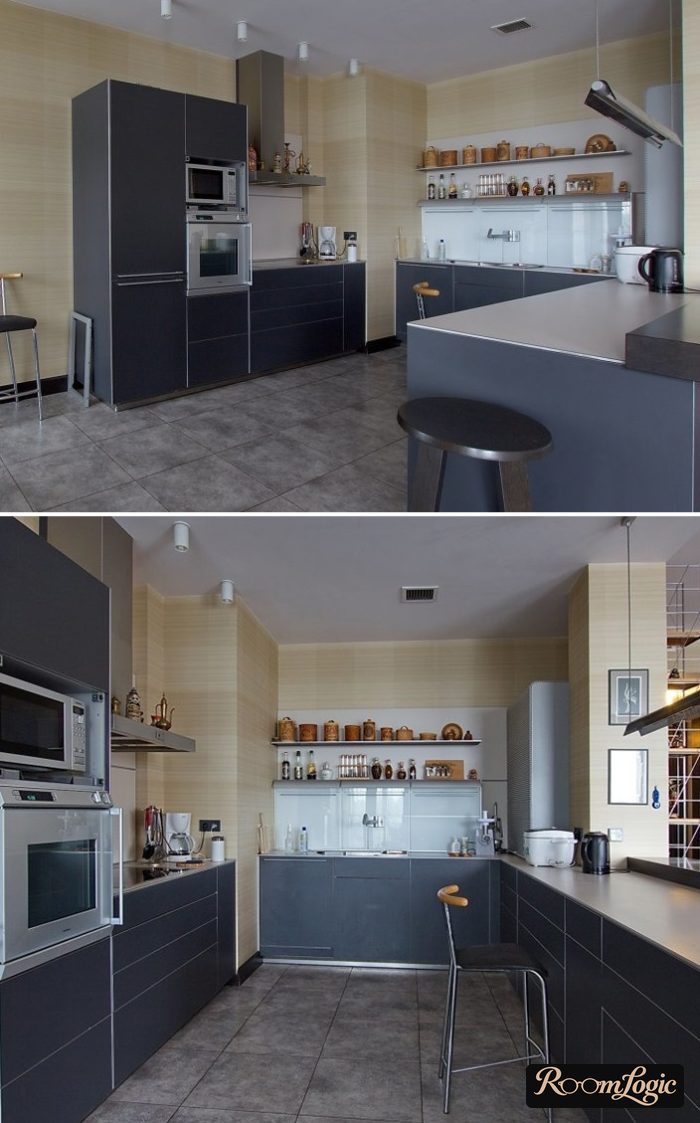
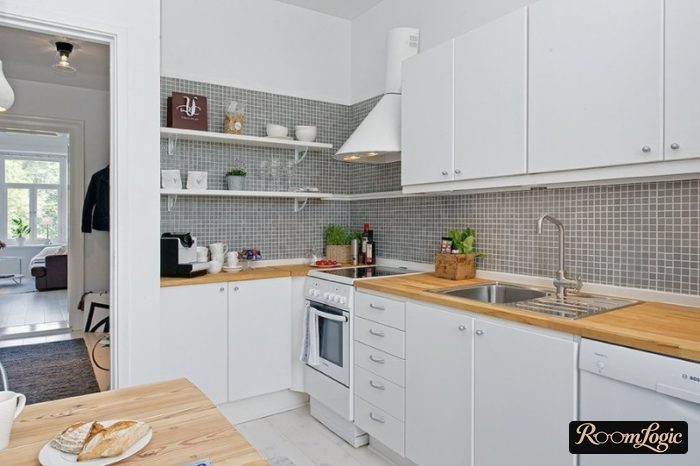
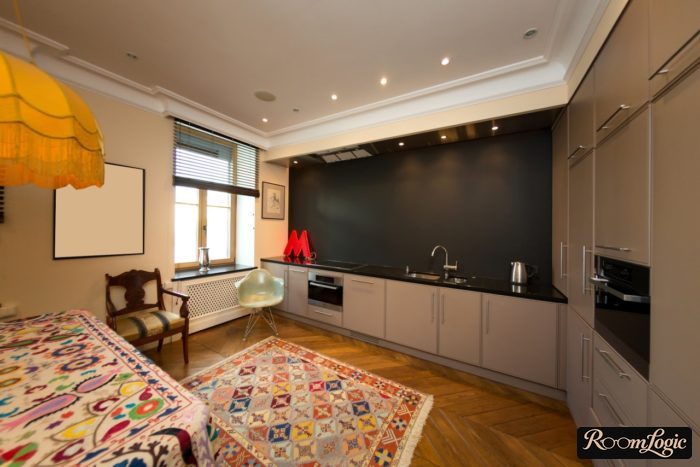
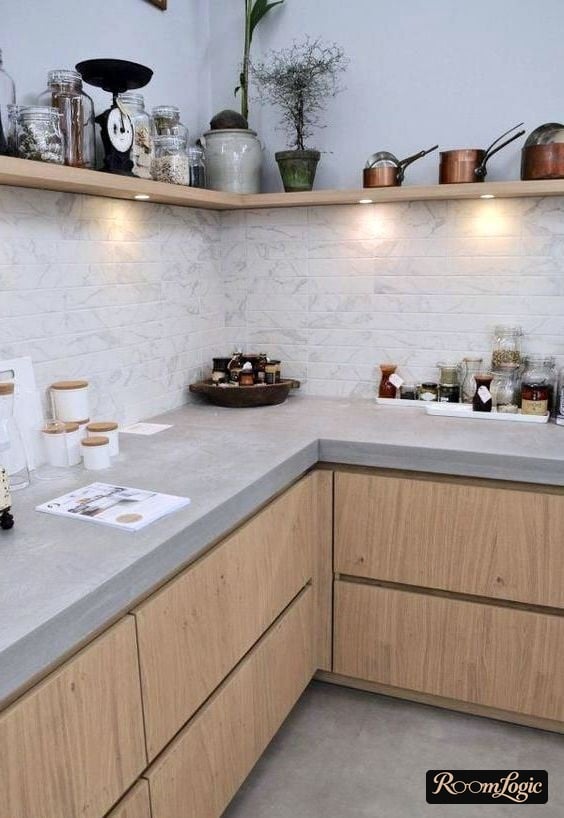
But our choice is to leave the wall empty on one side. That is a normal arrangement. And you already know how to choose which one:
Cabinets are needed above the cooktop and sink. The other wall is not critical.
Built-In Upper Cabinets
I have been leading to this for the entire article.
A counterintuitive, original idea that will seem crazy at first because it is the complete opposite of giving up upper cabinets. But the kitchen design feels the same.
Make the upper cabinets extend to the ceiling.
But how can that be, and what does it have to do with this? Visually, it makes the kitchen cabinets just as seamless and minimalist. I also cannot stand boxes hung on the wall. They look bulky and outdated.
But built-in upper cabinets, especially in a neutral color such as white that matches the other finishes, read as a wall, not furniture.
This solution has no drawbacks at all – you get both perfect appearance and practicality. See many photos similar to the example below in the article about the neoclassical kitchen.
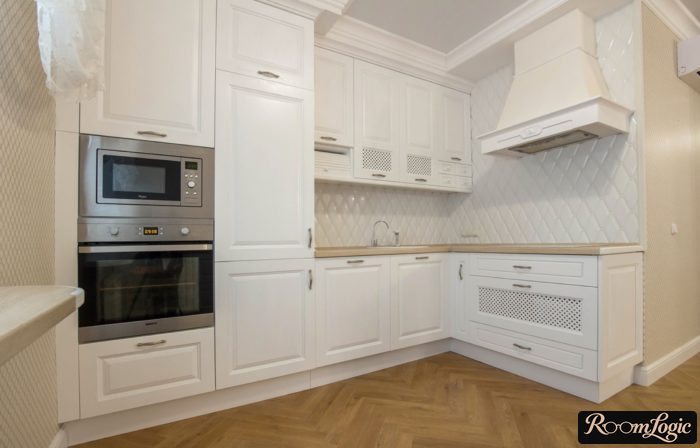
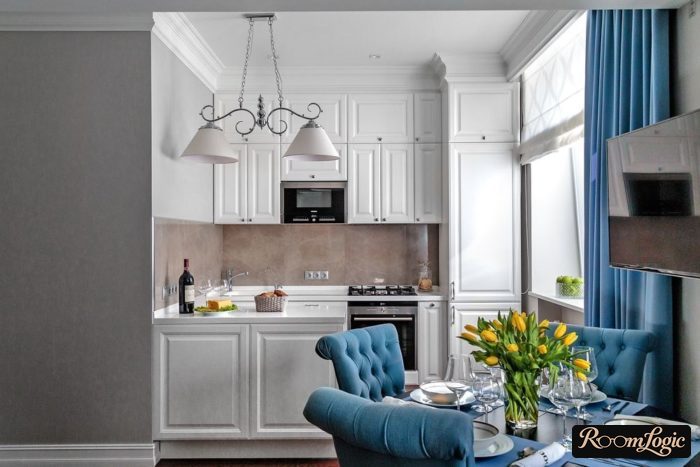
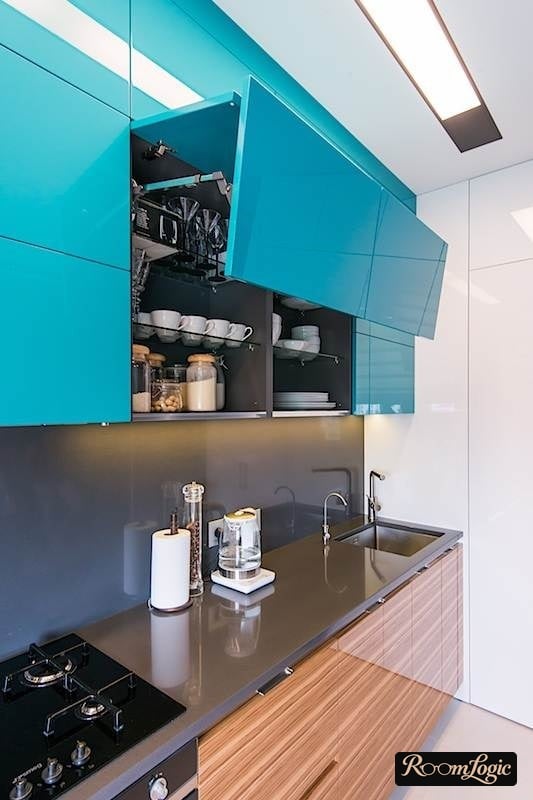
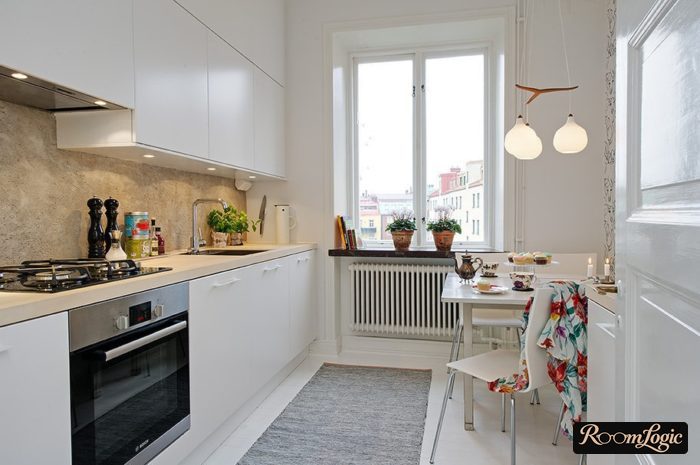
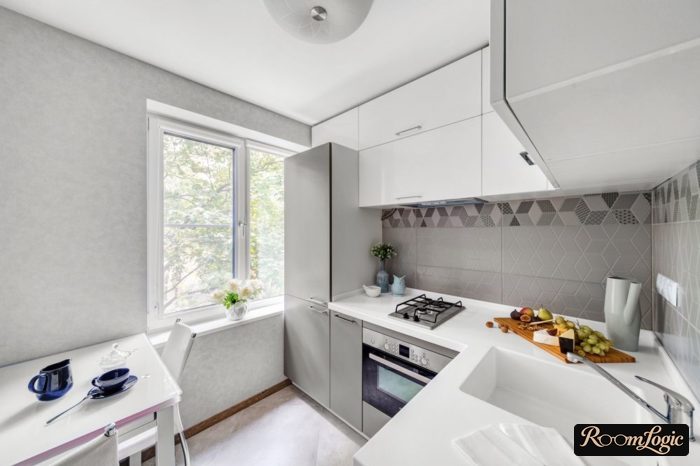
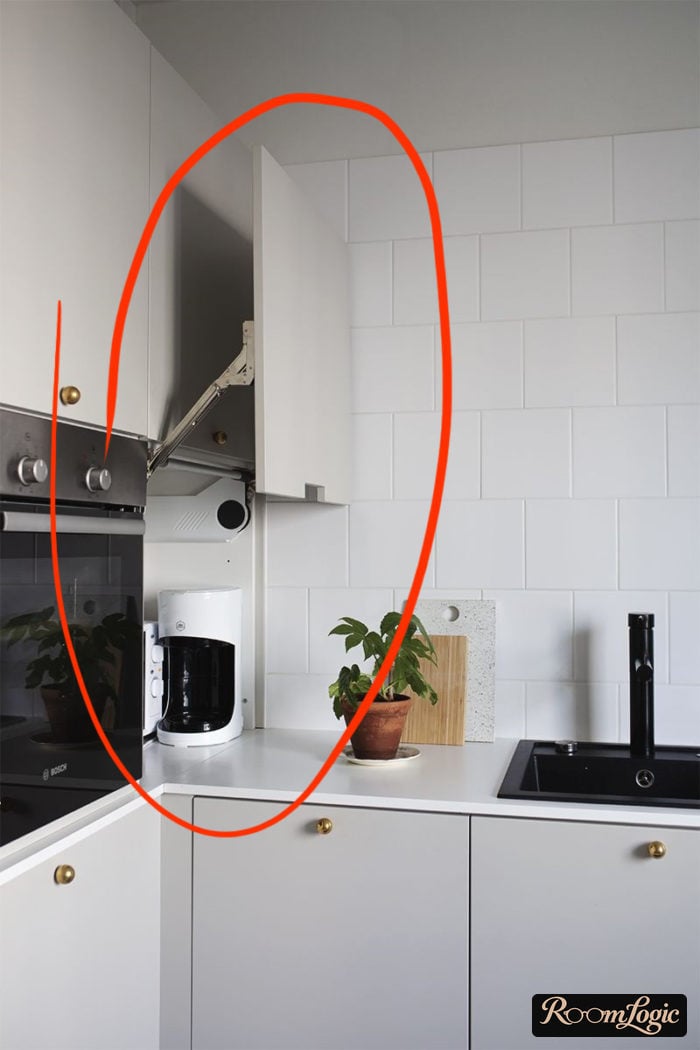
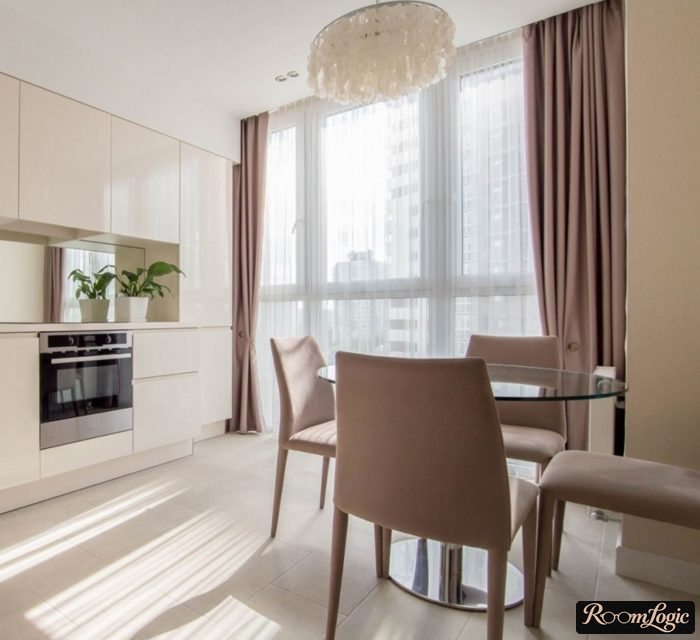
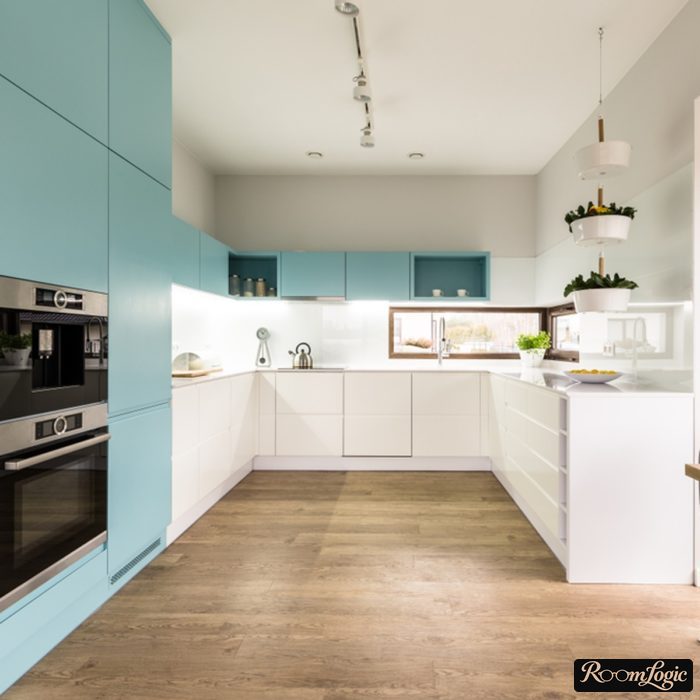
You can see a ton of these built-in minimalist designs in the article about the high-tech kitchen.
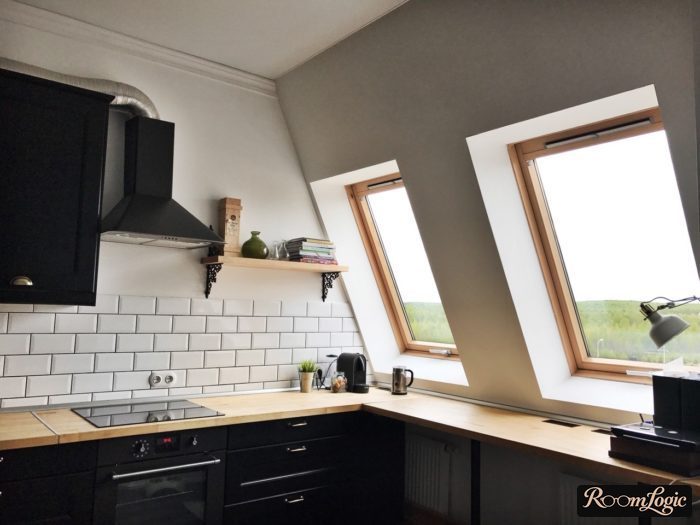
The photos of kitchens without upper cabinets are often in houses with very high ceilings, sometimes in attics. There is simply no way to use this option there.
By the way, maybe that is why you like the photos. But your ceiling will not become higher because of them. In a real typical apartment, cabinets to the ceiling are the ideal solution.
Kitchen Partly Without Upper Cabinets
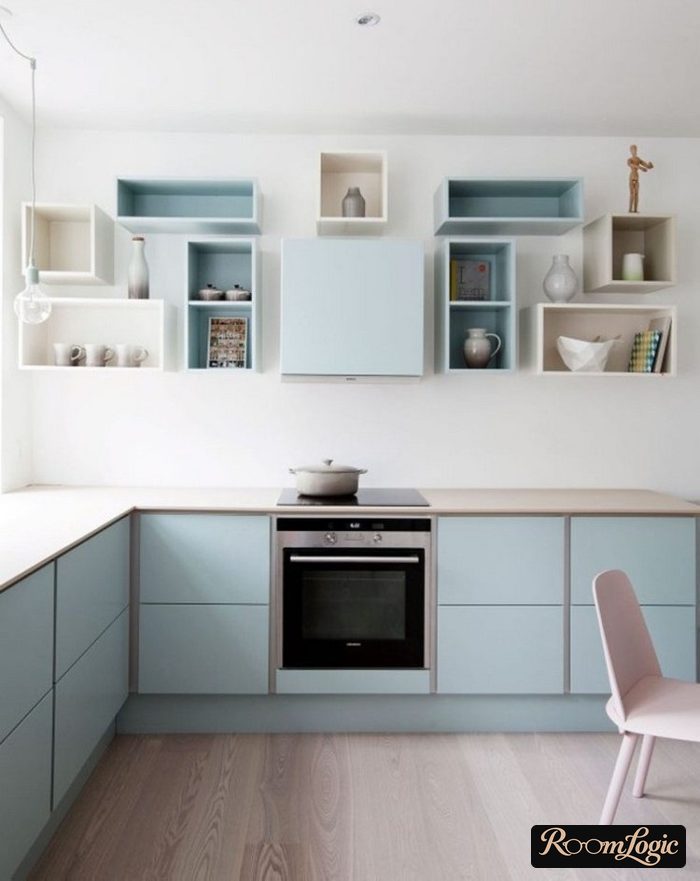
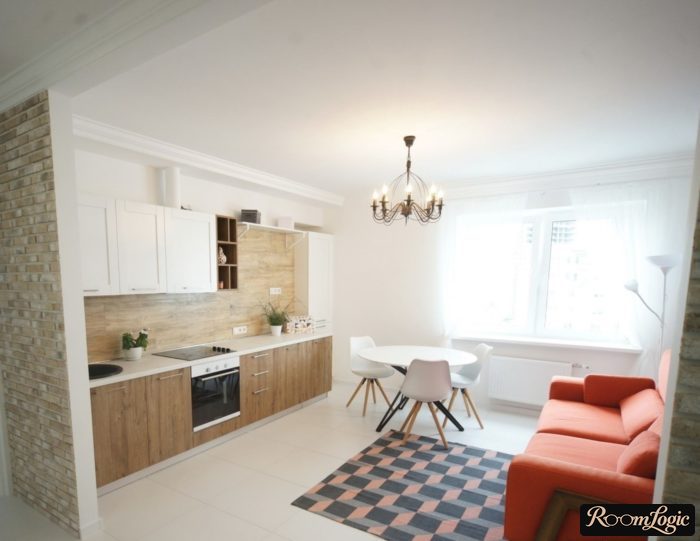
If you do not go to the radical extremes, giving up only some upper cabinets is enough to create an airy feeling.
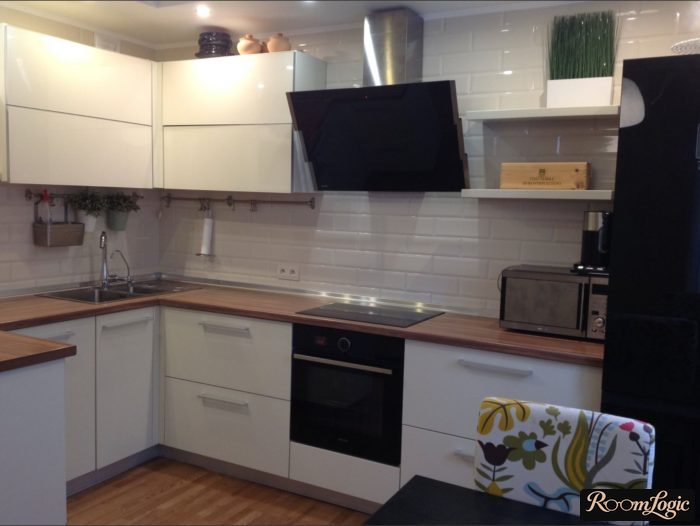
Keep them (preferably to the ceiling) everywhere they are needed: the tall cabinet with the refrigerator, wall oven, and microwave, and above the sink and range. In the other places, make shelves or leave the walls empty.
Read the articles about U-shaped kitchens and 130-square-foot kitchens, where this layout is standard.
I hope that if I did not convince you to keep the upper cabinets, I at least shed some light on the important details. Good luck with your remodel!