If you are NOT going to install the tile yourself but want to know the bathroom finish options and how to plan a layout without narrow cuts at the corners, this is for you.
Most tile installers know the installation technique but not how to distribute tile properly across the walls, so it is important to take care of this yourself.
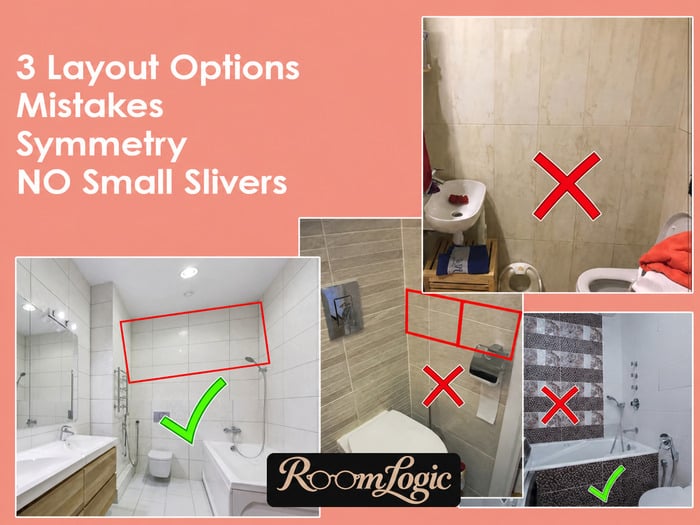
3 Ways to Finish a Bathroom with Tile
There are actually more than three options, but the others will be covered under mistakes because they are either dated or were ugly from the start.
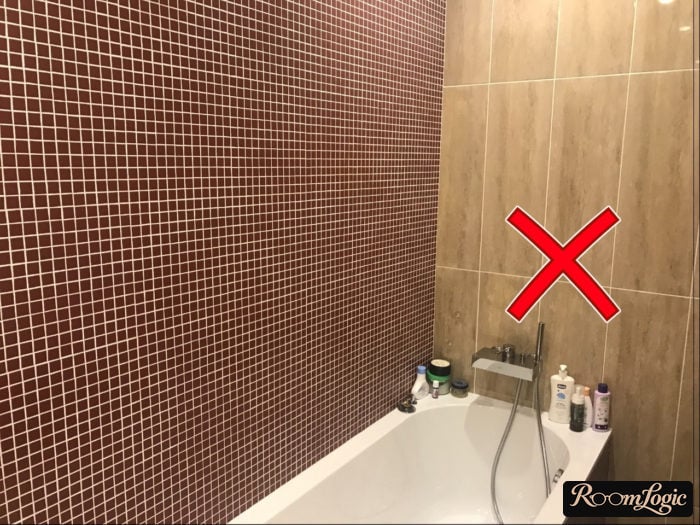
- Finish one bathroom wall with one tile from floor to ceiling. In other words, do not combine different kinds within one wall, although a neighboring wall can use another tile.
- Zone strictly in connection with functional areas: the sink, shower, and bathtub.
- Divide the room visually in a horizontal direction.
Yes, these three points are enough for an interior of any complexity because bathroom design is not built only from the tile finish.
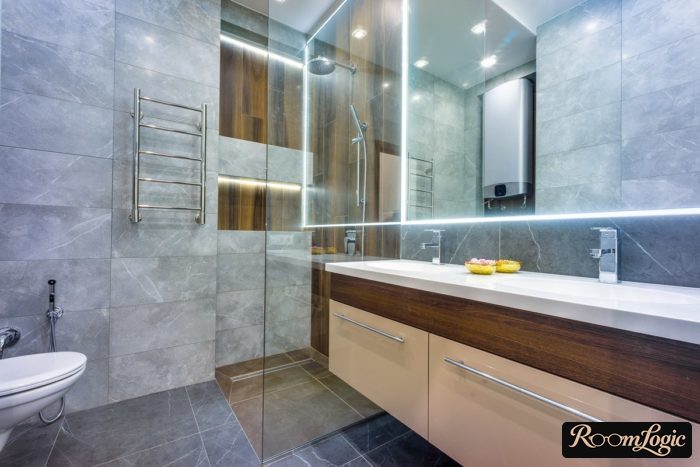
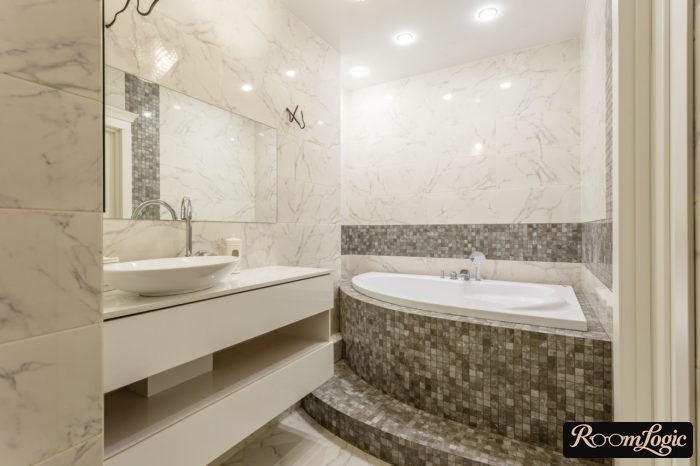
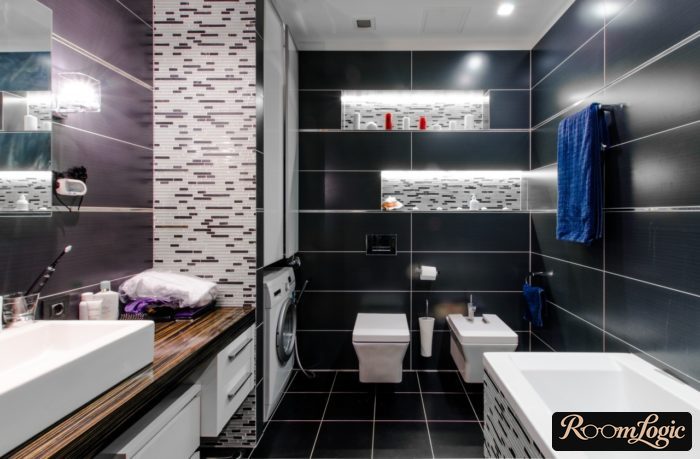
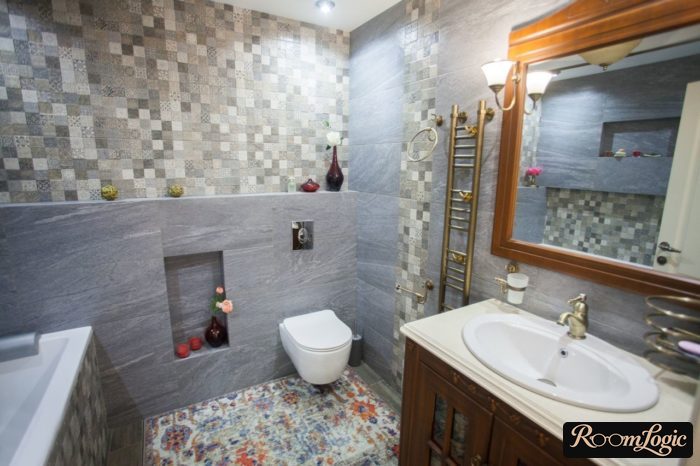
We will discuss each one separately. But first, here is a pile of bathroom photos where the remodel is expensive and the design is stylish, while the finish is very conservative. The choice of fixtures, lighting, and even towels in the right colors matter too. It is not all about the finish.
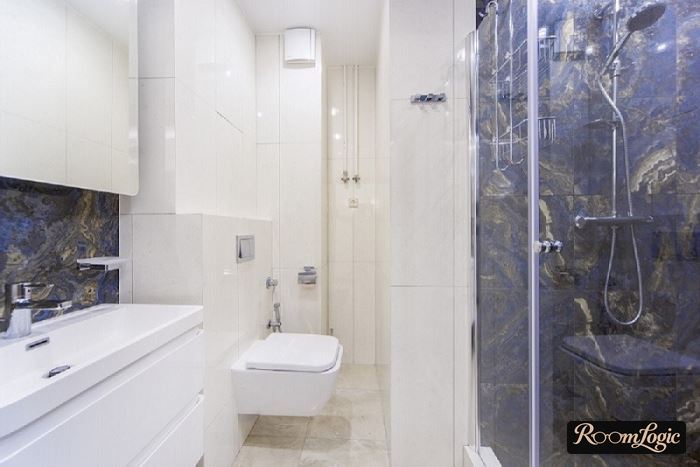
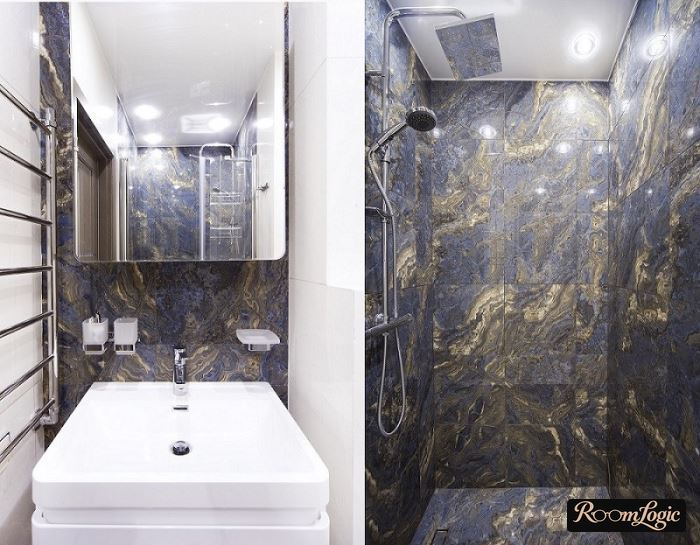
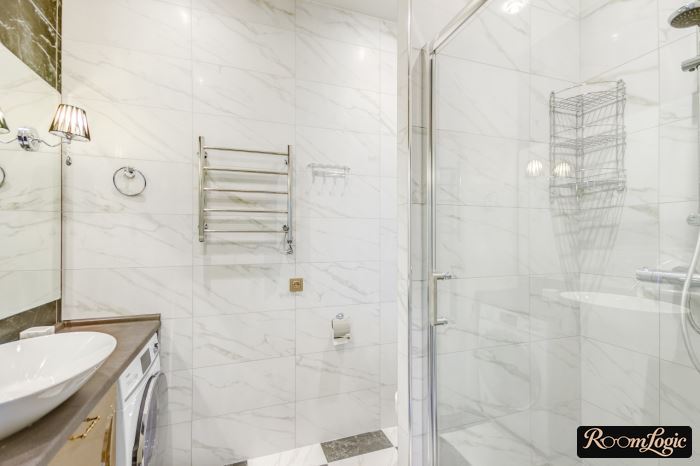
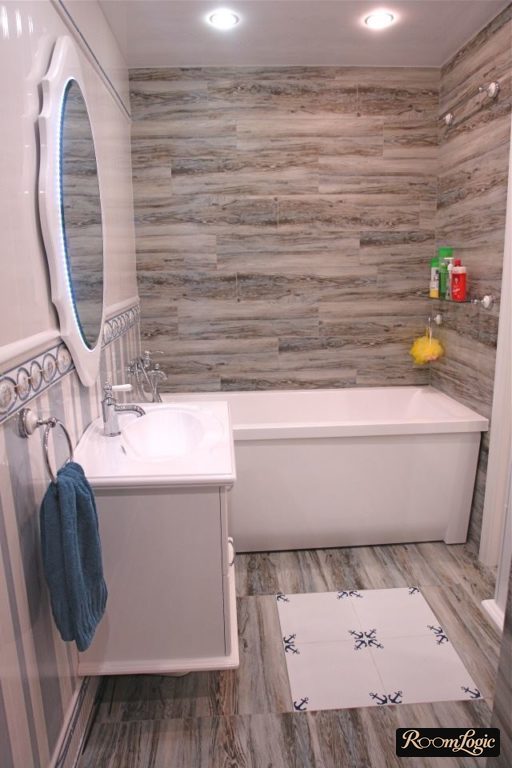
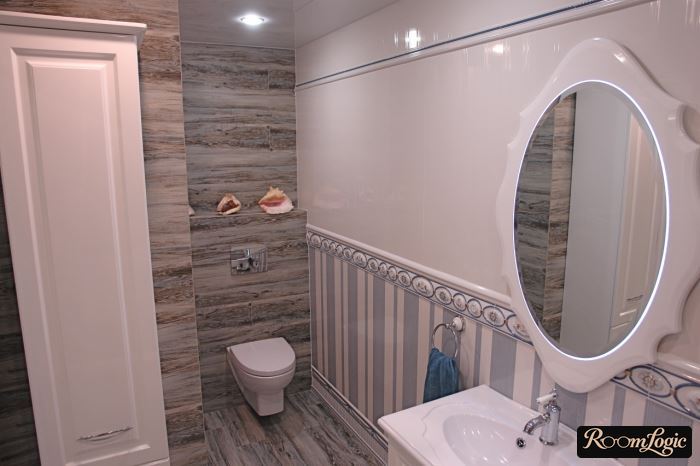
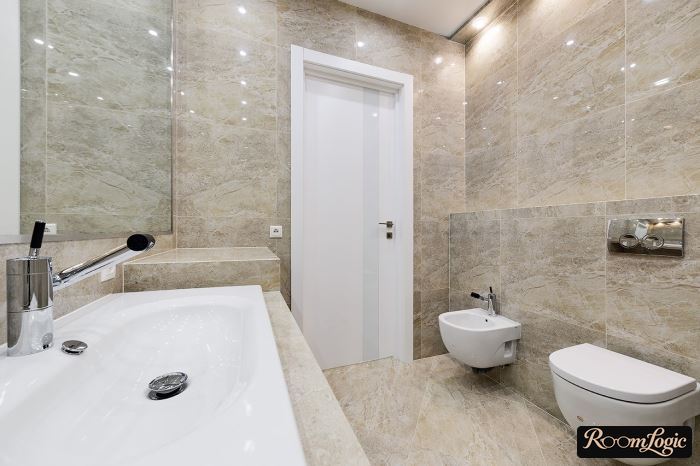
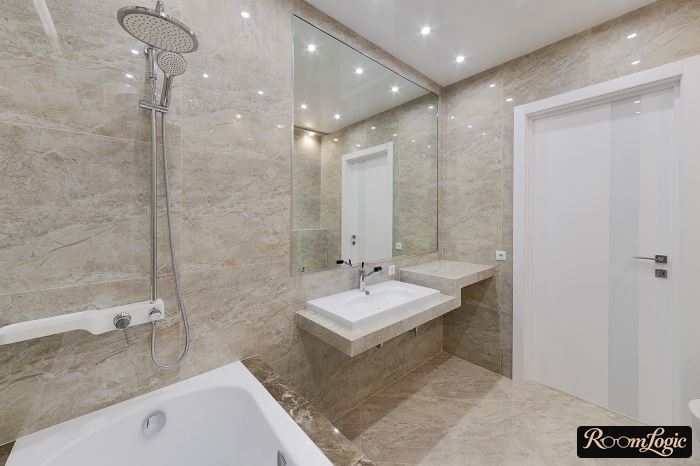
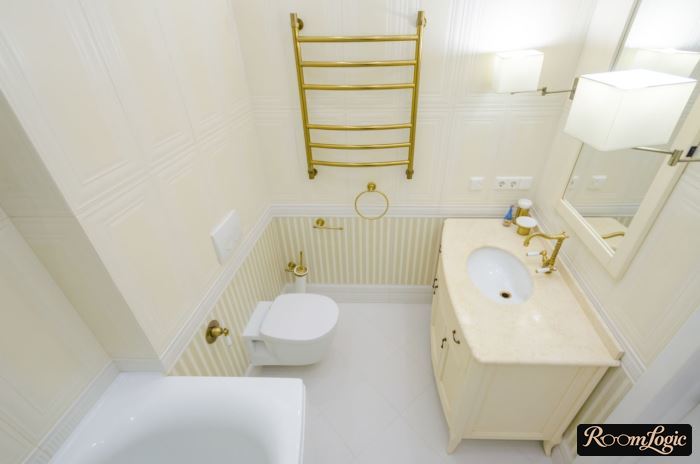
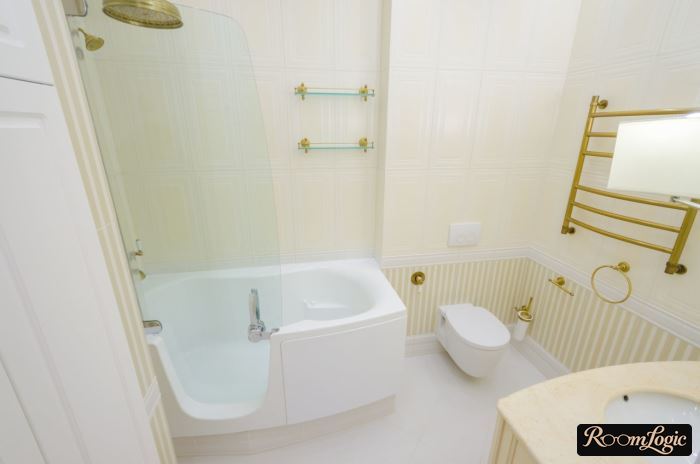
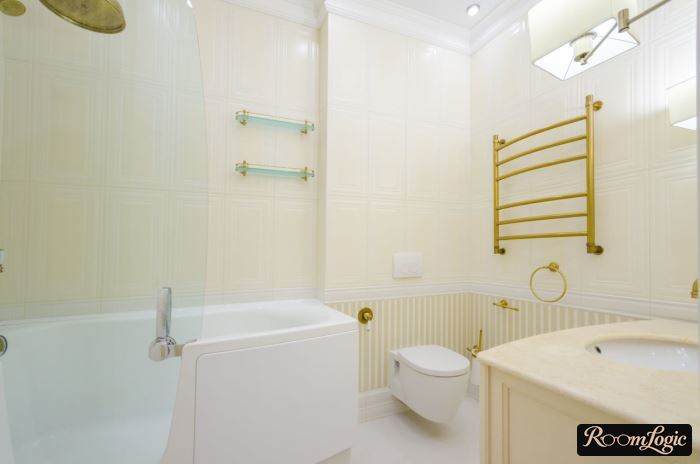
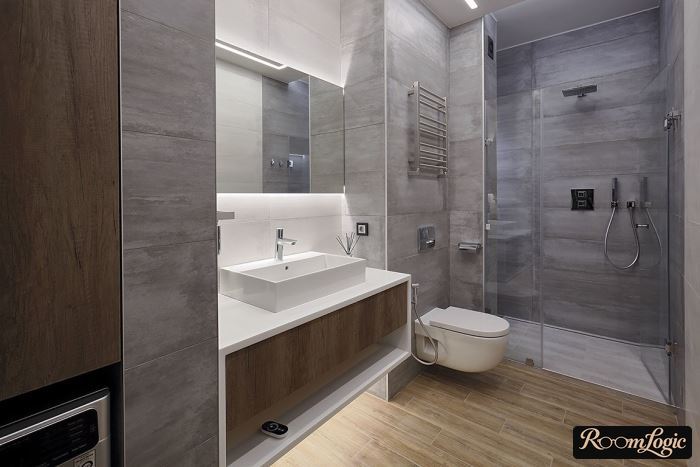
And one more ultimate example. Gray tile on the walls, brown tile on the floor. That is all. And this is a large, great bathroom. Someone may not like this finish, but it is a textbook example of contemporary design. To my taste, it is perfect.
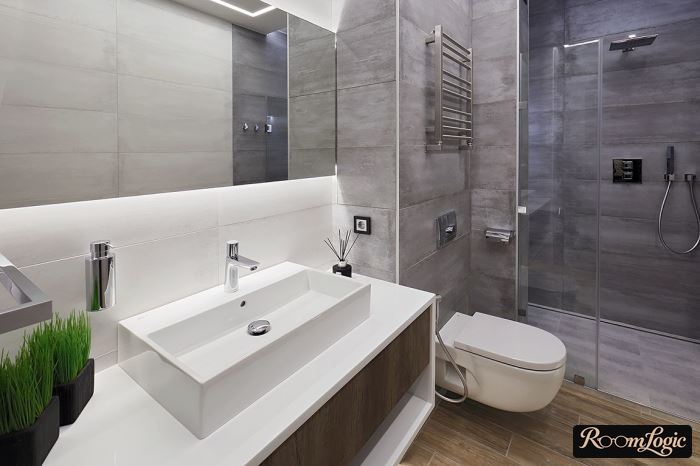
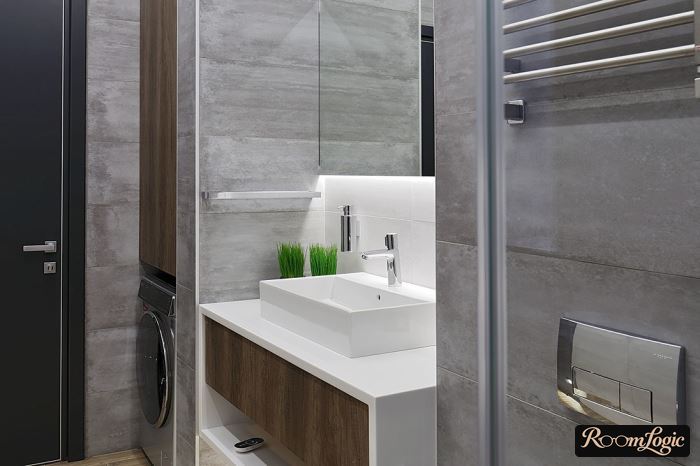
One Kind of Tile on One Wall
This is the least risky finish and, for small bathrooms, the only correct one. Different walls can use different tile, but within one wall, use strictly one kind.
Not combining different tile on one wall is the standard. You need a serious reason to depart from it.
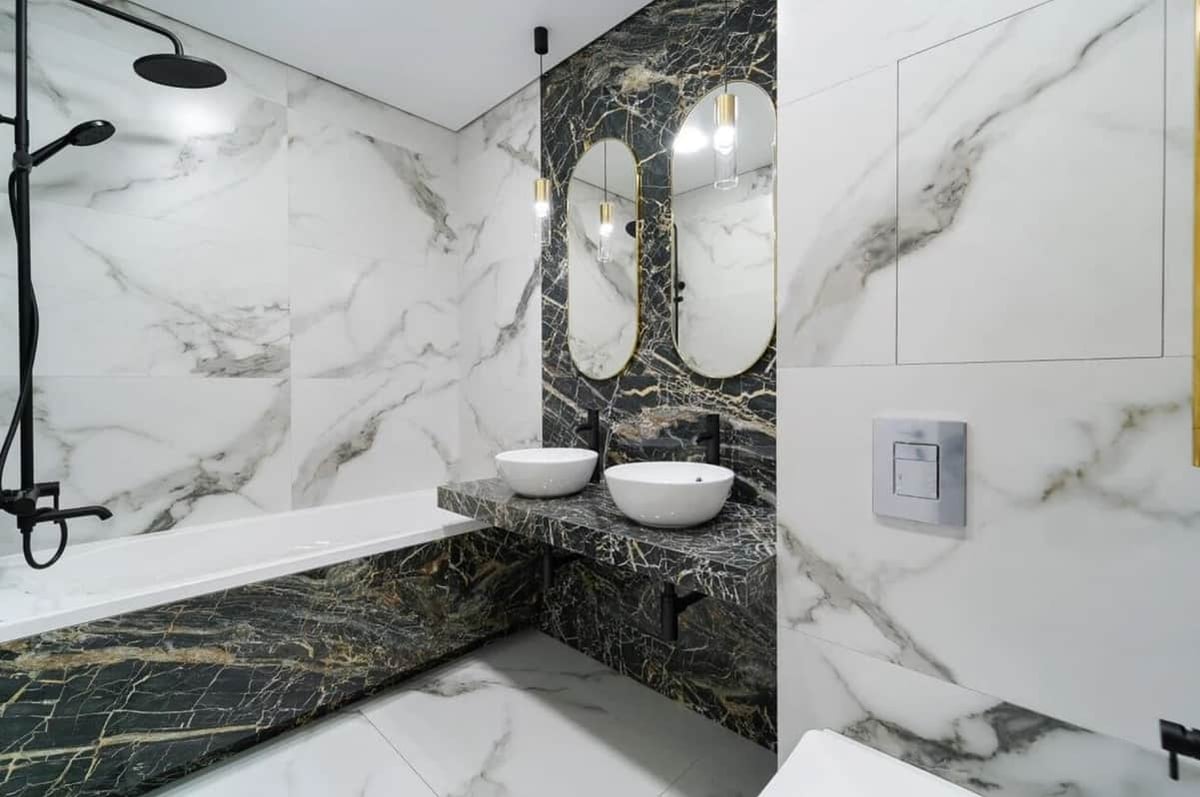
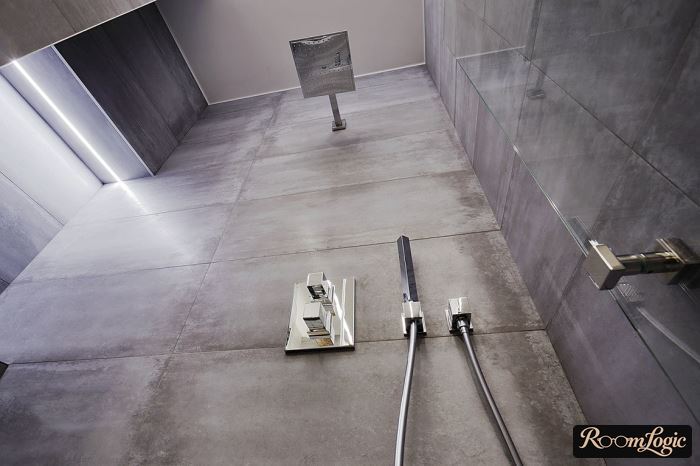
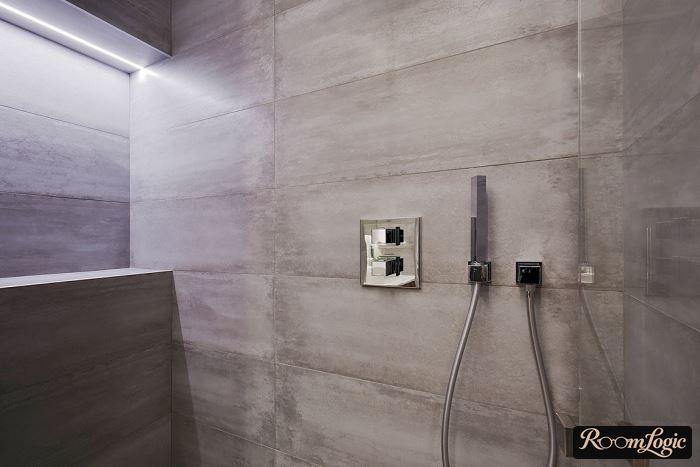
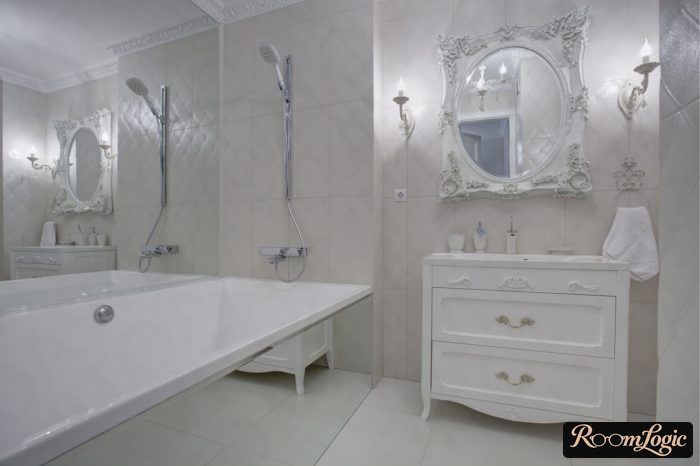
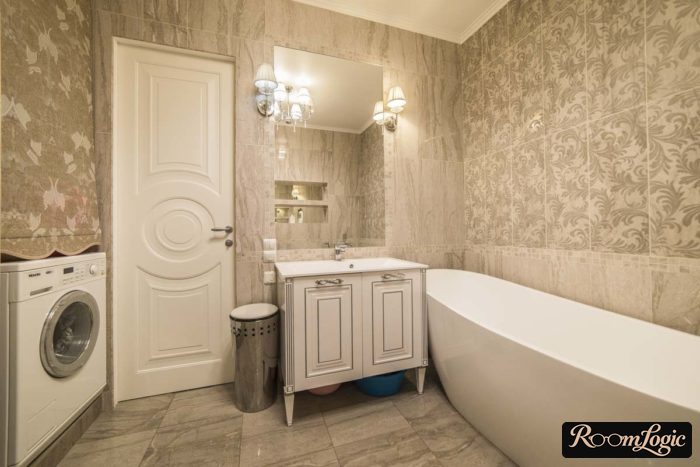
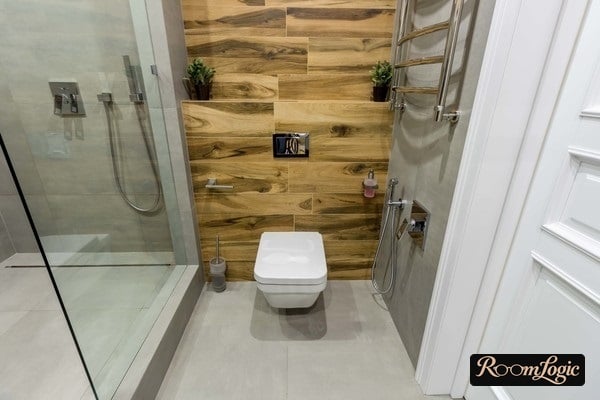
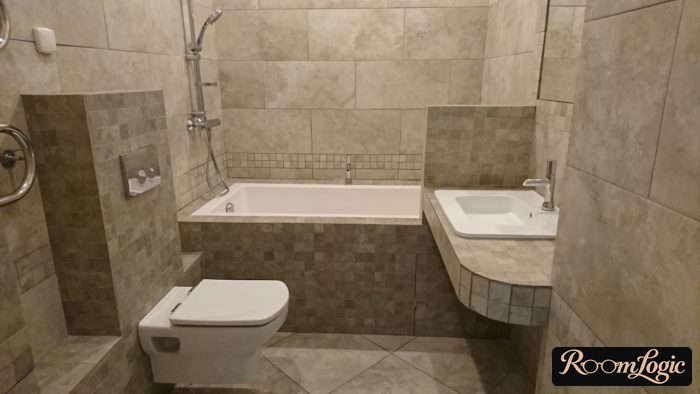
There is a fear of “boring” that makes people think a bathroom will look too simple if the wall has no decor or decoration. That is where so many overloaded, tacky remodels come from. Here are real photos where every bathroom wall is finished with strictly one kind of tile, and it is beautiful:
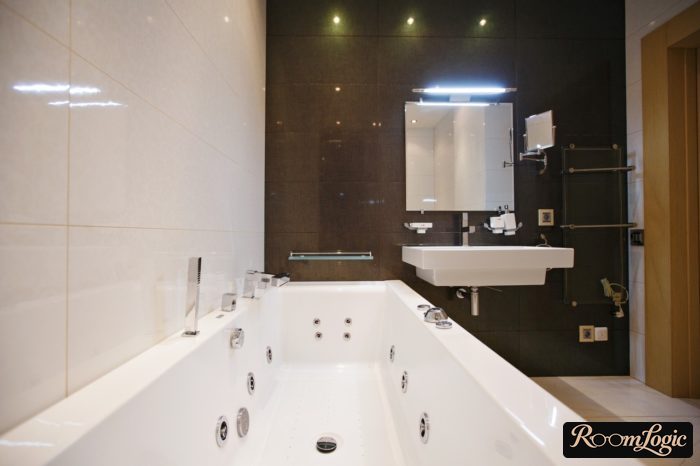
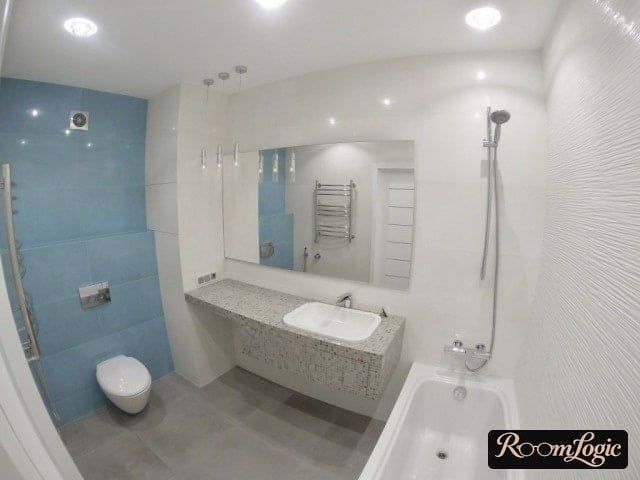
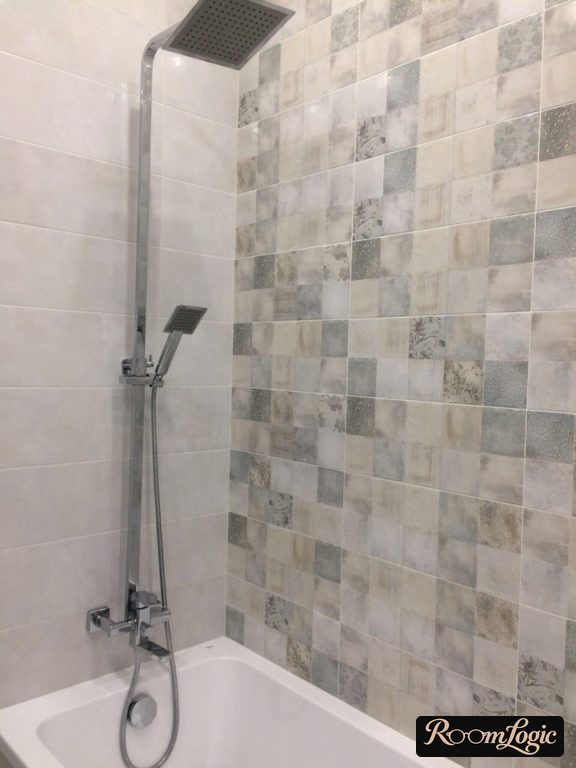
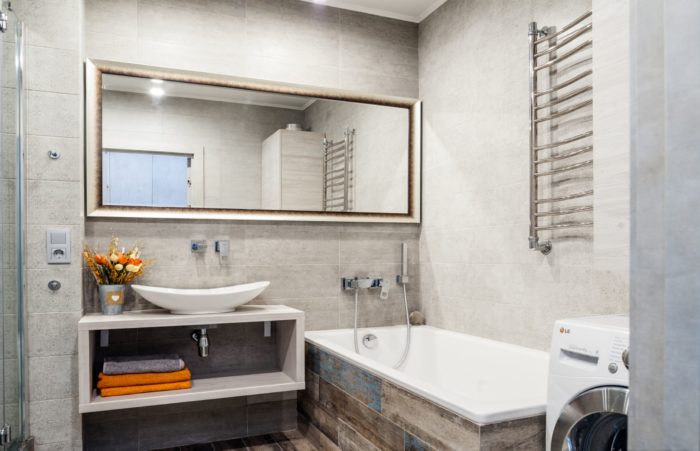
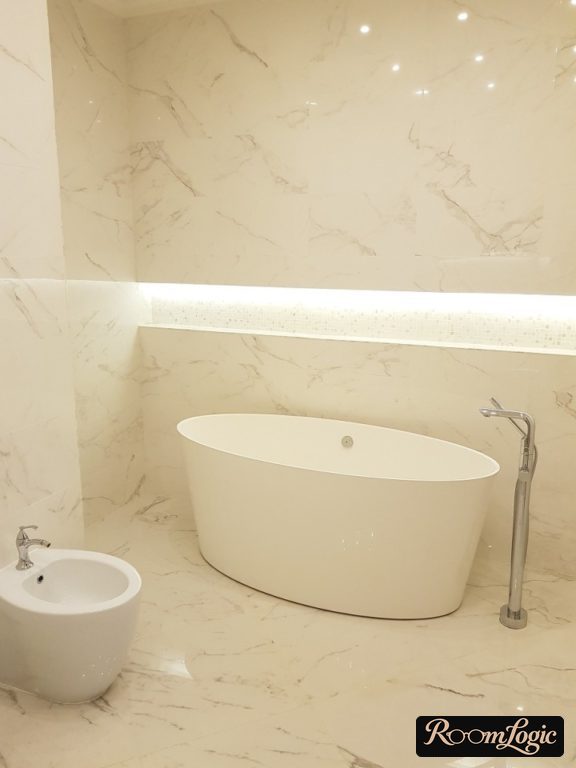
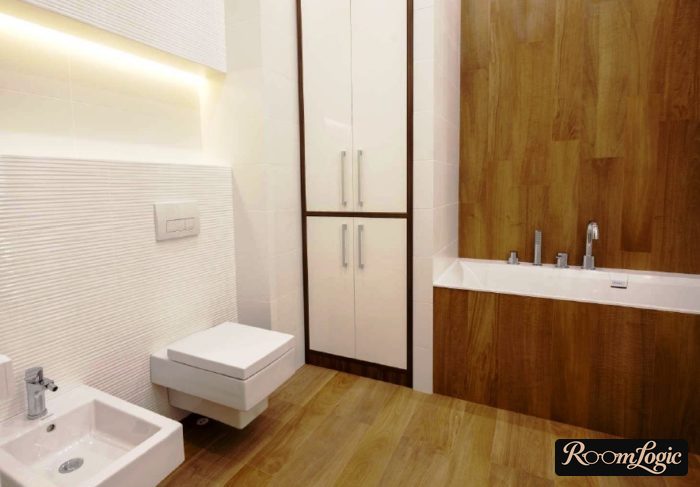
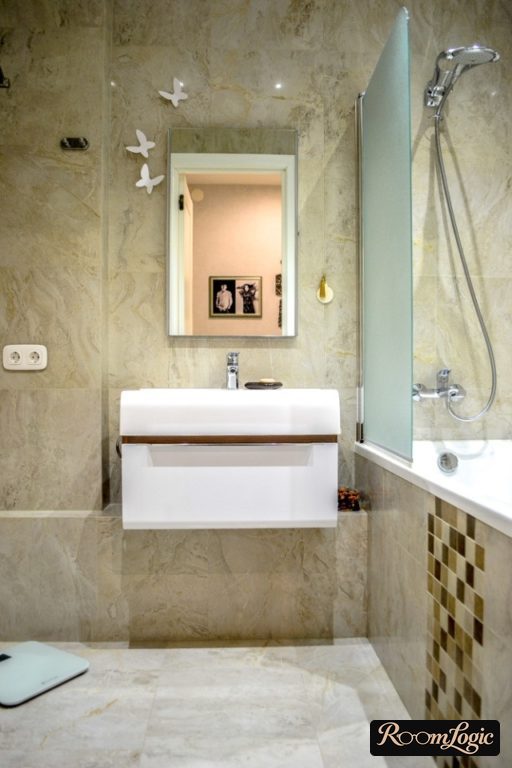
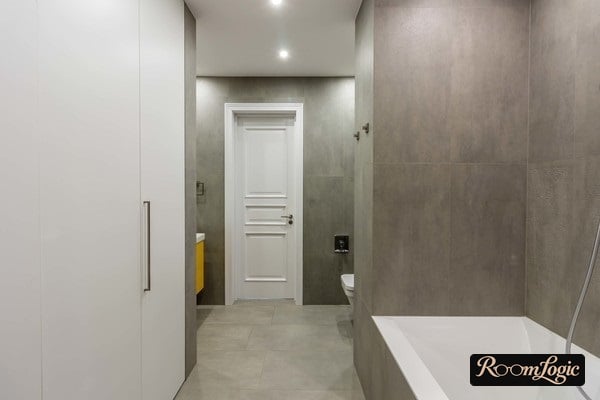
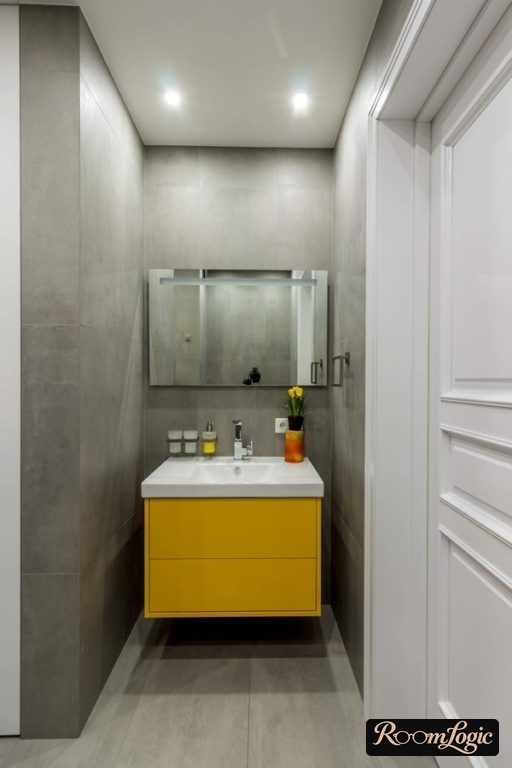
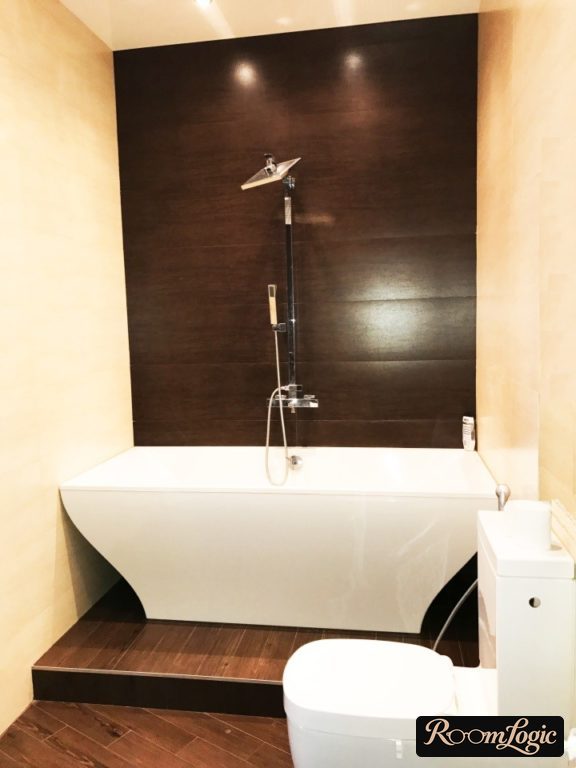
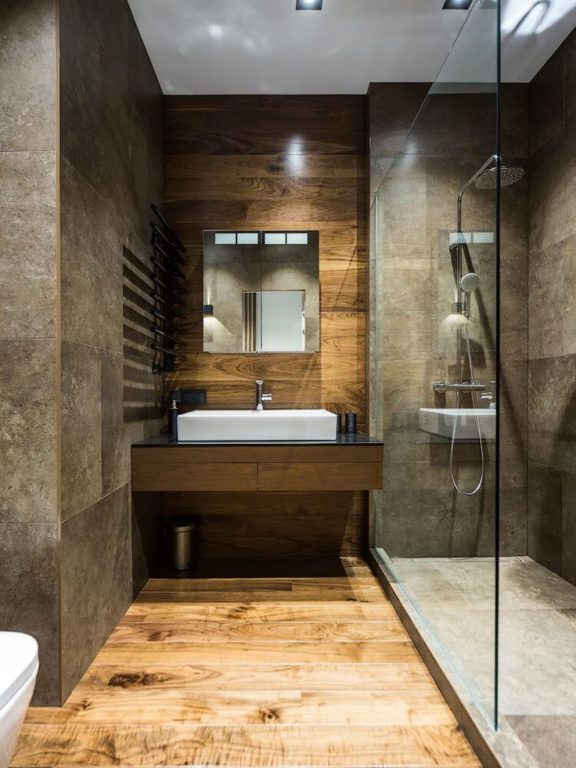
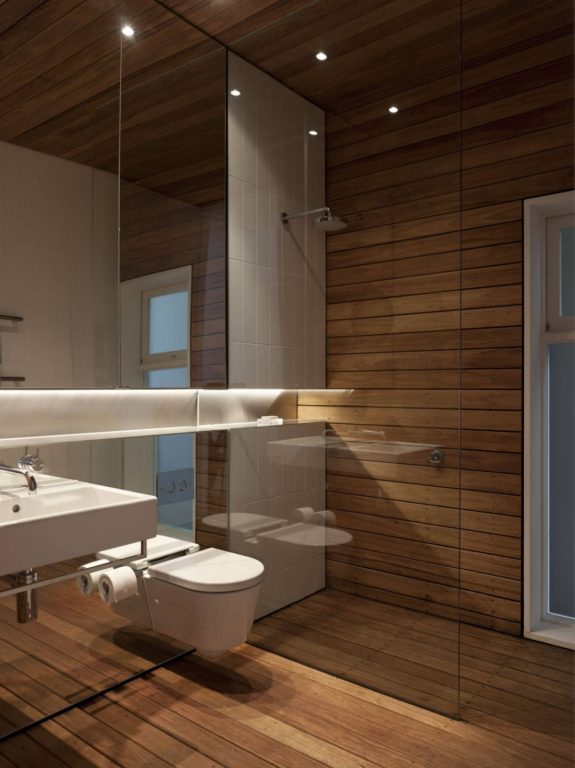
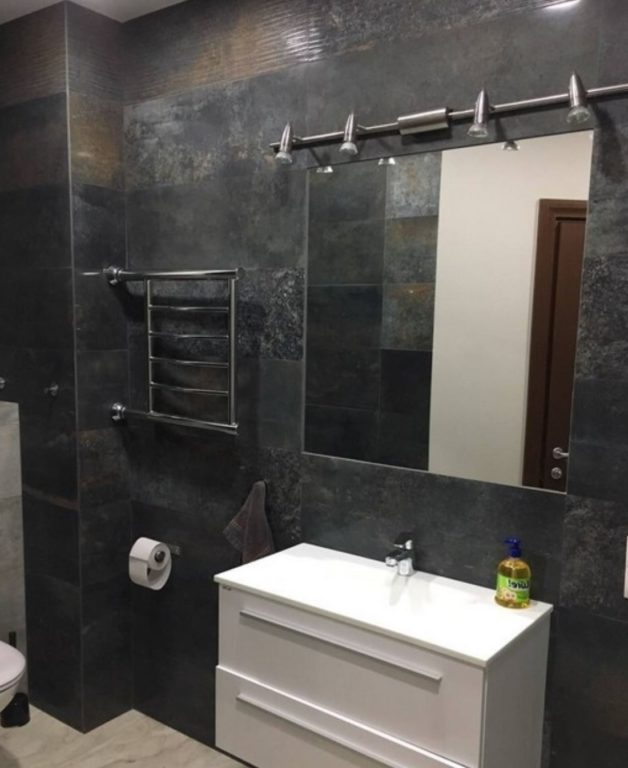
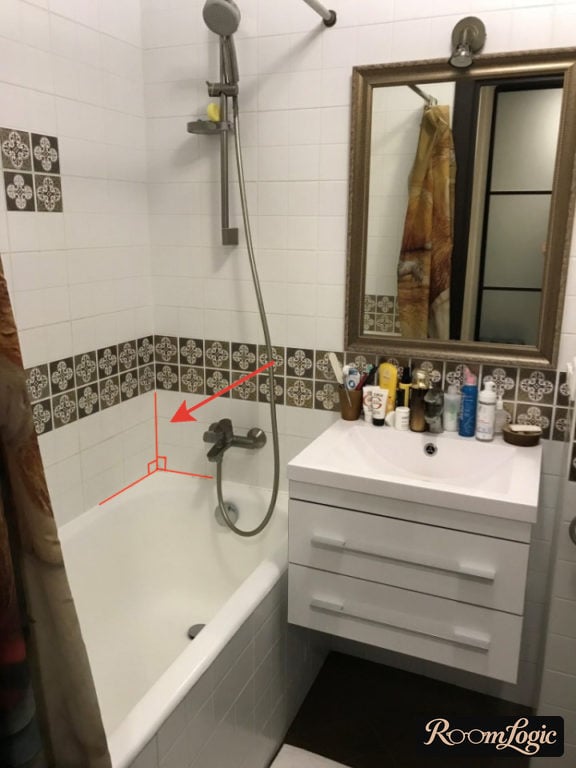
It is better to join different tile at inside corners. This creates the effect of solid objects because the texture of a real object cannot stop at an outside corner. In general, just remember that joints between different tile look natural at inside corners and not at outside corners.
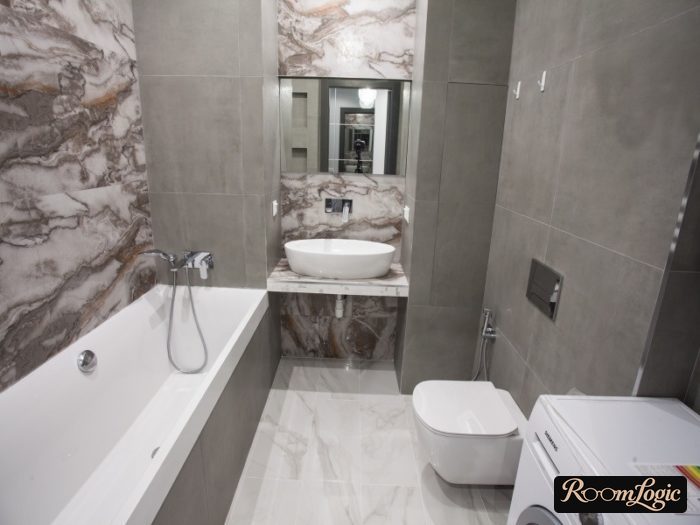
A Zoned Layout
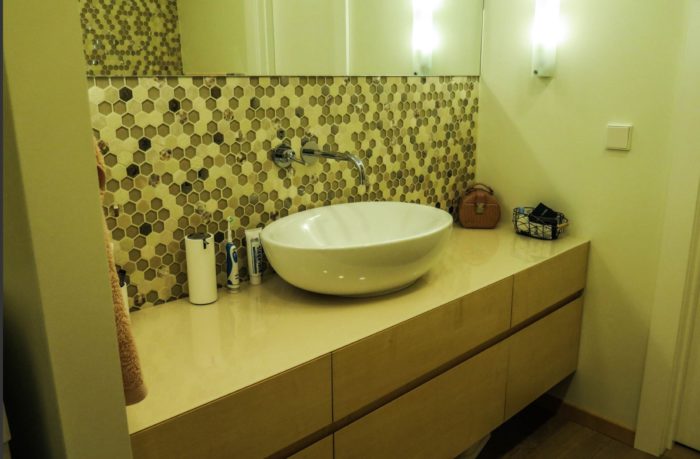
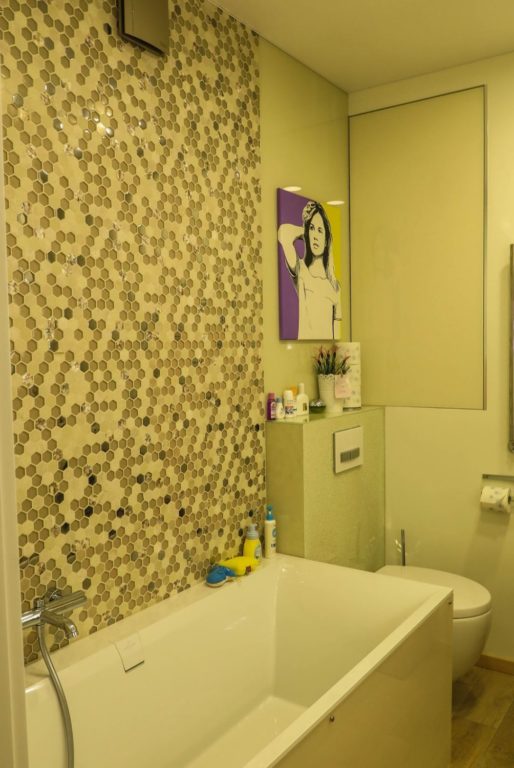
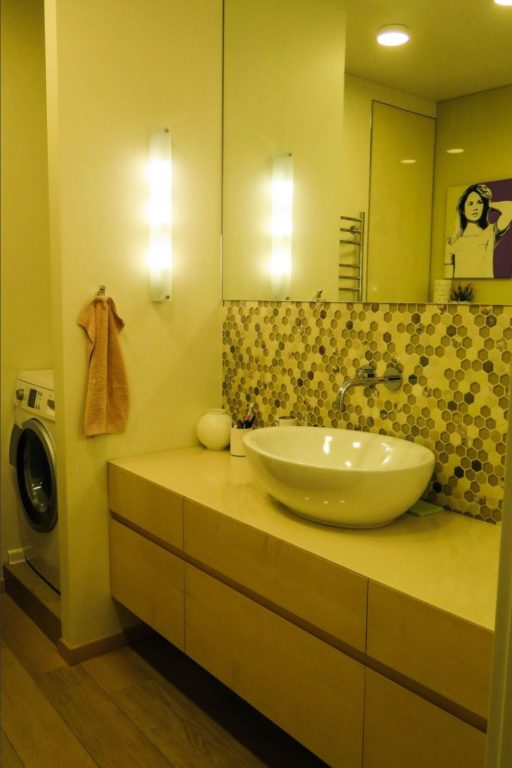
Zoning means one bathroom wall can be finished with several kinds of tile, but only in connection with other objects, not randomly. The area around the mirror or bathtub can be finished differently, for example.
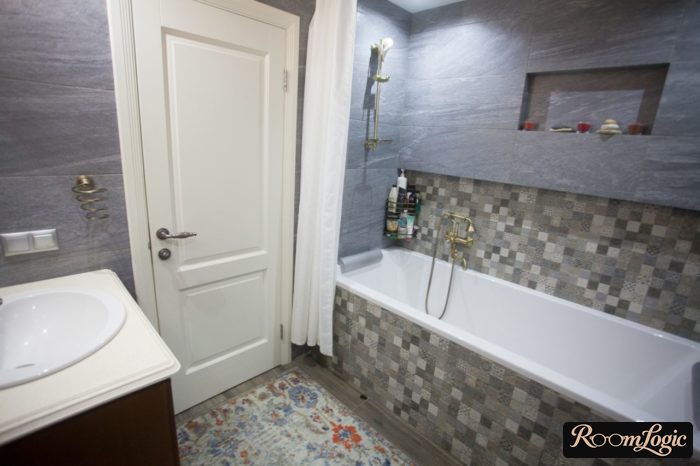
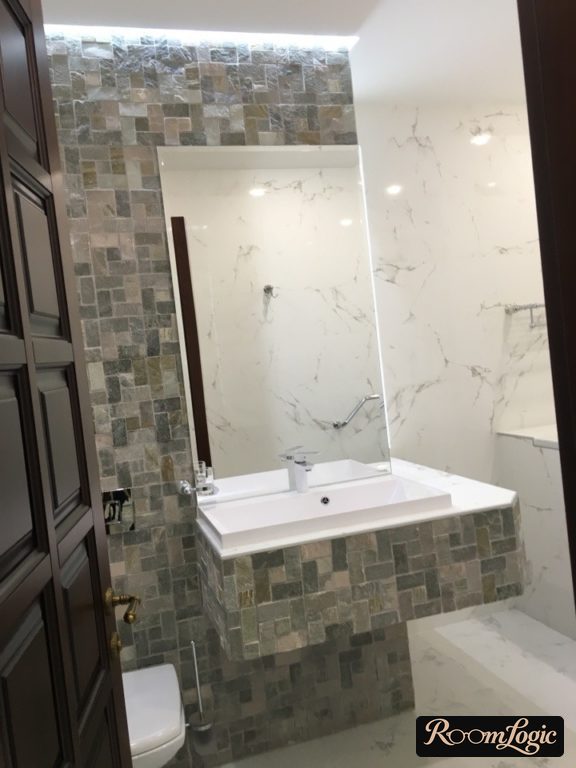
This method is often used in large bathrooms simply for beauty. But zoning has a specific function: symmetry.
Here is an example where the tile finish is divided into two zones. Because of this, absolutely everything is installed symmetrically: the tub faucet is exactly in the center of two tile cuts, and the vanity with the faucet and mirror is in the middle of the mosaic area.
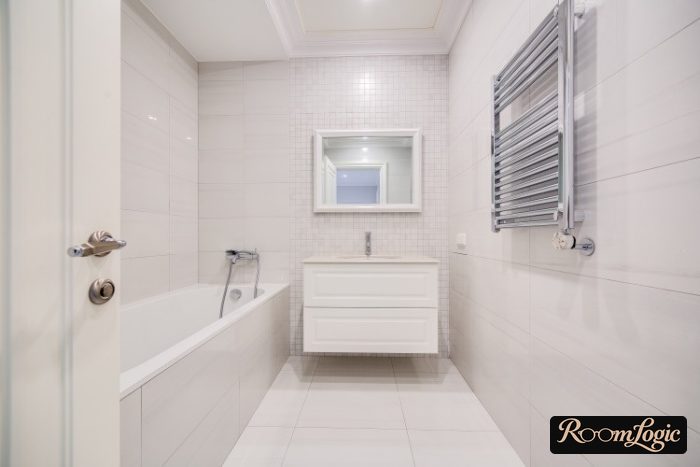
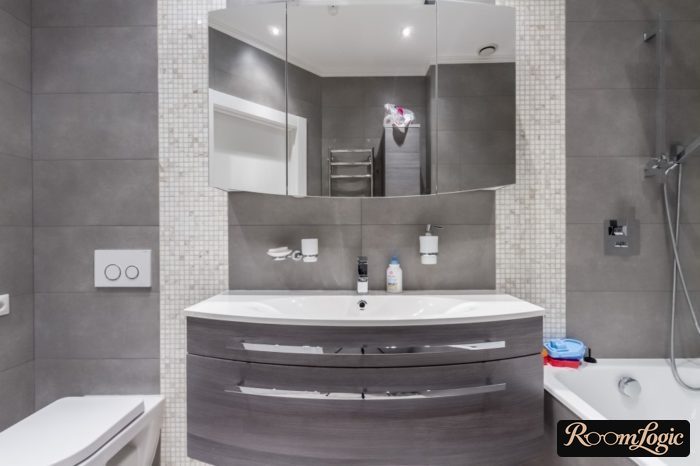
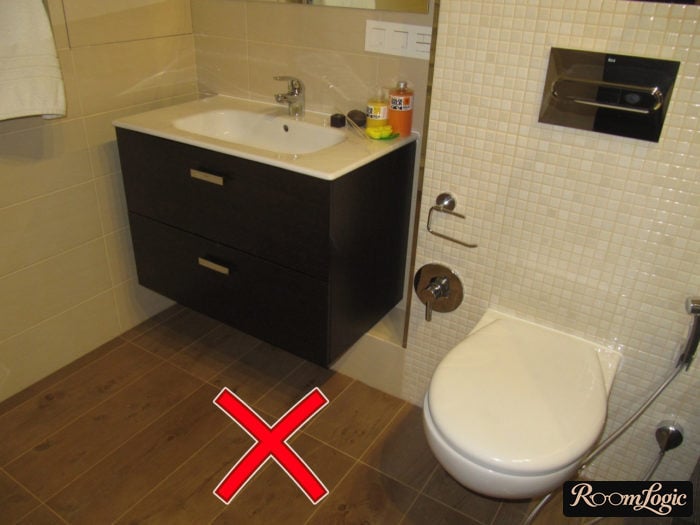
And here are examples where the concealed toilet carriers are finished with the same tile as the walls, breaking the symmetry. This is exactly the situation where another tile is needed. That is how it should work, instead of adding complexity for its own sake. Read the article with a pile of bathroom photos with toilets. If the toilet is separate, read about apartment half-bath design.
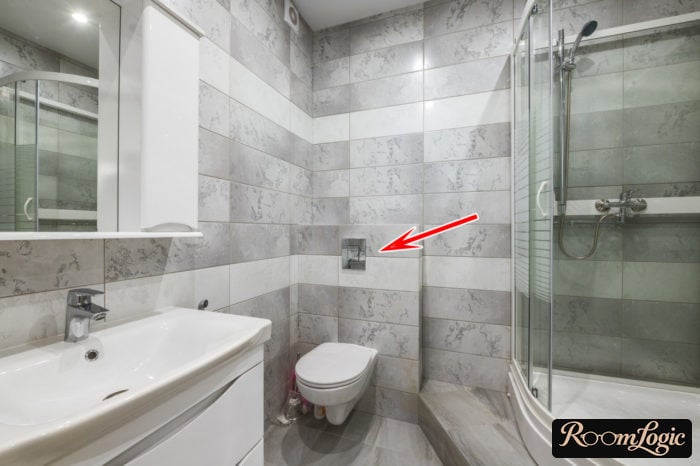
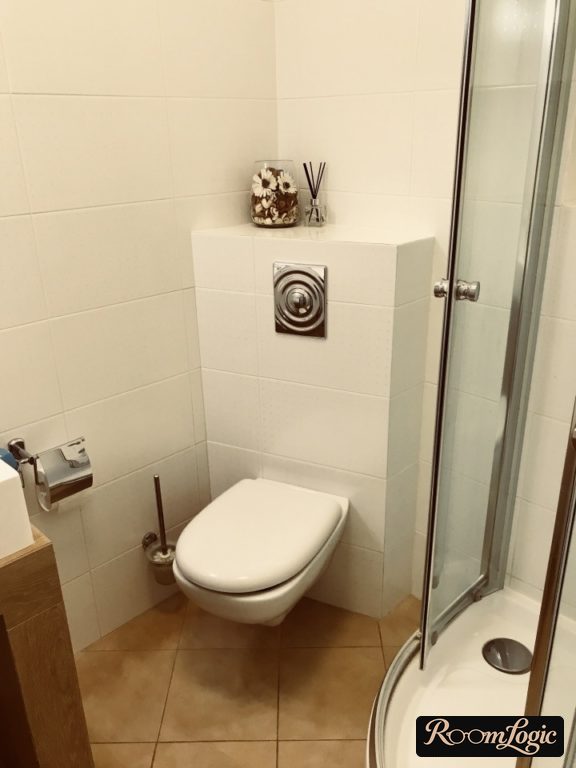
Keep in mind that tile from different collections probably will not align at the grout joints, even if the listed size is formally the same. Be sure to measure the actual tile yourself with a tape measure and plan the joints in advance.
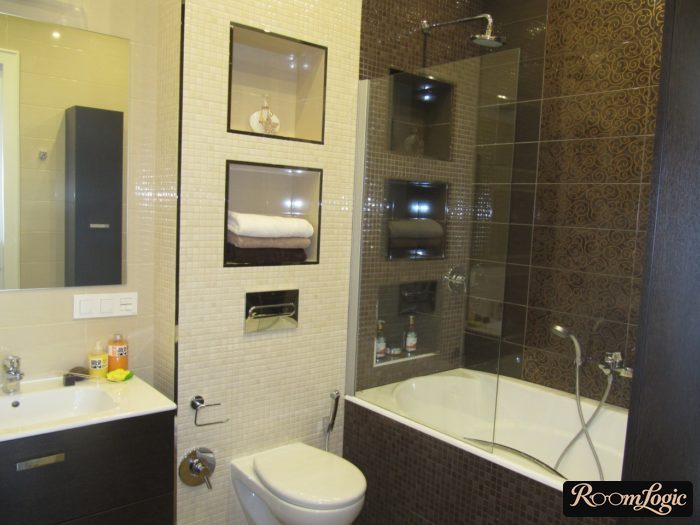
Dividing a Wall Horizontally
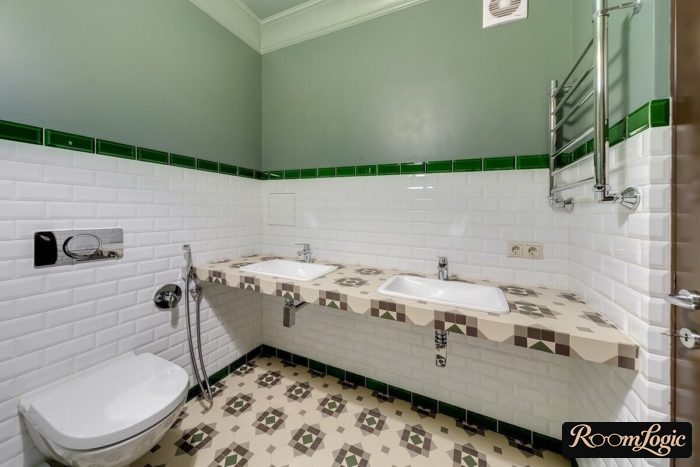
Installing two different tiles on one wall with a horizontal division works only for variations of classic styles, such as a Provence-style bathroom. All those borders and transitions are allowed there and are an essential part of the style.
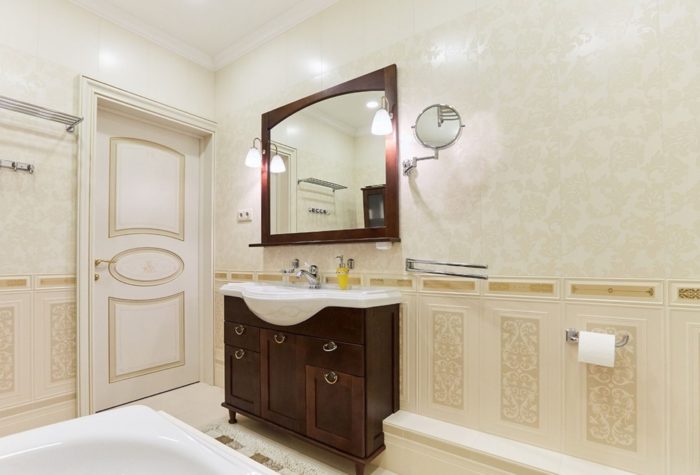
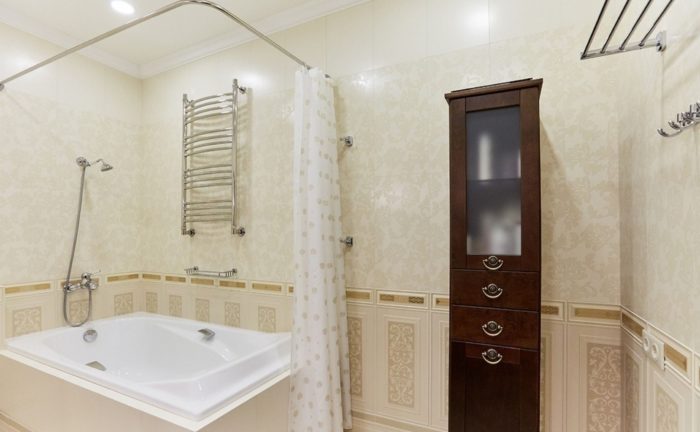
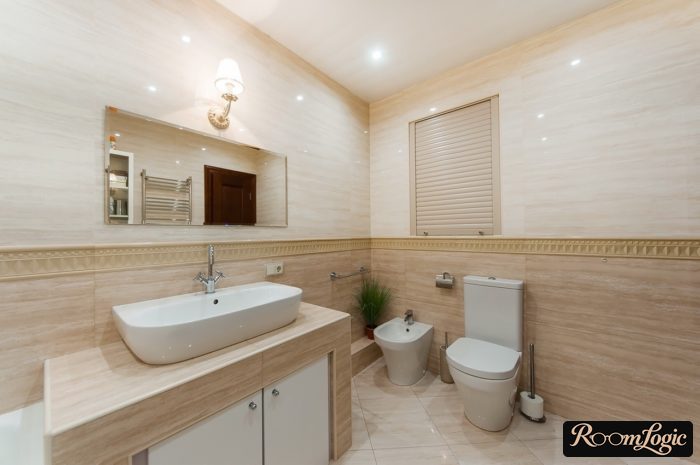
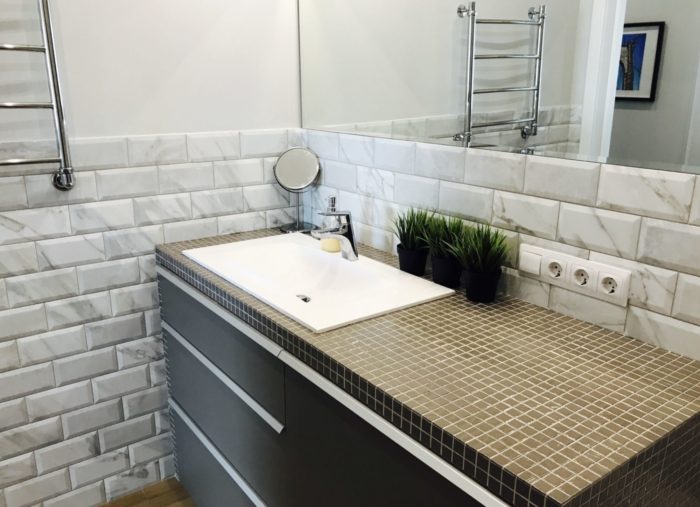
It can also be used in Scandinavian style with white brick-look subway tile. For every other contemporary style, I strongly recommend using only the first two options.
Mistakes When Finishing a Bathroom with Tile
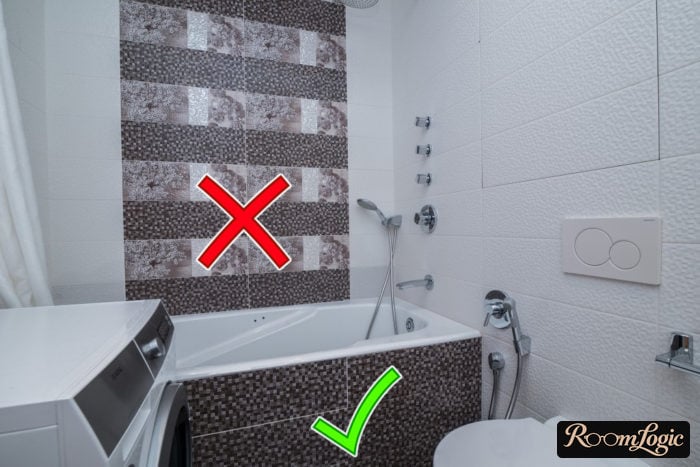
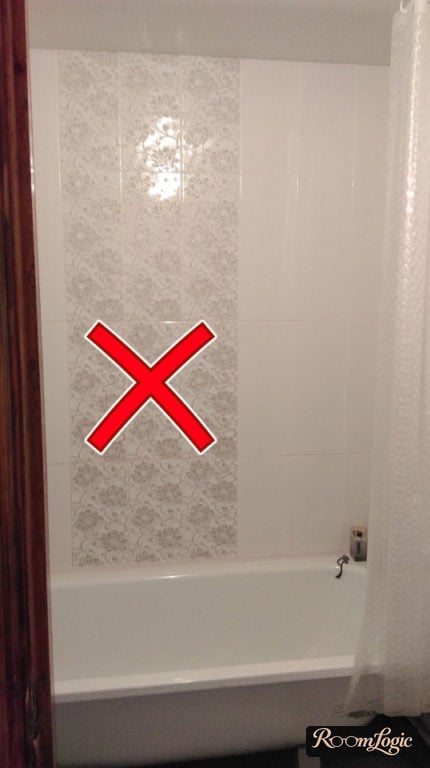
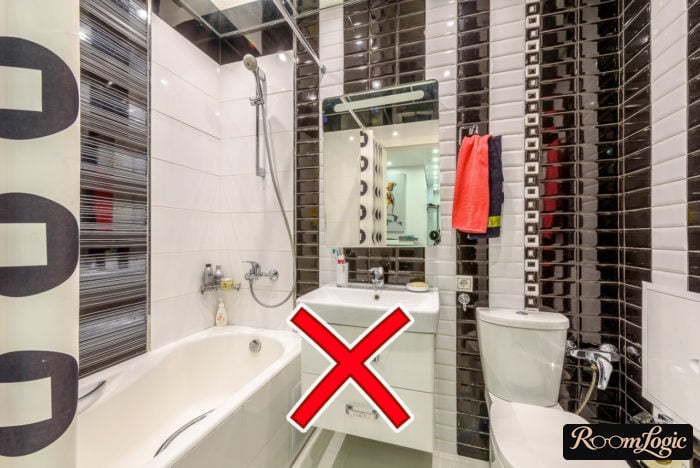
Did you notice that the previous sections discussed only finishing a bathroom with ordinary tile and said nothing about decorative inserts or borders? You do not need them. They are ugly relics of the past and are not used in contemporary remodels.
Borders and decorative inserts are needed only by the people selling them.
Among all the photos above, only one used borders, and even there they were unnecessary. Bathrooms in different styles with different layouts and not one decorative insert. Because this is how contemporary bathroom design is done.
Drive away every thought about panels and flowers, or improving and fixing a “too simple” bathroom interior with more finishes. Good examples are in the article about a 43-square-foot bathroom with a washer. It has the maximum number of objects, and any complicated finish would only make it worse.
Tiling Without Narrow Cuts
Even if you already know how to choose tile and what bathroom tile should look like, there is still a decent chance you will not get a good result. This happens because, for some reason, most finish contractors do not know how to lay out tile at the corners without narrow cuts.
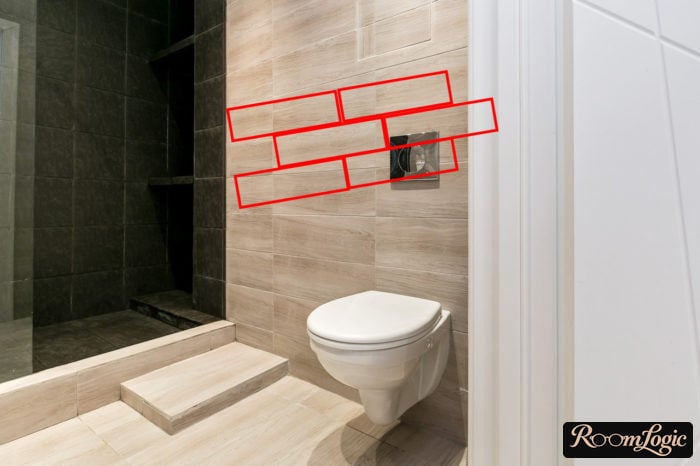
When a whole number of tiles does not fit on the wall, the installer – or rather, the butcher in cases like this – either starts with a full tile and cuts whatever is left at the corner, or lines up the center of a tile with the center of the wall and works in two directions, again making two cuts at the sides as in the photo.
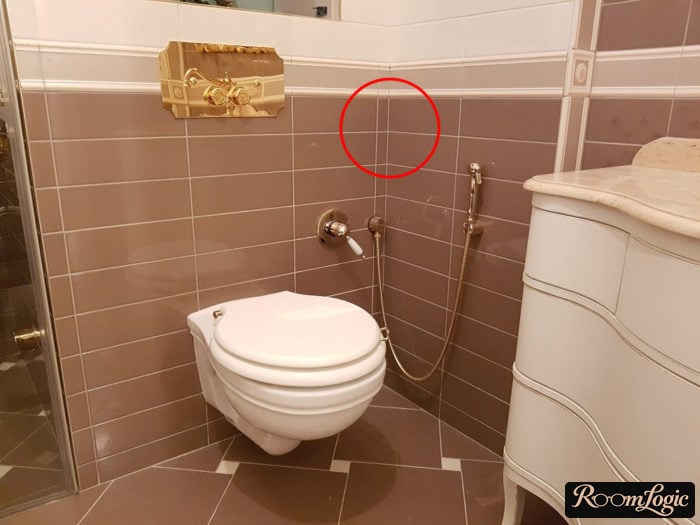
The rule for minimizing cuts at bathroom corners:
- Count how many full tiles fit on the wall and subtract one.
- If the result is odd, the center of a full tile goes at the center of the wall.
- If the result is even or zero, a joint between two tiles goes at the center.
This is pure math. With this algorithm, the cuts will always be symmetrical and no smaller than half of a full tile.
Let’s redo the example above. Three full tiles would fit on the wall. Three minus one equals two. Two is even, so a joint should be in the center. Apply some lazy Photoshop.
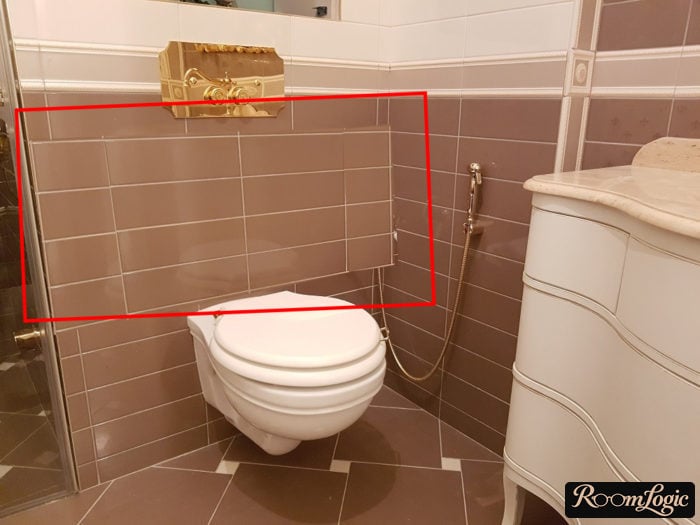
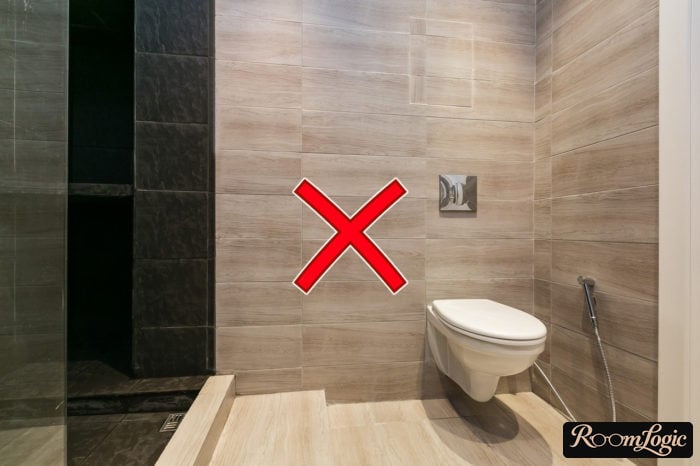
Although the rule is simple, a huge number of people still do not know it. How not to do it:
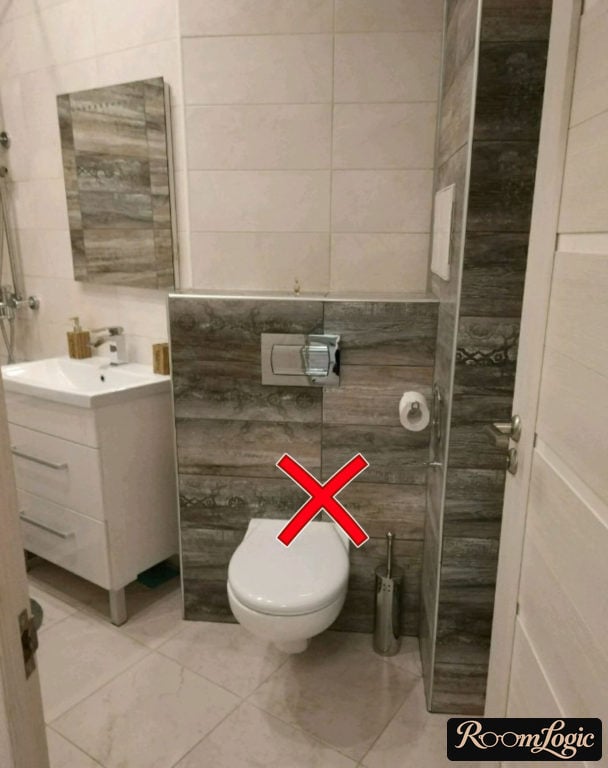
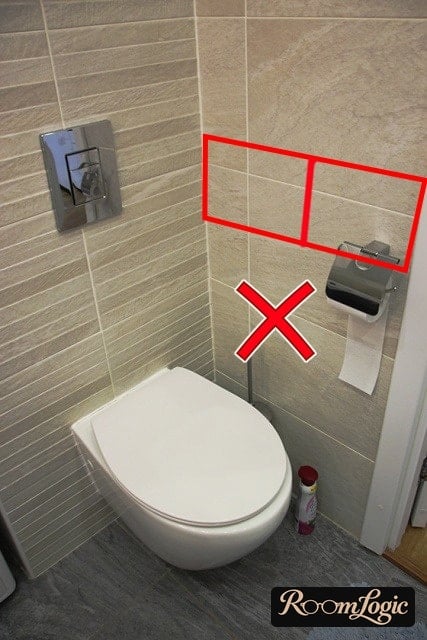
And here the layout is correct:
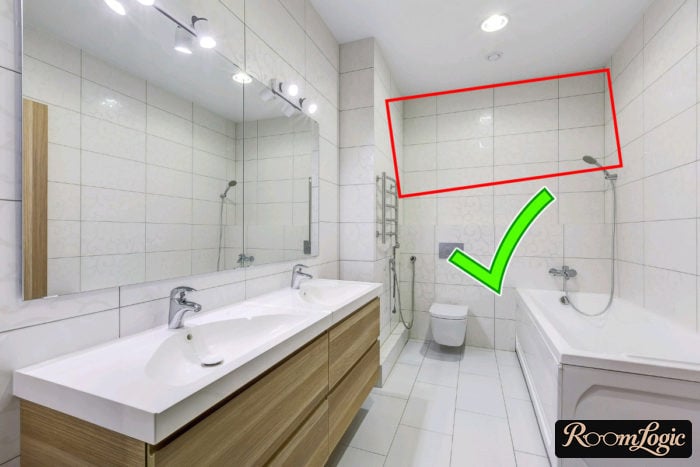
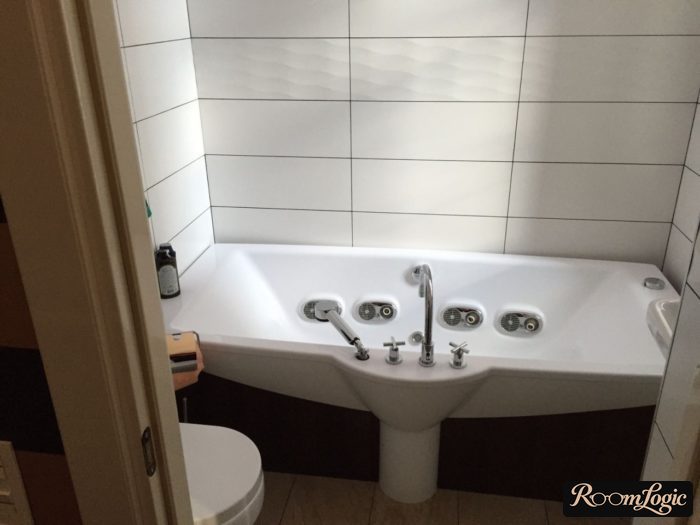
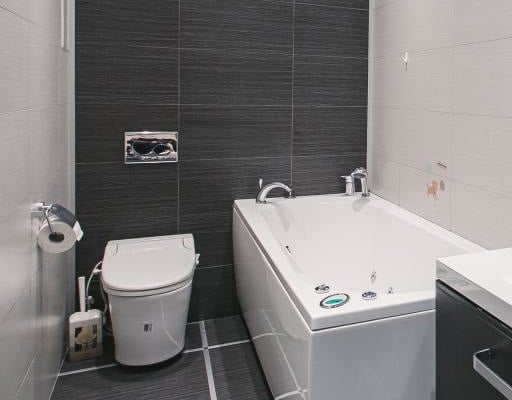
The bathroom floor can follow the same rule. Or account for which part of the tile will be visible and which part will be covered by the vanity, for example. Then you can start with a full tile in the visible area.
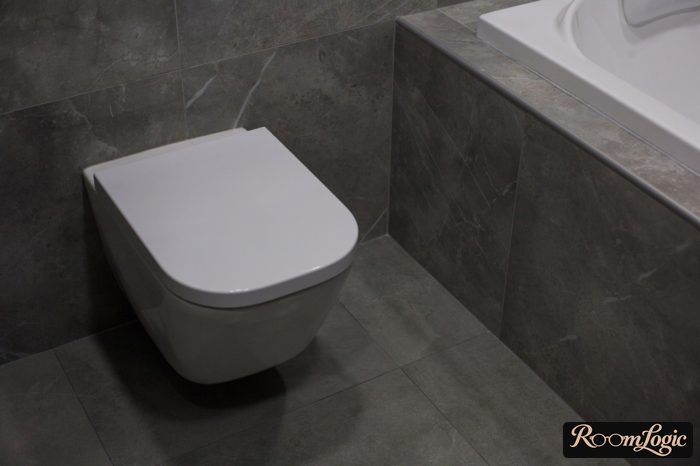
Horizontal or Vertical Layout
Have you heard that installing rectangular tile vertically visually increases the room height? That is complete nonsense.
Good tile always imitates natural materials, and their installation should be imitated too. Have you seen walls where brick, block, or stone is installed vertically? No. Installing a rectangular material in any direction other than horizontal looks unnatural and ugly.
Rectangular tile is installed strictly horizontally.
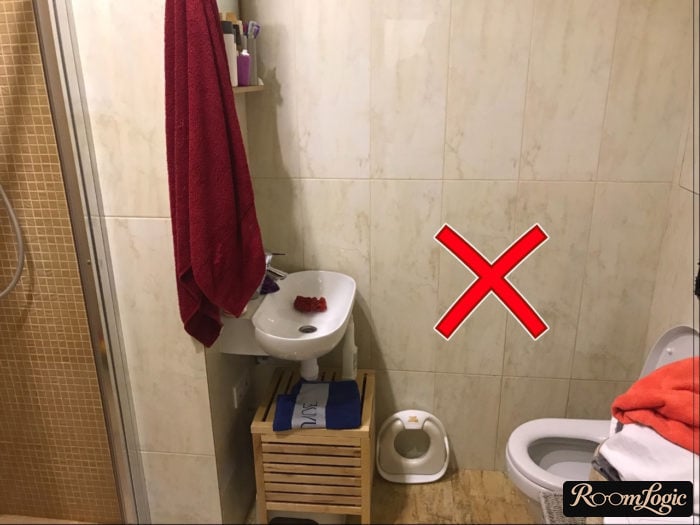
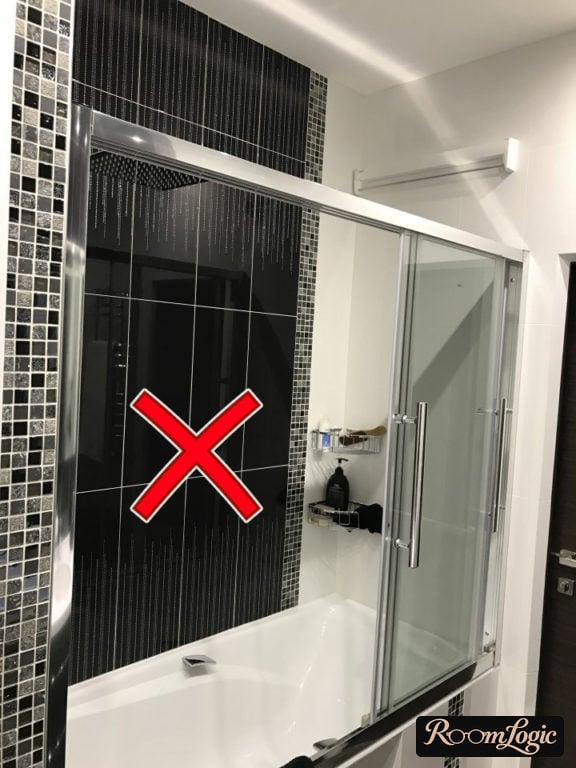
A partial exception is a classic-style bathroom. Vertical tile is sometimes allowed there.
Wood boards, brick, and stone are always laid with an offset, which means tile imitating them should be installed the same way. Offset brick-look tile and rectangular stone blocks by half a tile. For wood-look tile, a one-third offset works best.
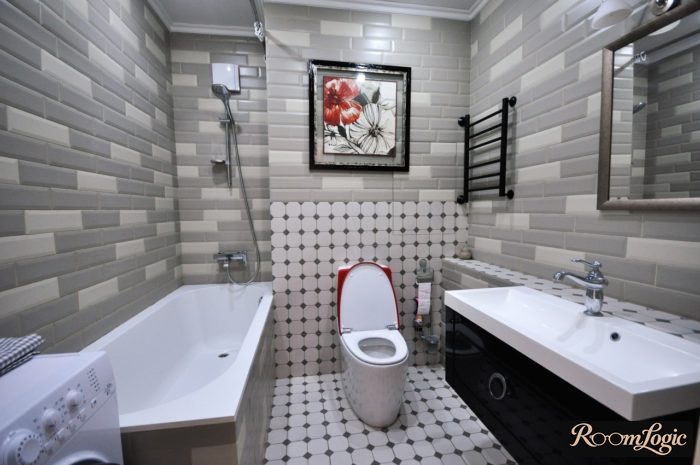
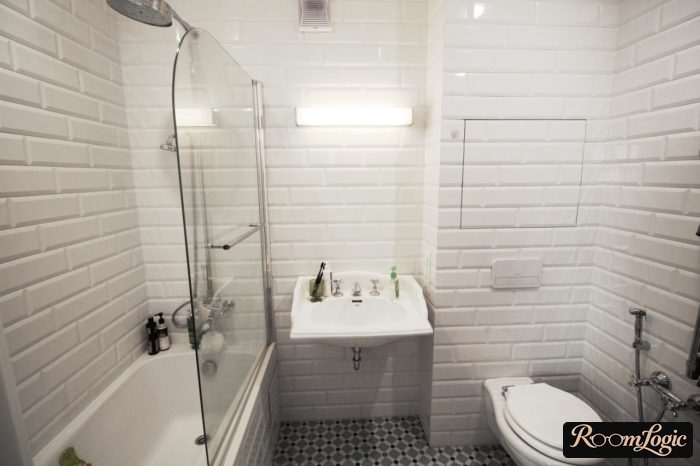
Finishing a bathroom with wood-look tile without an offset is a serious mistake. It will look absurd.
A sensible bathroom design is impossible without proper tile installation. Choose the right options, avoid narrow cuts, choose the grout color properly, and everything will be great!