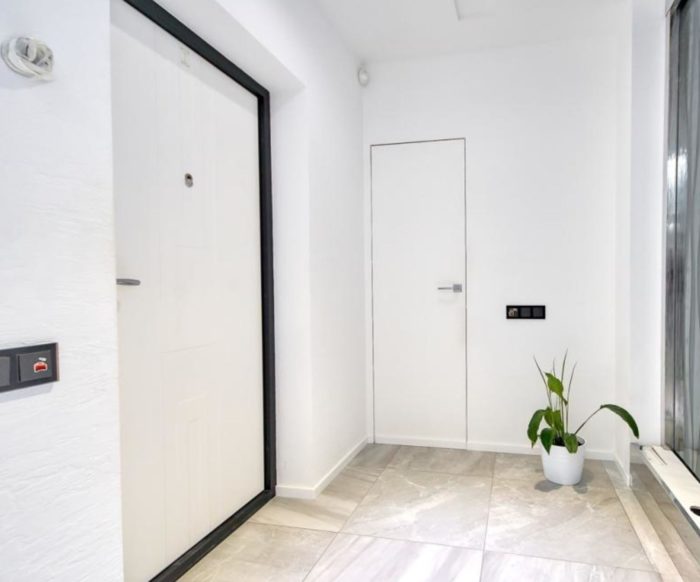
First, let’s define the difference between a hallway and an entryway. An entryway is the area by the front door, while a hallway is any long rectangular room connecting other parts of an apartment. In other words, not every hallway is an entryway.
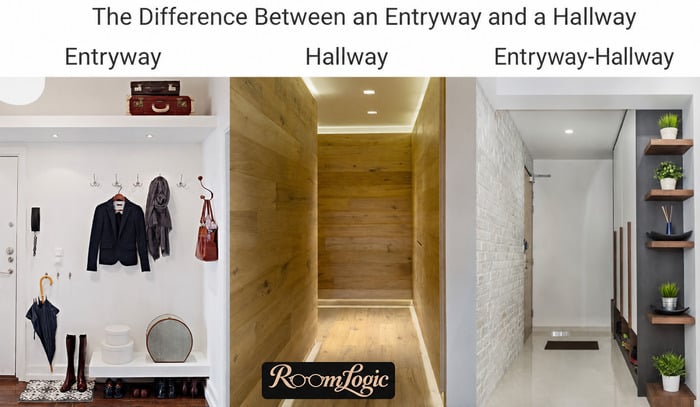
If you are here for the first picture, go to apartment entryway design. Here we will look at every type of hallway design. Mainly with photo examples, but there will be a little theory too.
A Little Hallway Design Theory
We will very briefly go over the theoretical points in hallway design so you know what to look for in the photos. Not all the hallway photos were taken in apartments, but they use ideas that may be useful.
Floor and Ceiling Finishes
A hallway always has a long, elongated shape. This places some limits on floor and ceiling finishes because these surfaces are very narrow.
Hallway Floor
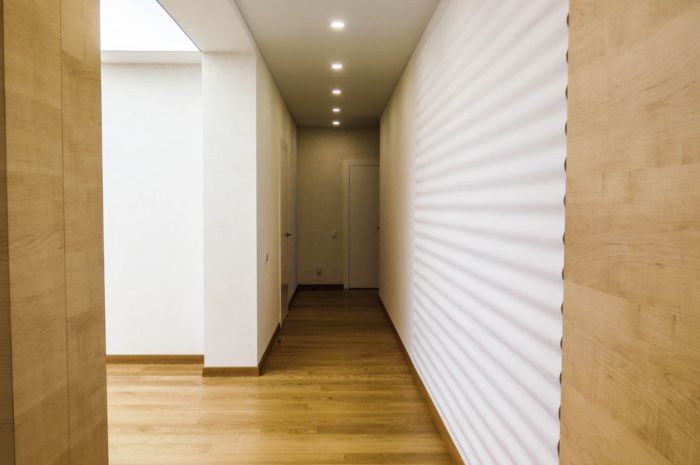
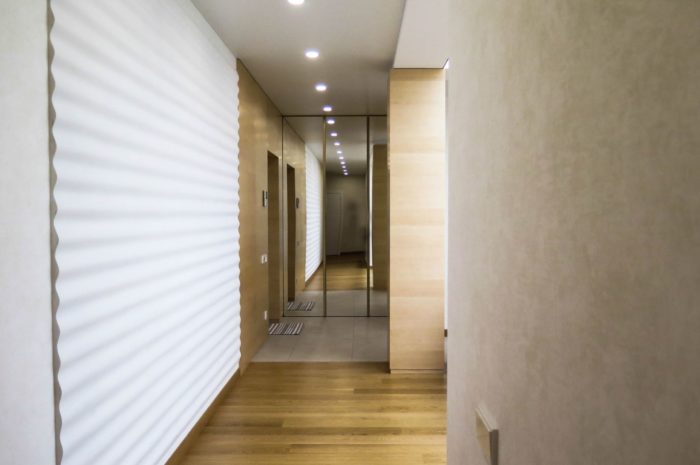
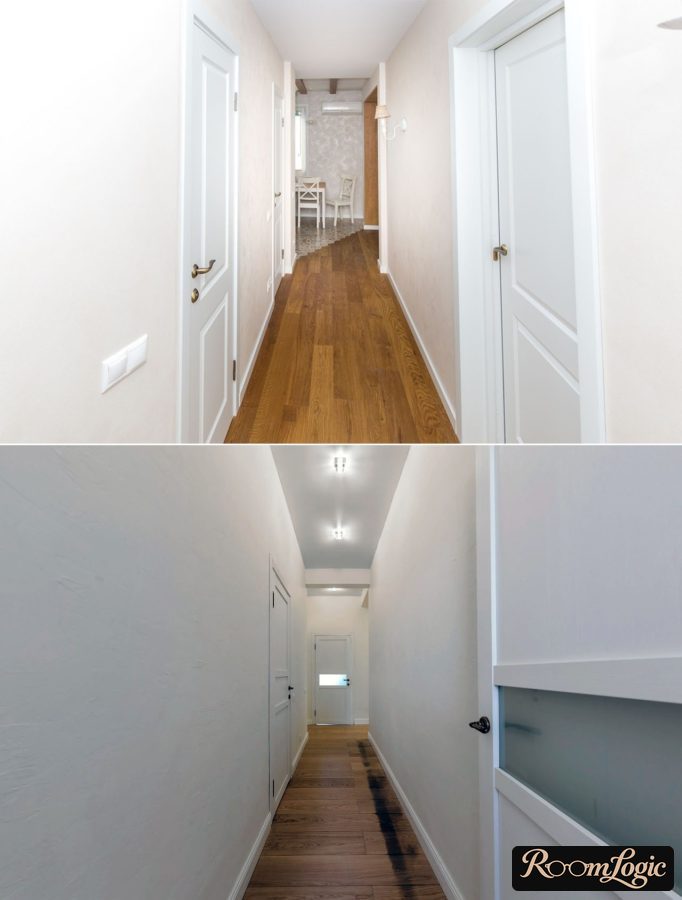
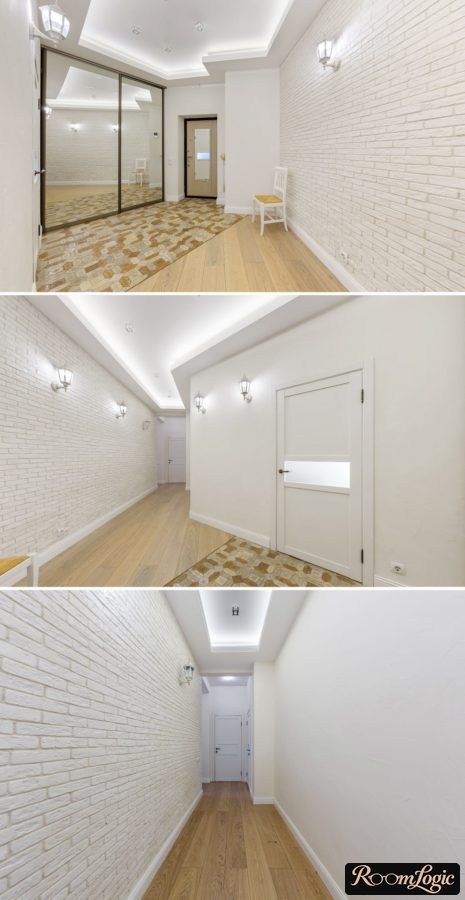
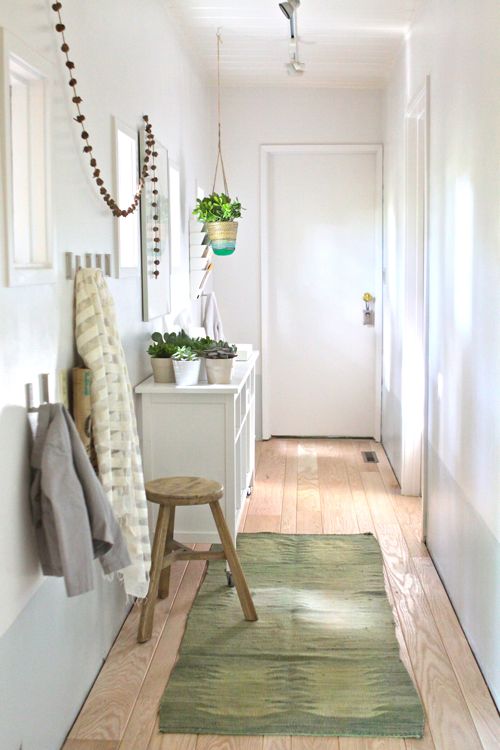
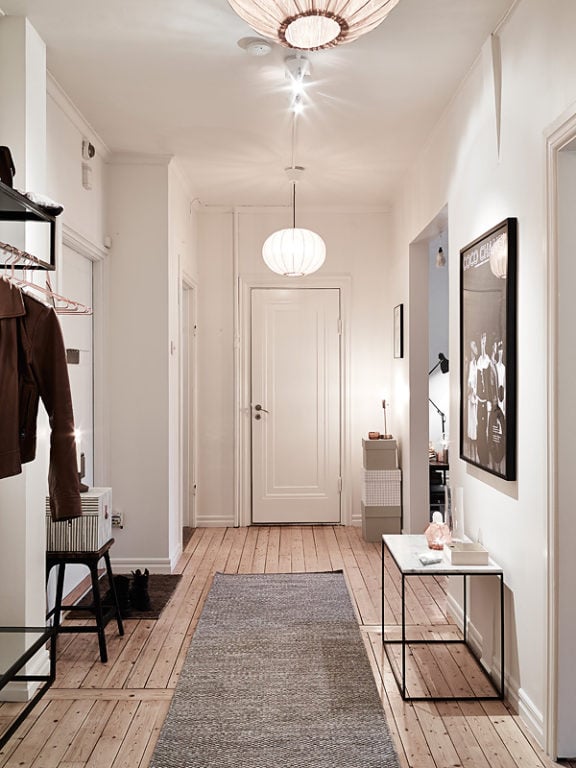
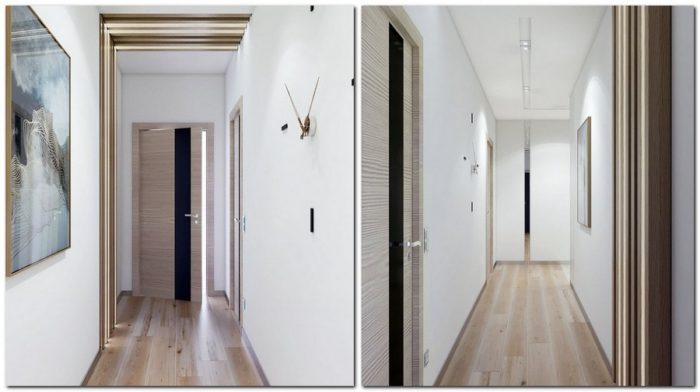
There are no special options for laying tile, but there are options with laminate and hardwood. You definitely should not lay the flooring across the hallway. You will get too many joints, a busy pattern, and extra visual overload, plus increased wear on the flooring. I know no one reads the instructions for finishing materials, but manufacturers state directly that flooring should preferably not be laid across the direction of traffic. We have an important article: Tile, Laminate, and Combining Them in an Entryway.
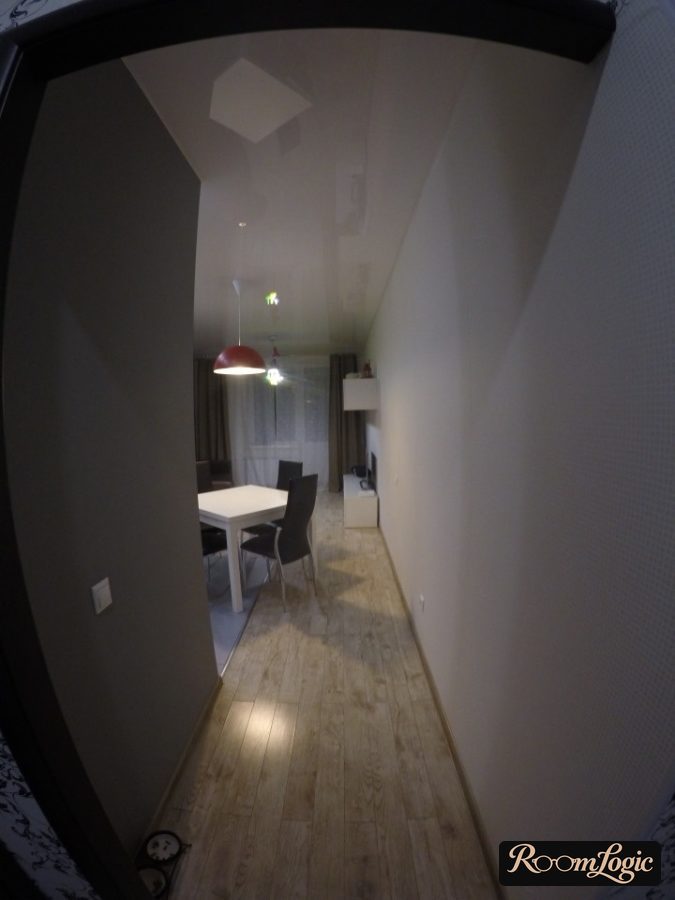
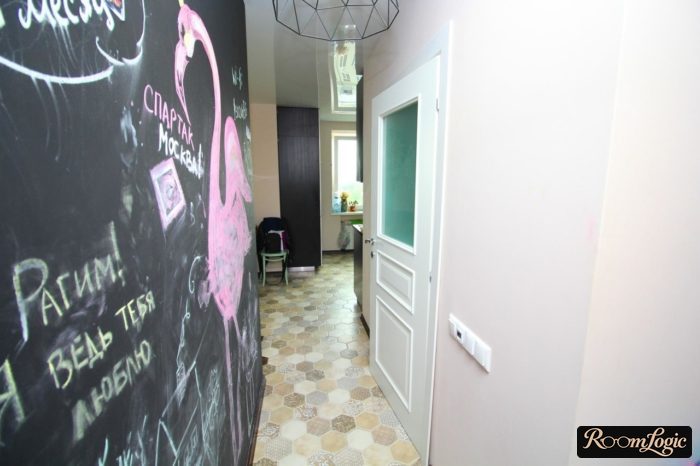
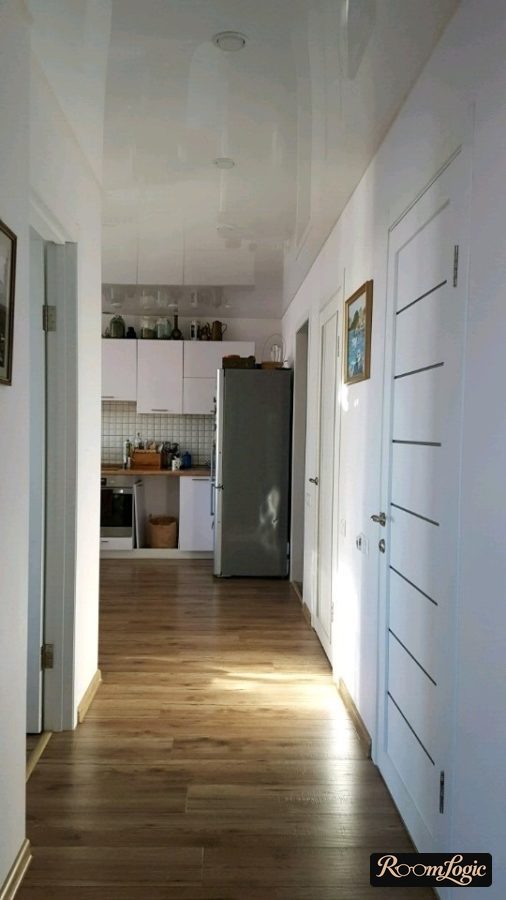
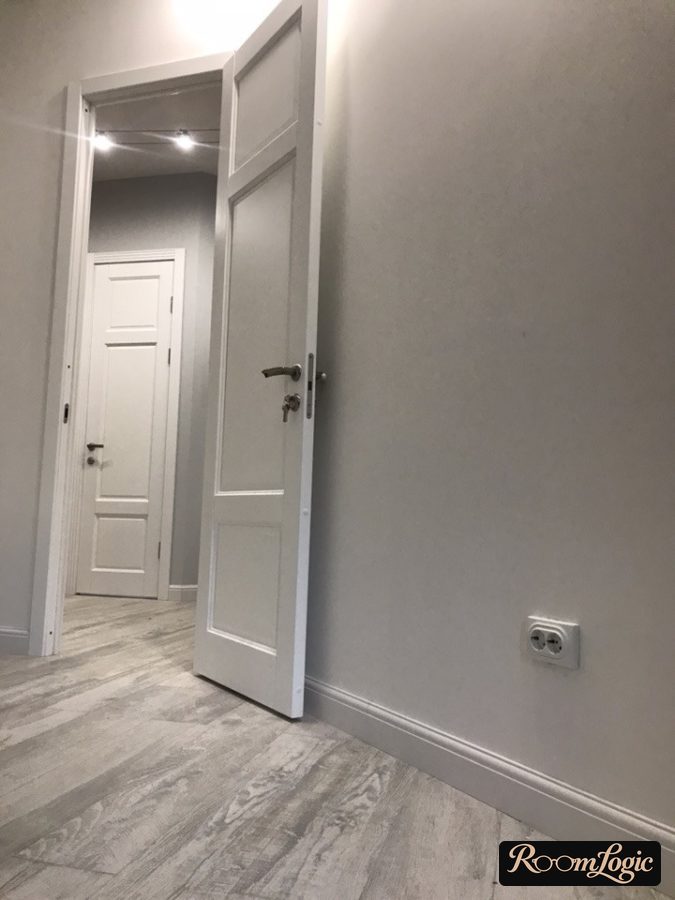
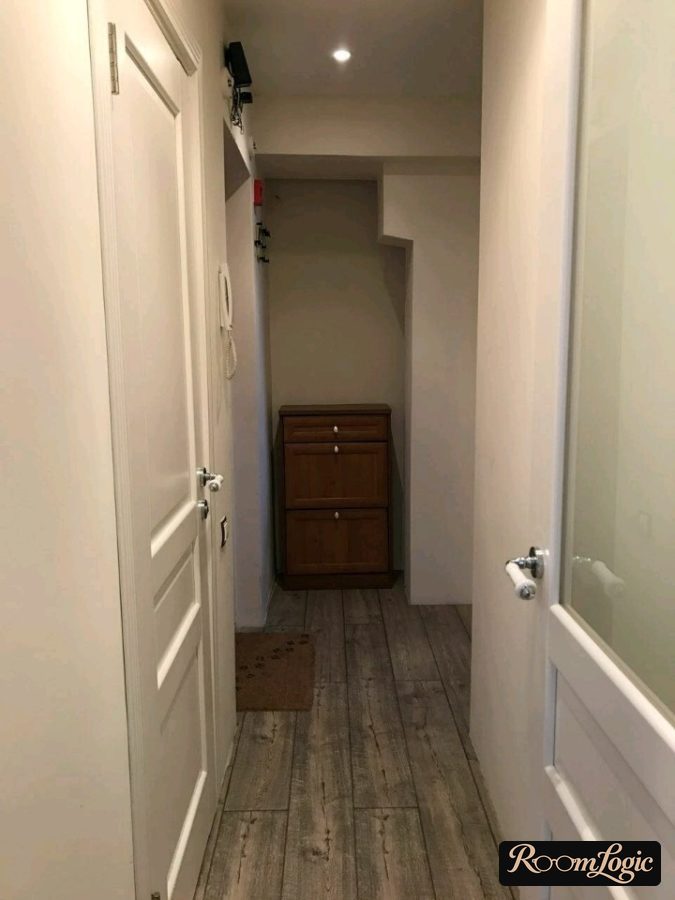
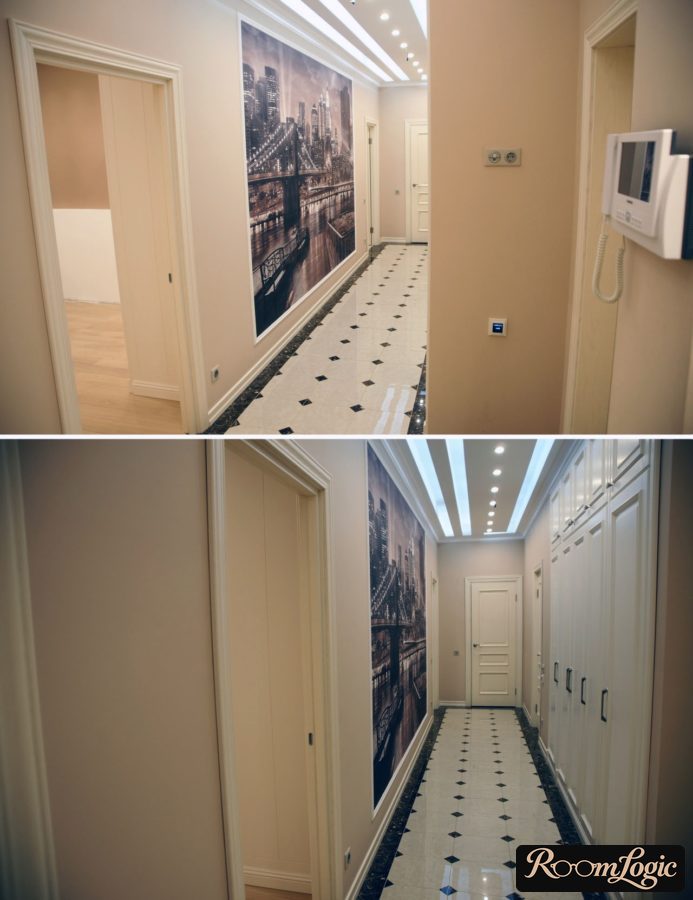
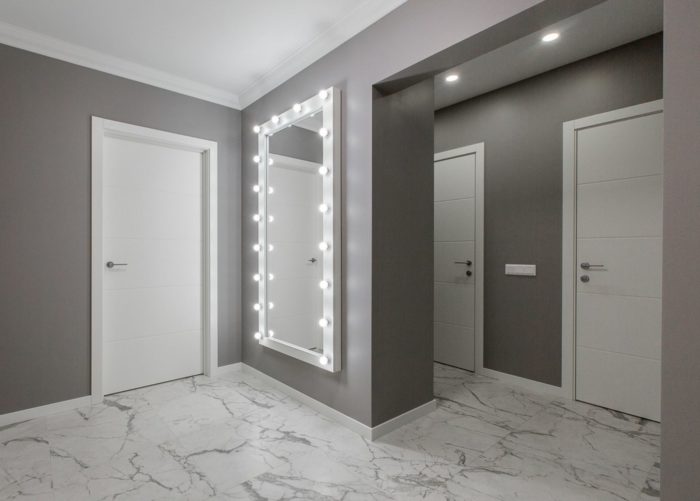
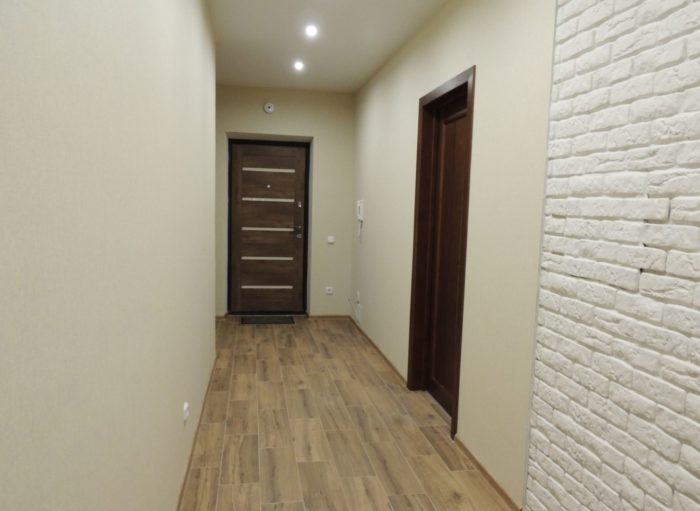
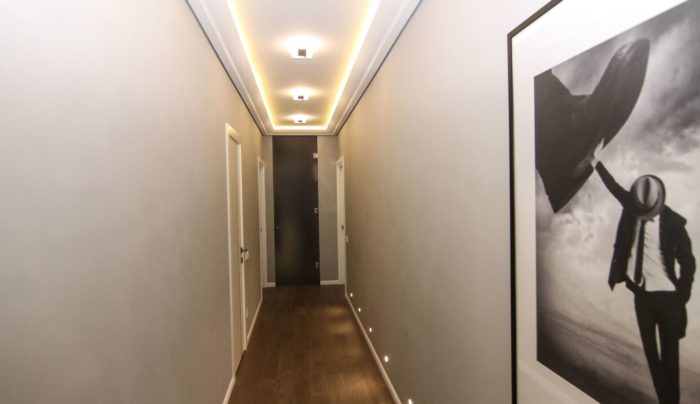
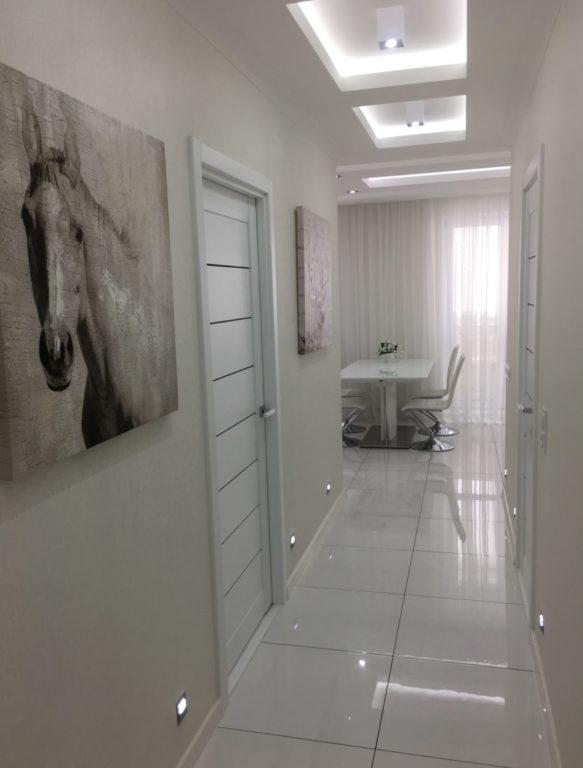
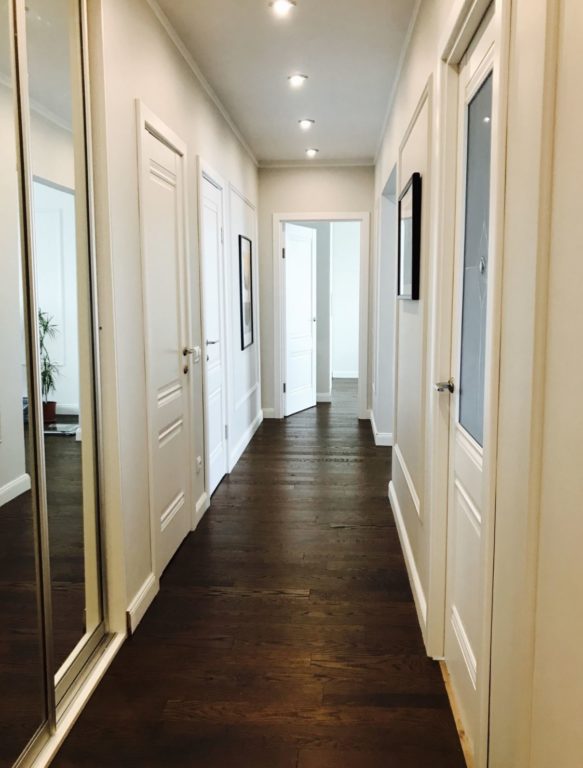
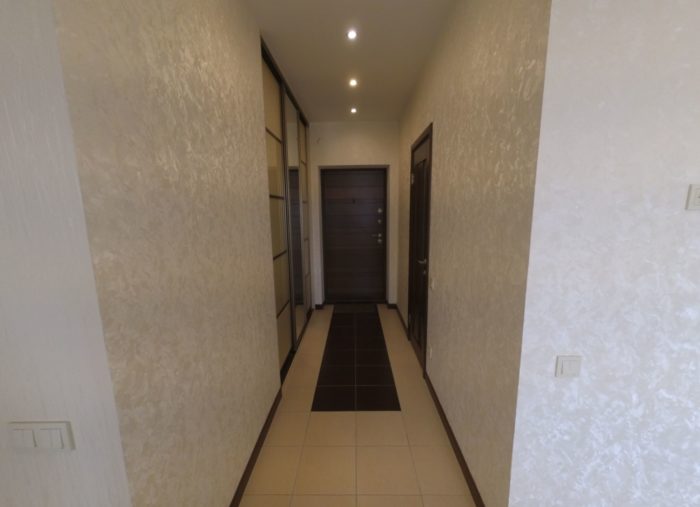
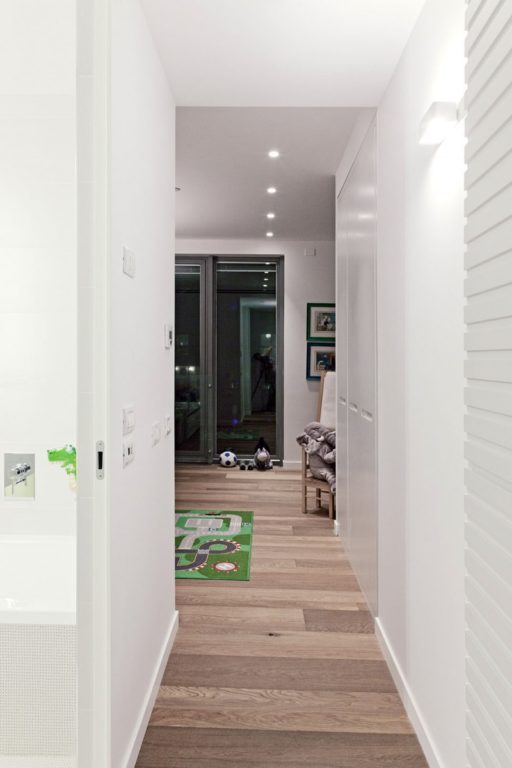
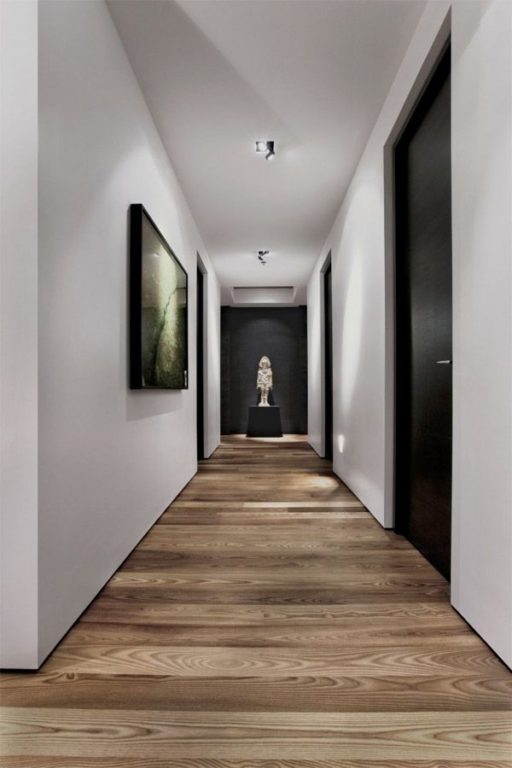
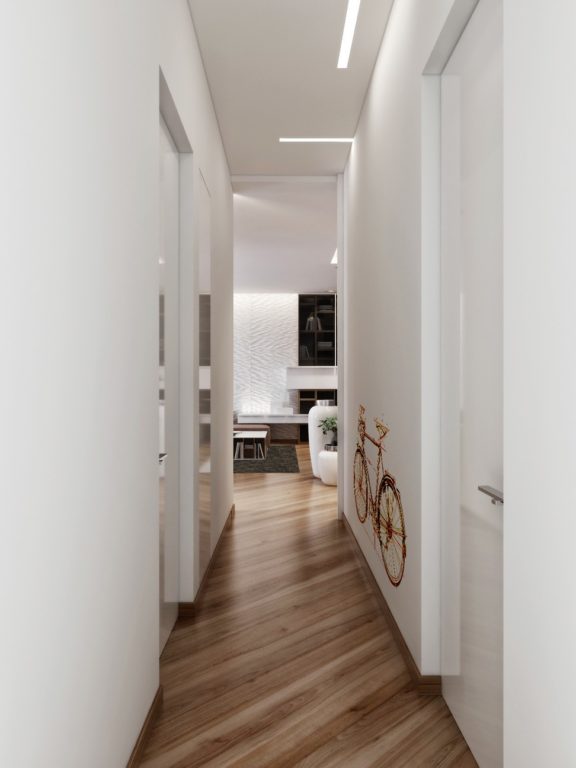
That leaves lengthwise and diagonal installation. Without going too deep into design theory, choose lengthwise for hallways with a regular shape and diagonal for long, narrow ones. Naturally, this applies only to hallways that end with a door. If there is no door, the adjacent room will determine the direction of the laminate or hardwood. By the way, if there is no critical need for a door at the end of the hallway, it is really better to leave it out.
Hallway Ceiling
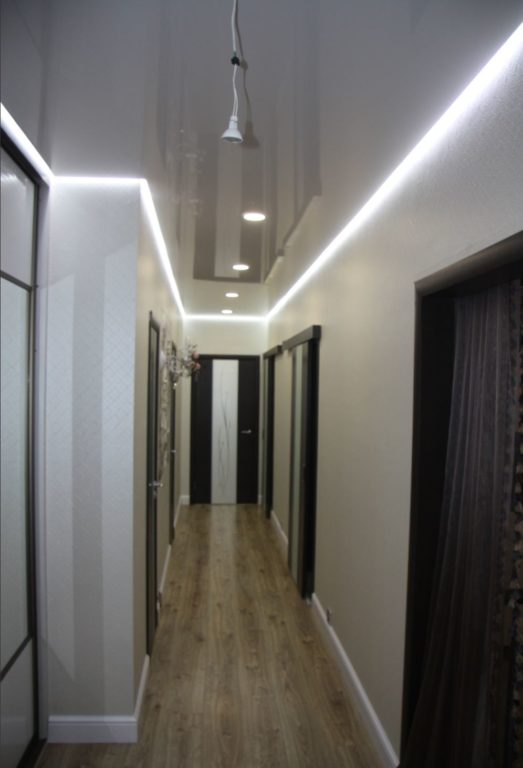
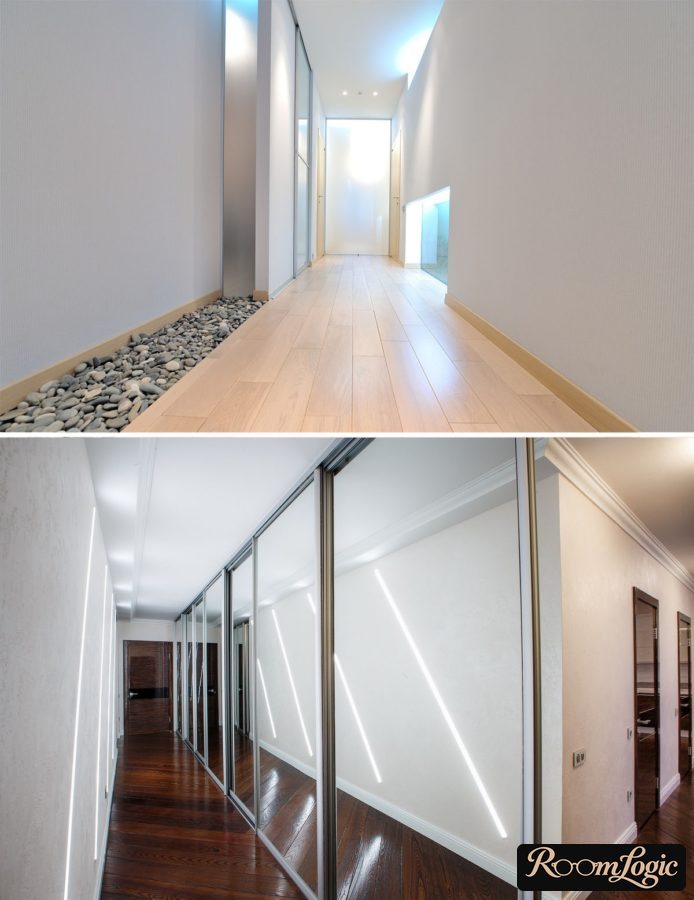
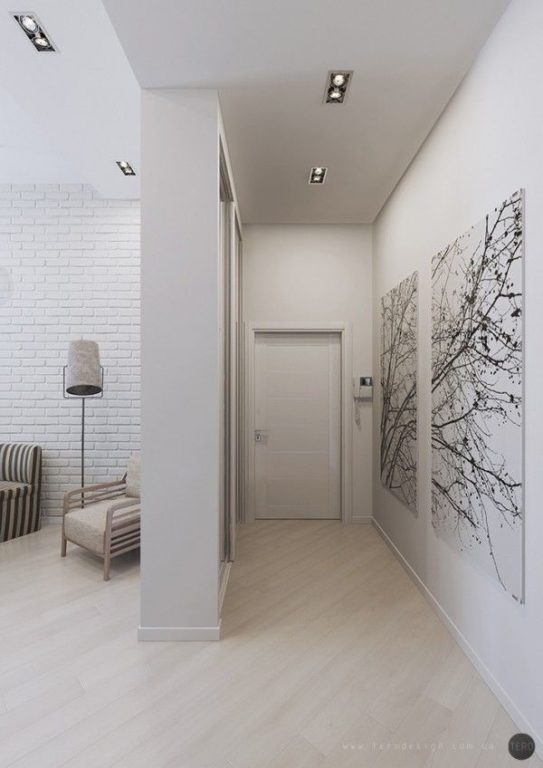
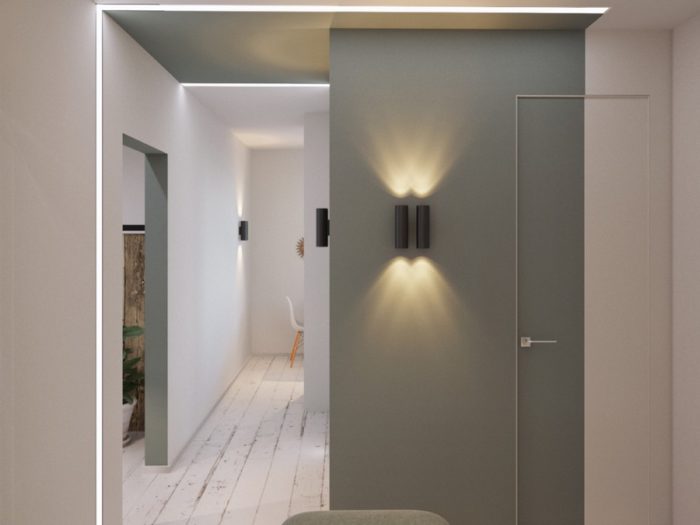
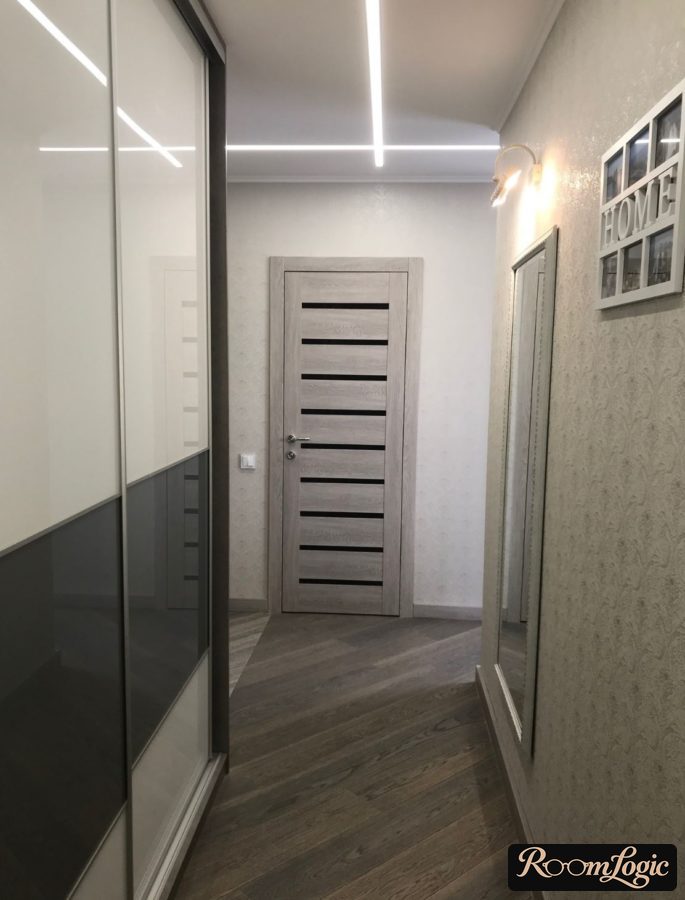
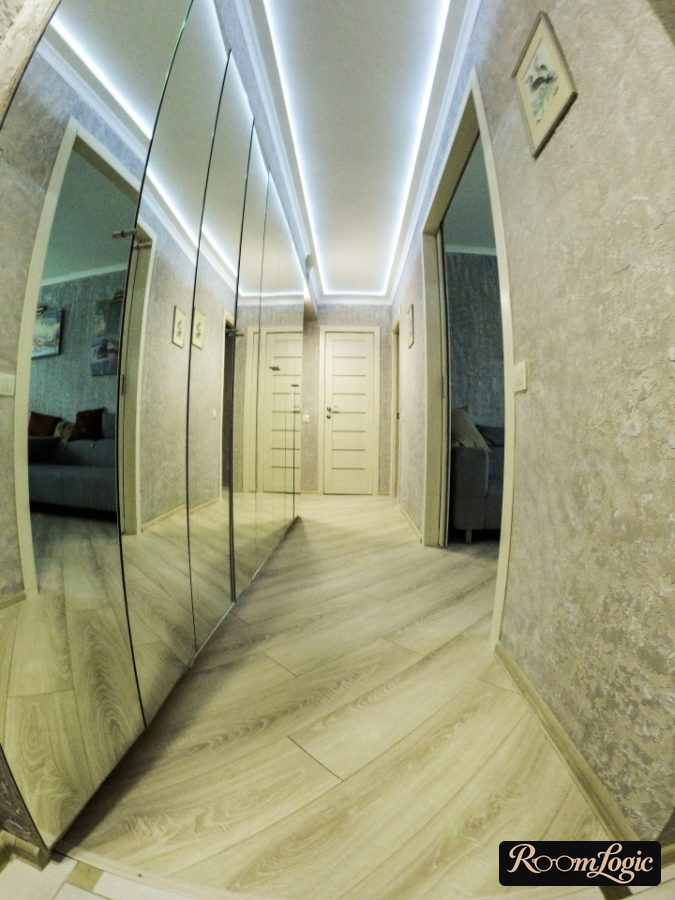
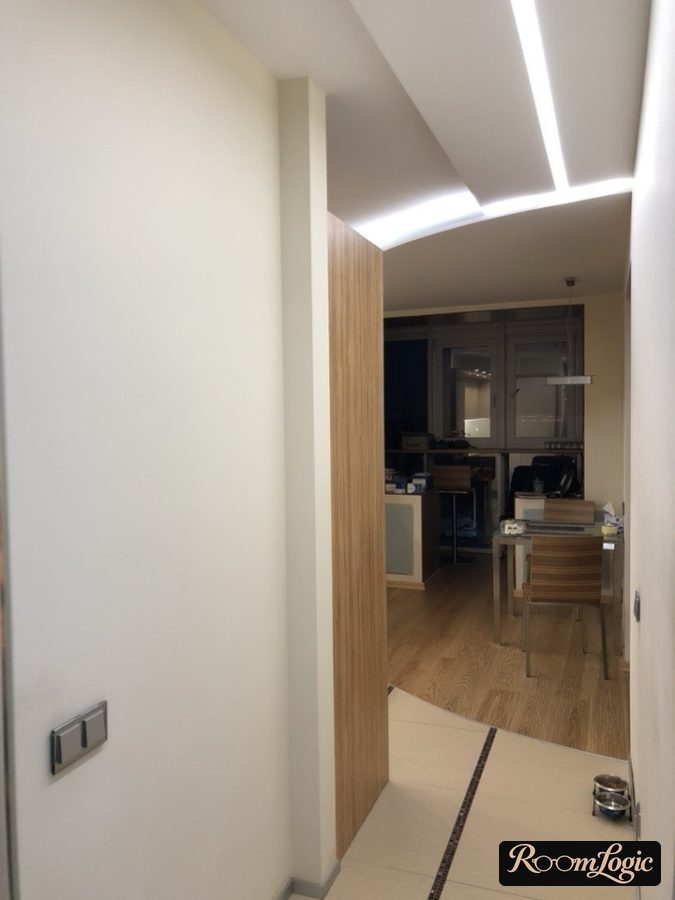
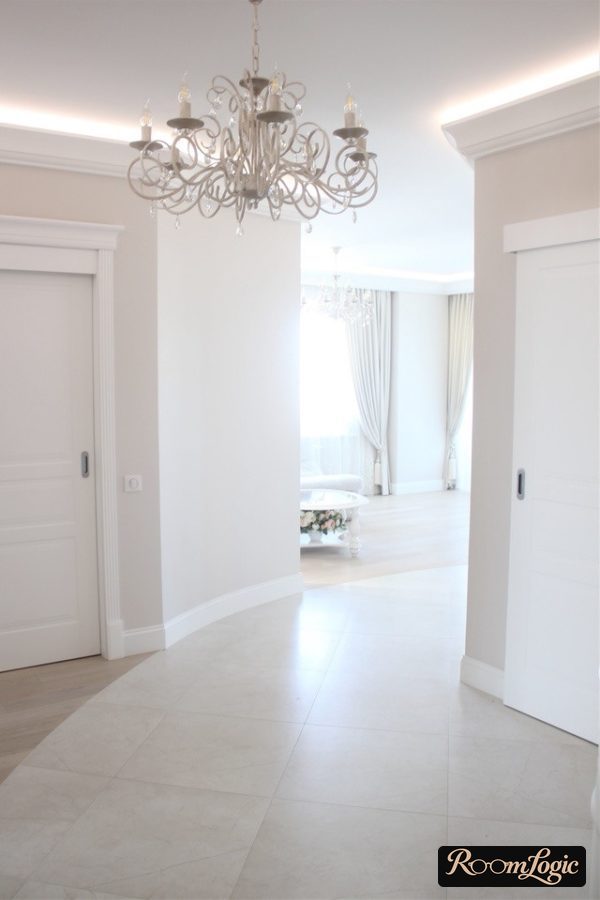
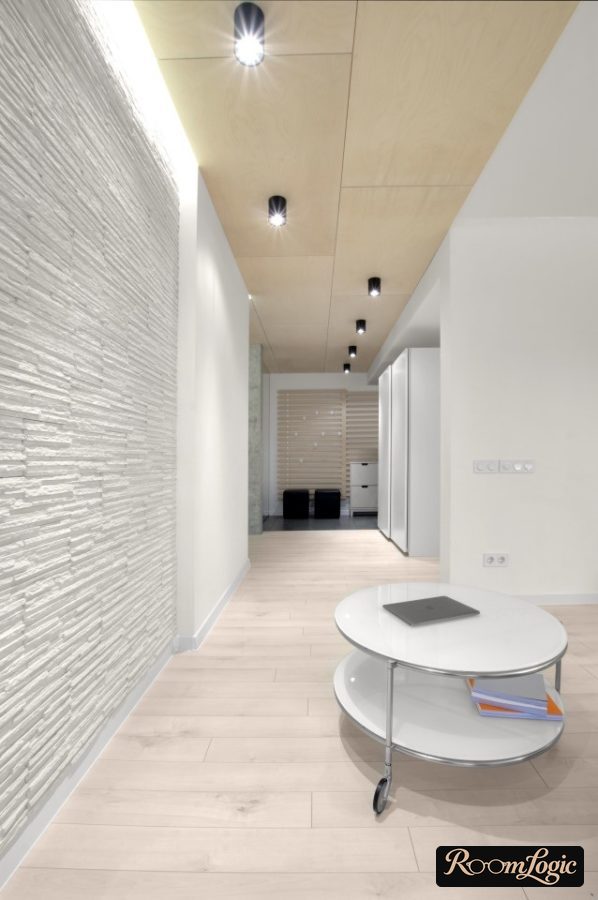
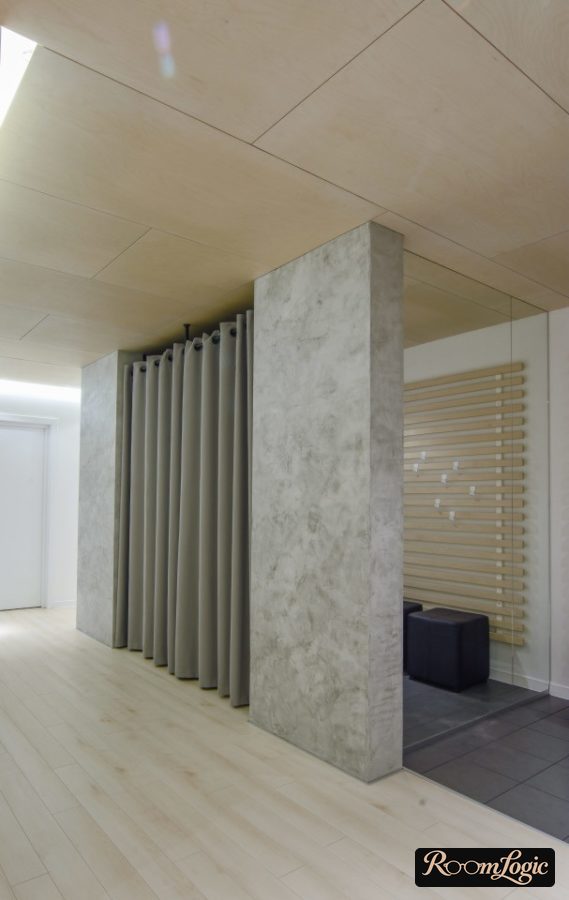
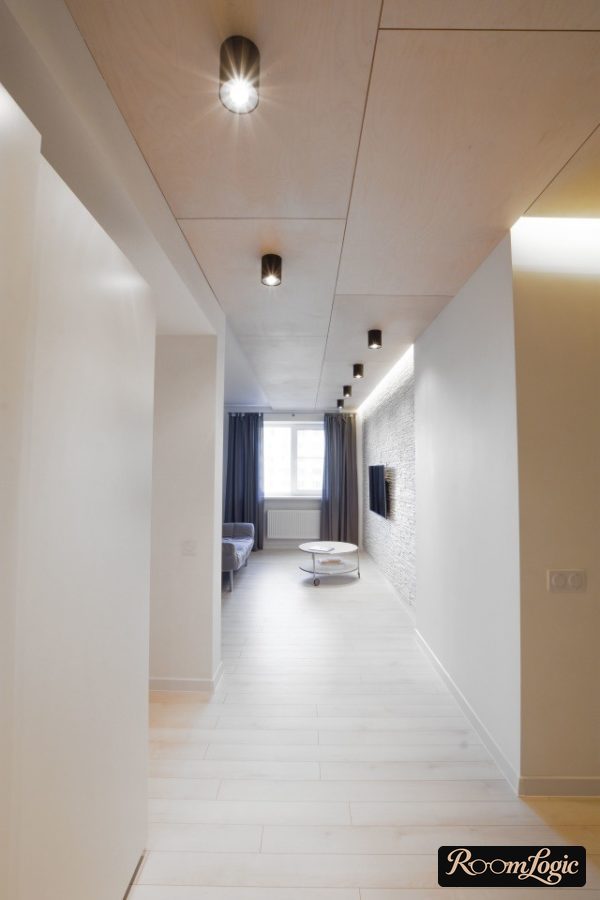
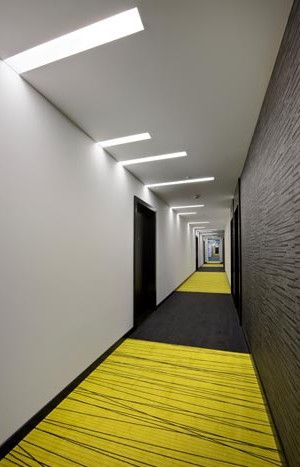
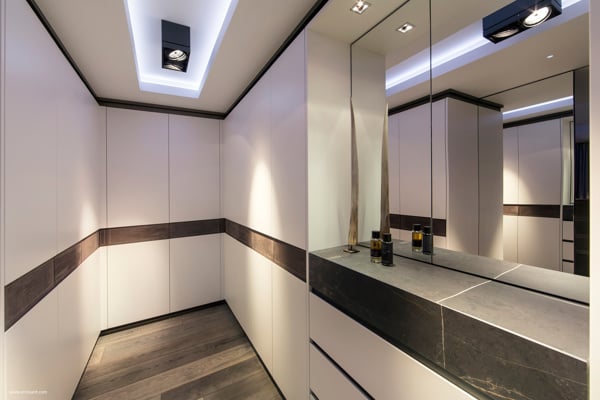
The main rule is not to overcomplicate the hallway ceiling. We have already written about entryway ceiling design. If you really want a complex ceiling, lighting built into it, and so on, the only more or less reasonable option is to lower the central part and install LED strips in niches along the sides. You can even do this only on one side – symmetry is not required.
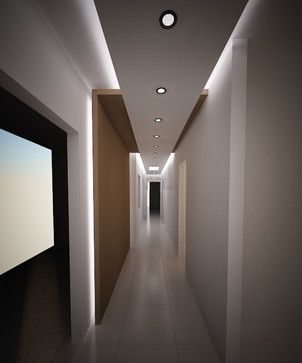
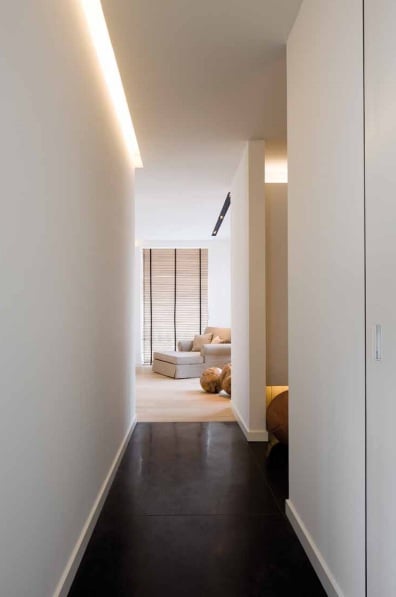
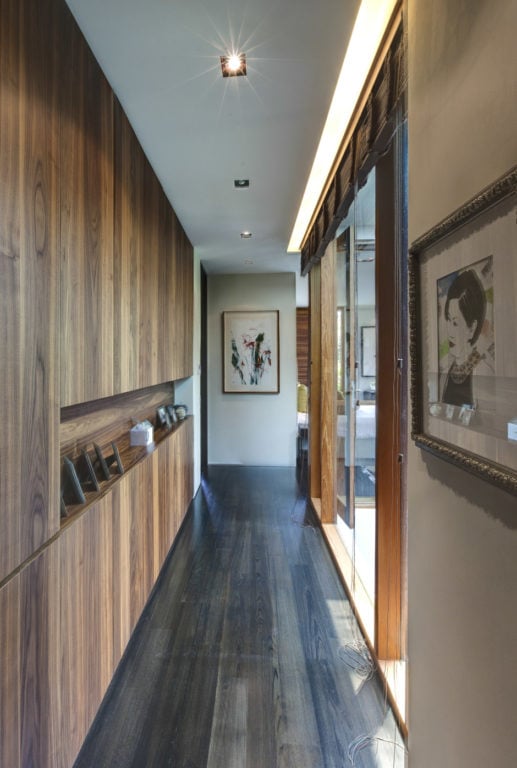
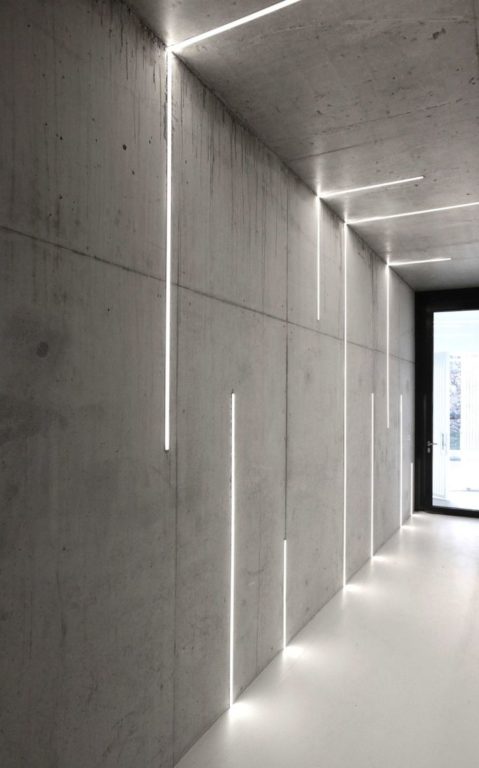
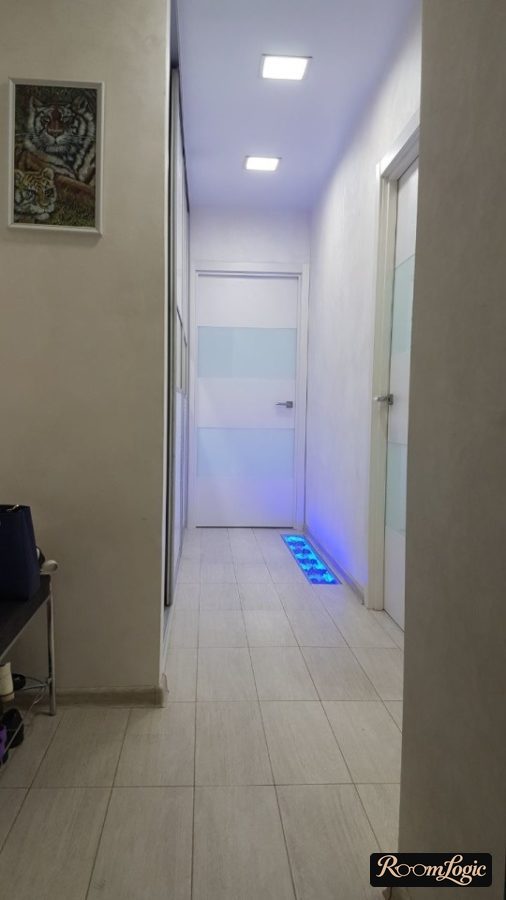
Another option is to use LED channels not in niches but built directly into the hallway ceiling and/or walls. You can even make a transition from the walls to the ceiling – it looks very contemporary. The ceiling itself remains simply white and even, naturally made of drywall.
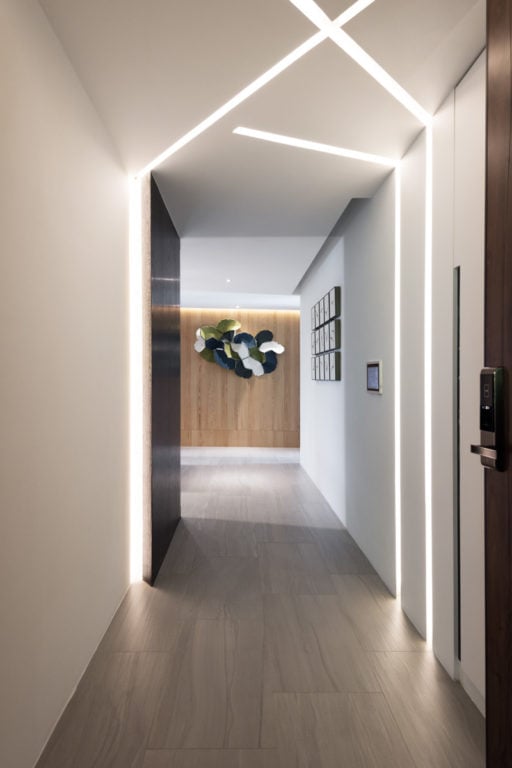
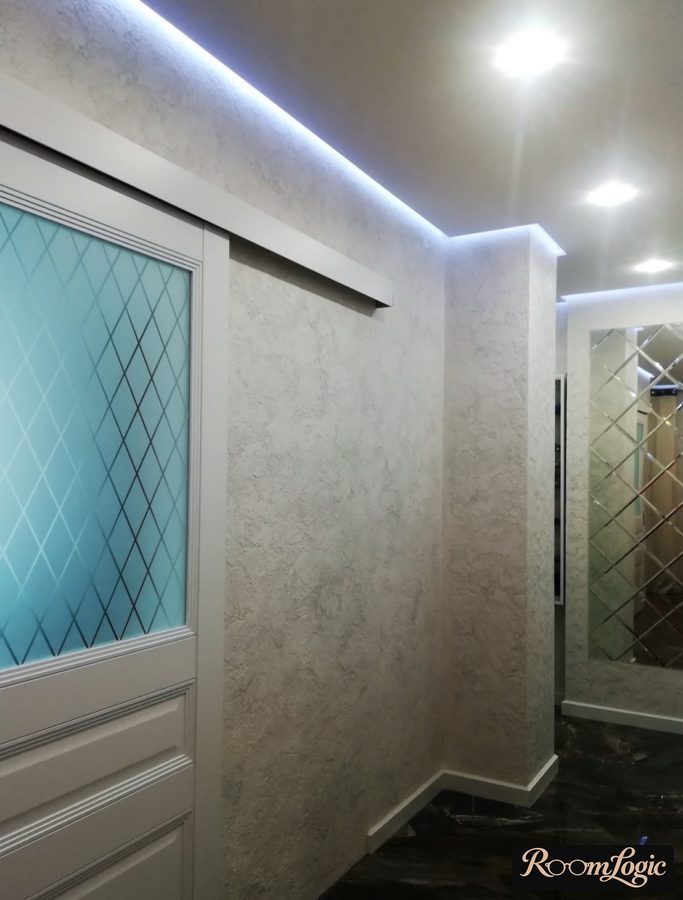
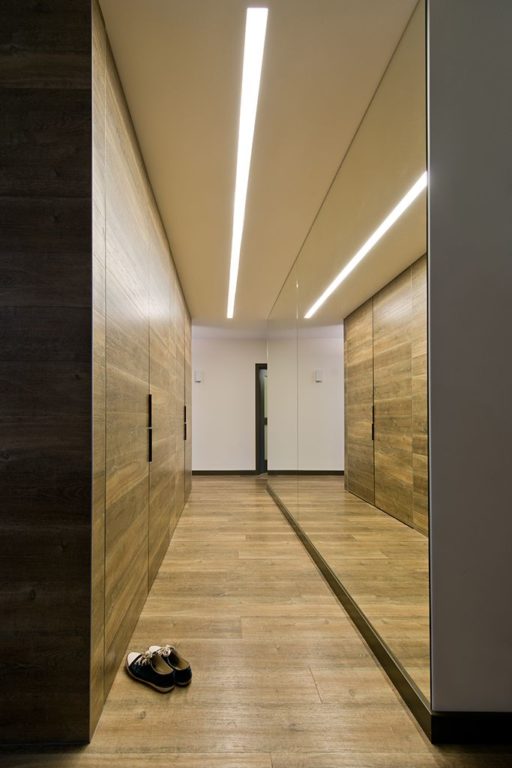
If you want to save money and make a stretch ceiling, keep in mind that there can be some problems with them in hallways. The most obvious is a seam, which will definitely be present if there is no door or arch between the hallway and a room. A less obvious problem is the ceiling moving – being sucked in – when doors are opened and closed. This happens because of a sudden pressure change in the rooms. It is solved by installing transfer grilles in interior doors, which are a good idea anyway for natural ventilation to work properly.
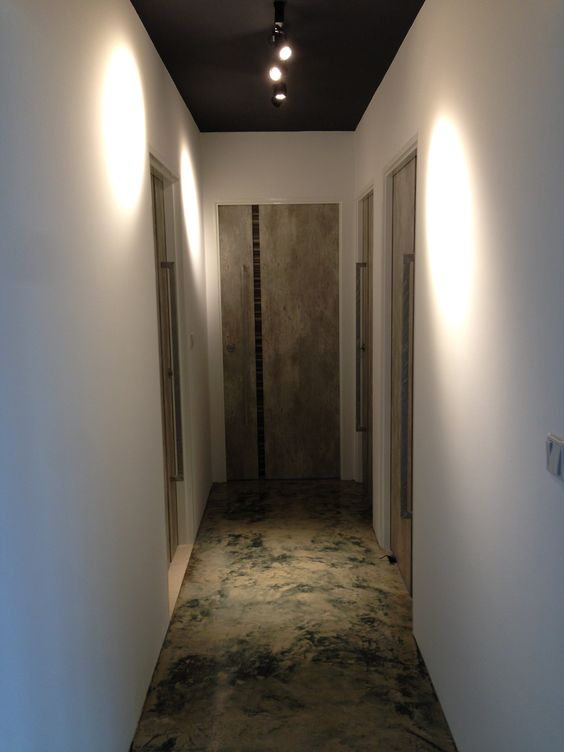
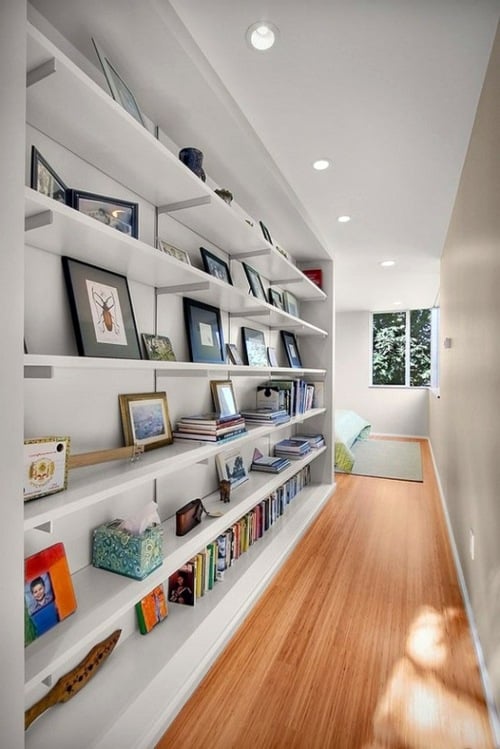
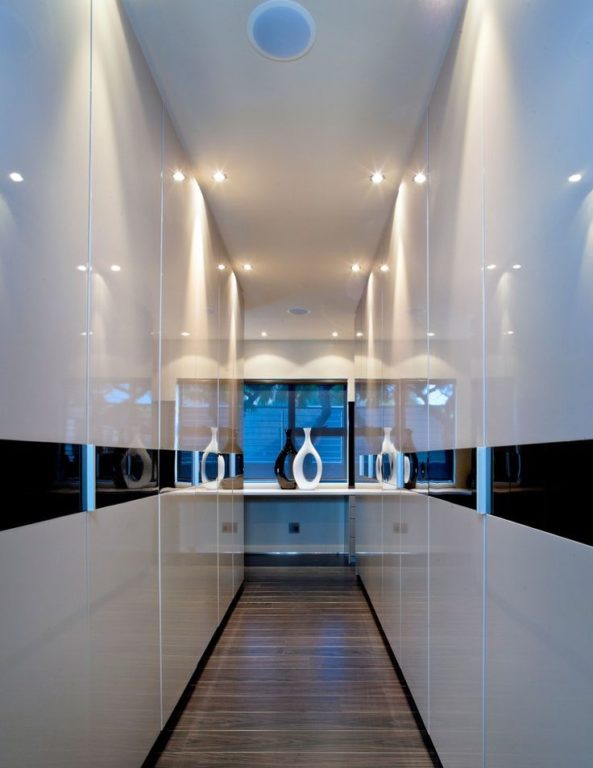
But we have gone off topic. It is better not to experiment at all and to make a simple, even, matte white hallway ceiling. Whether it is drywall, stretch material, or simply paint over plaster does not really matter. And please do not make the hallway ceiling glossy; that is from the last century.
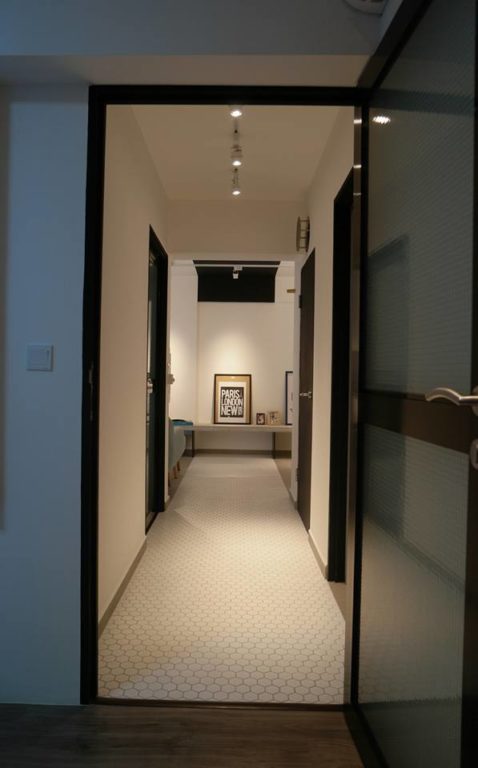
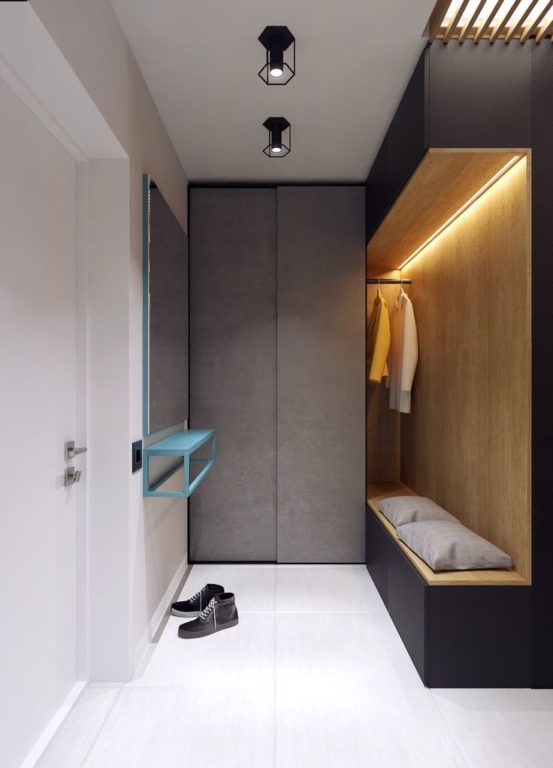
Hallway Wall Finishes
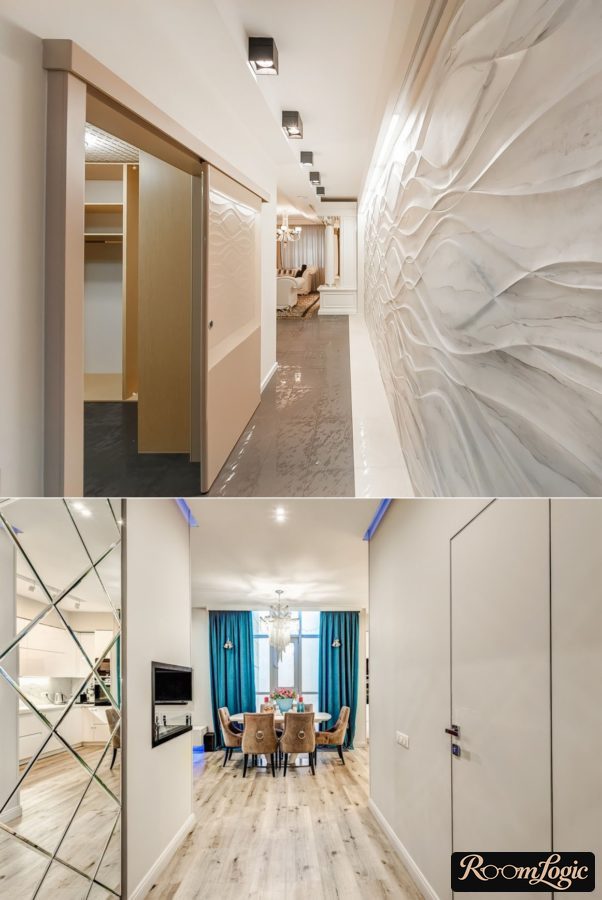
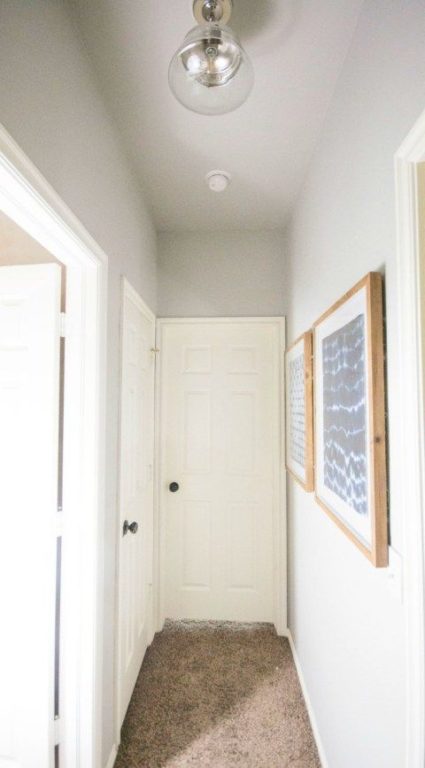
The number of hallway wall finish options depends on its width and whether you will periodically brush against those walls. If the hallway is narrow, you will have to choose an option based primarily on practicality. That means paint will probably be ruled out – it cannot tolerate being touched. All the other options, including wallpaper and decorative plaster, are quite durable.
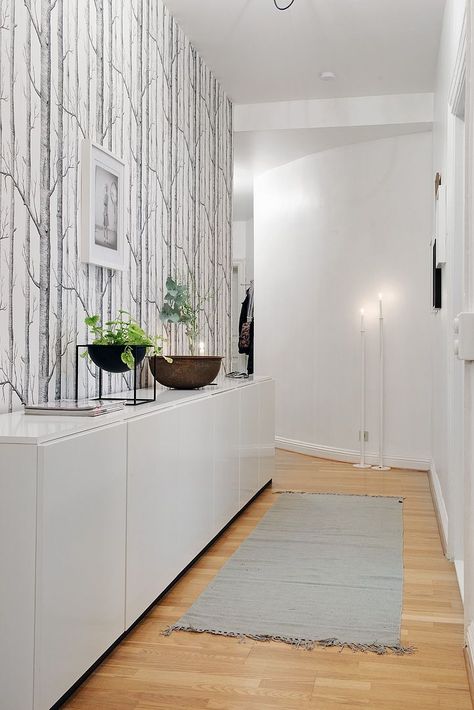
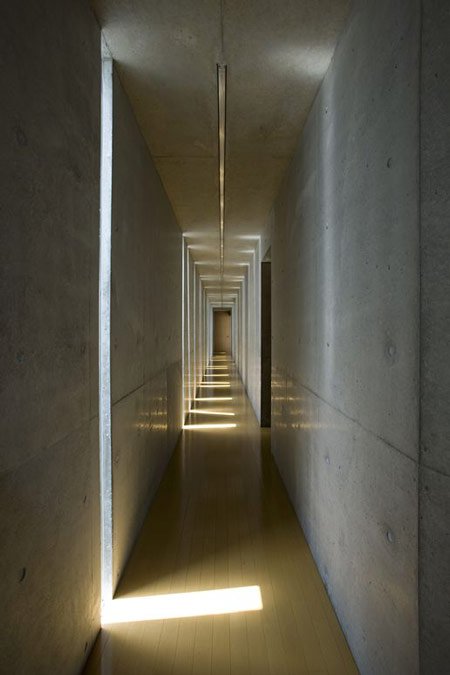
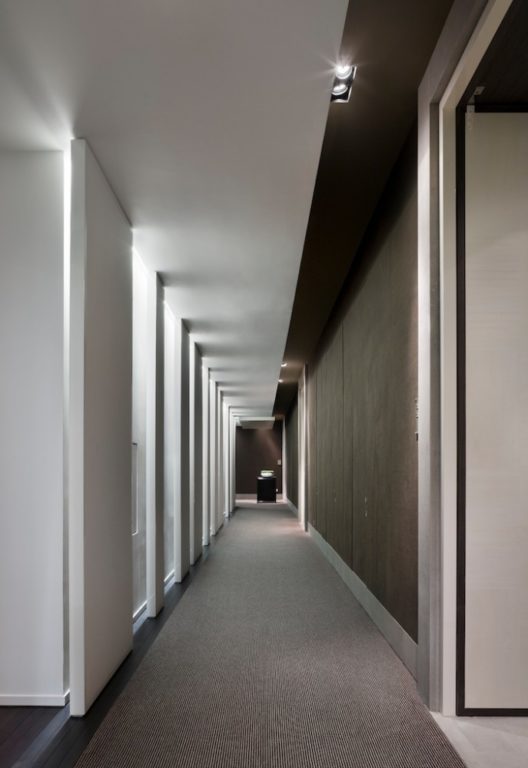
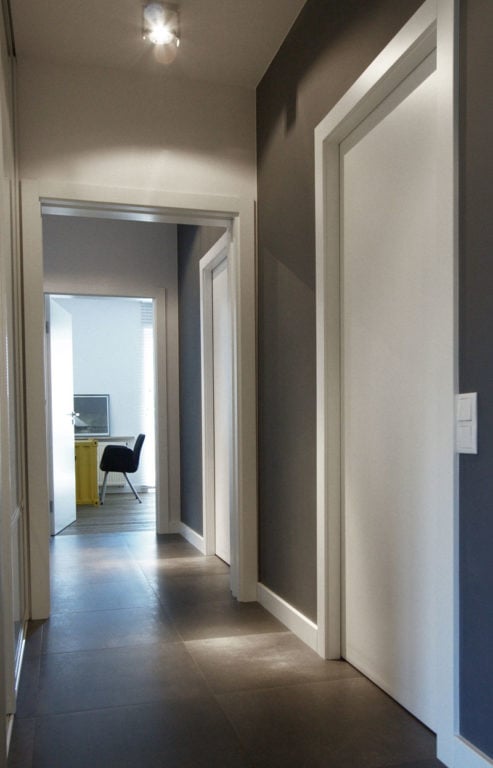
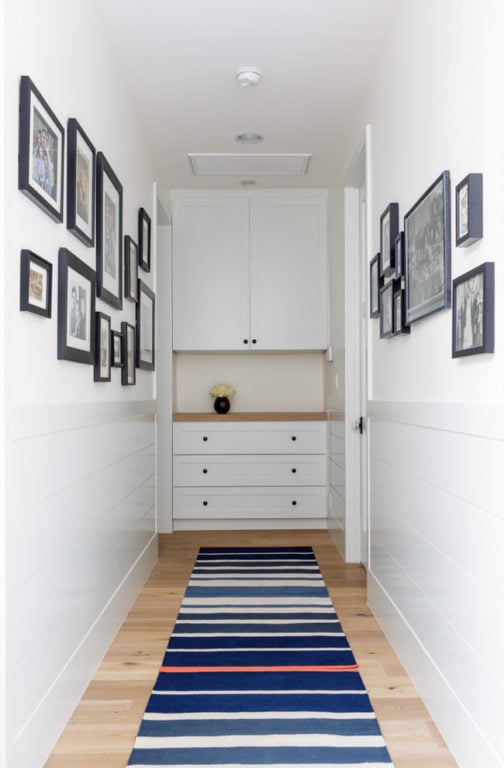
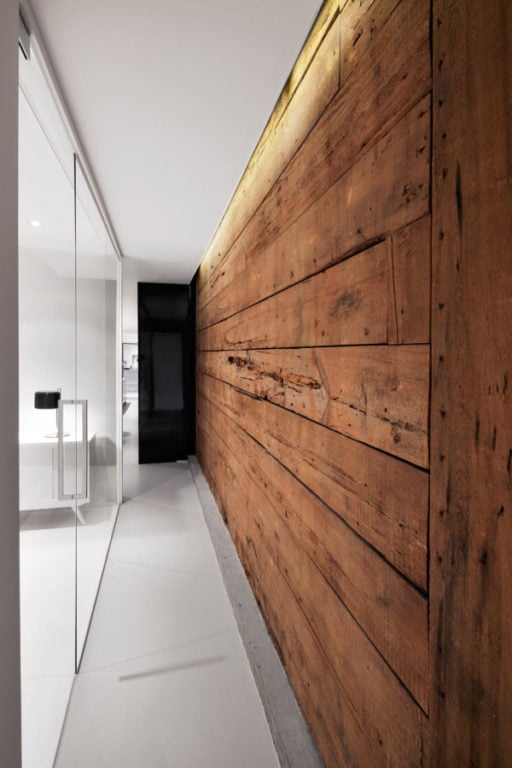
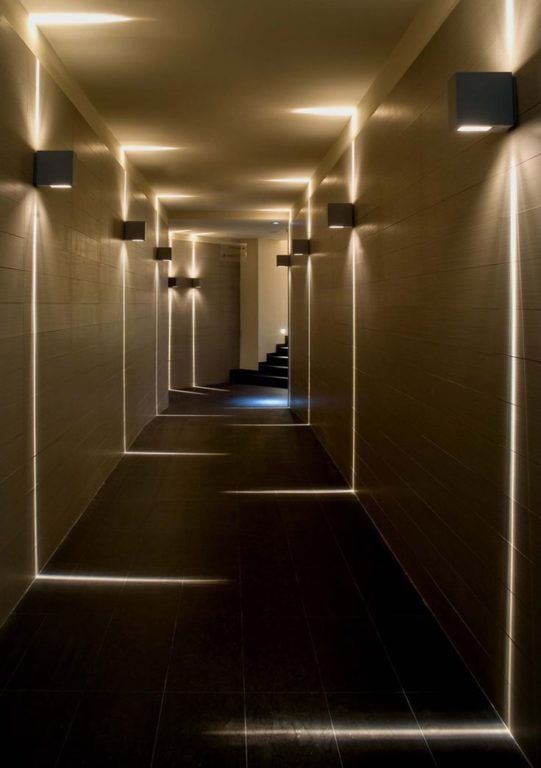
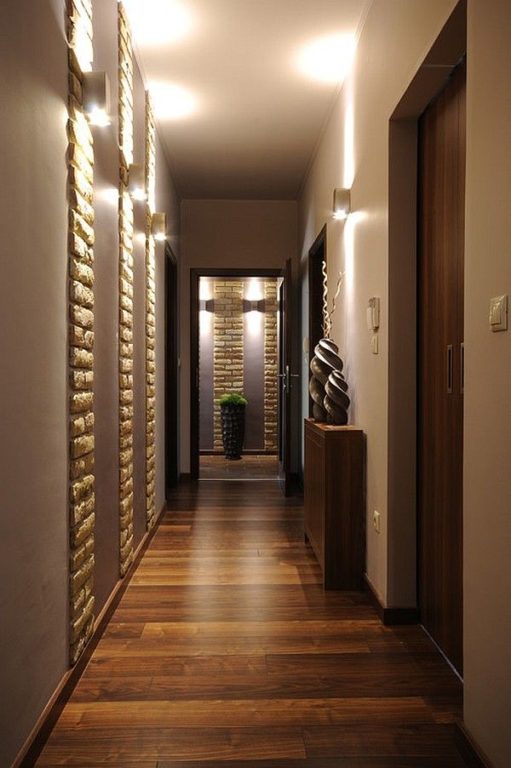
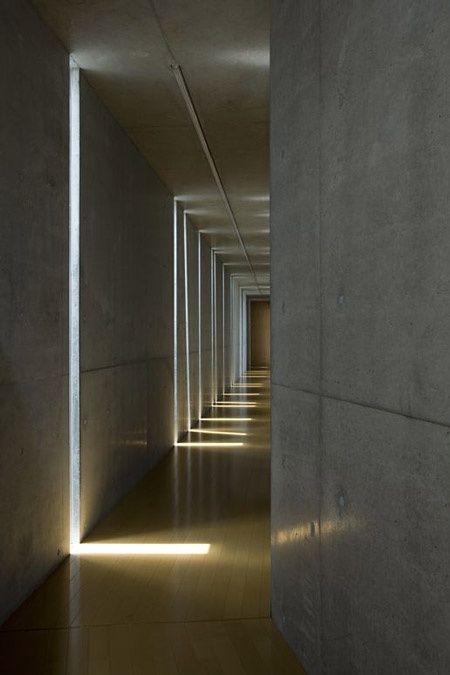
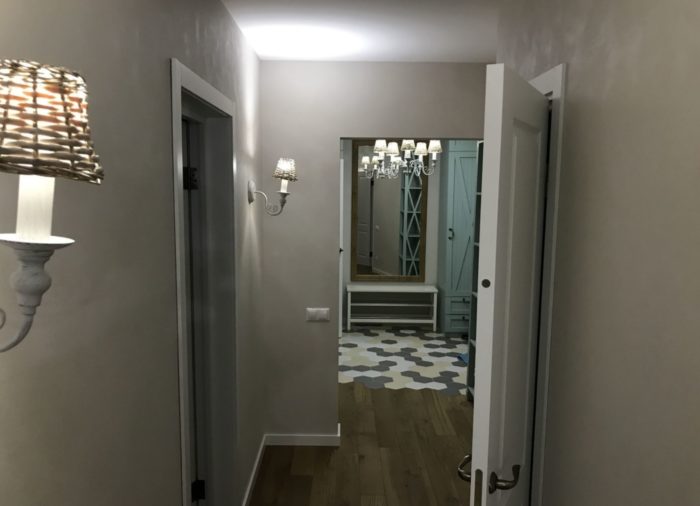
The texture of hallway wall finishes and the presence of patterns on them are important. Since the room is narrow, it is better to avoid all contrasting and aggressive patterns and textures. The surface should be more or less uniform. Although a complete lack of texture is bad too – every stain and defect is visible on a smooth surface. Yes, that is vague wording. What did you expect? Stylish and practical design always means balancing on the edge.
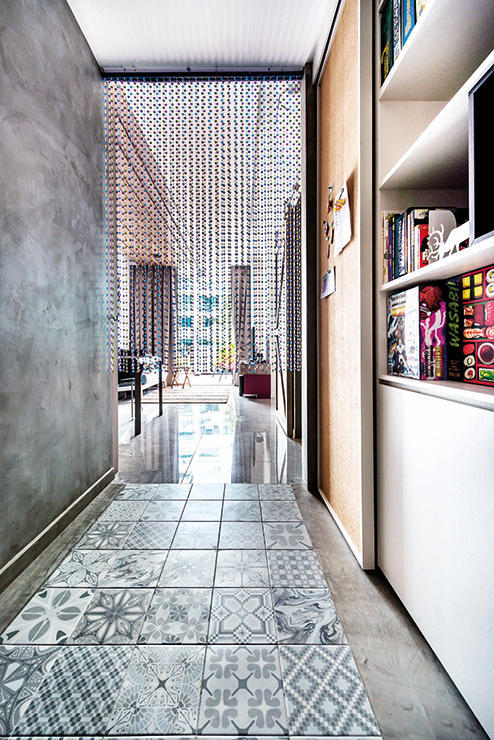
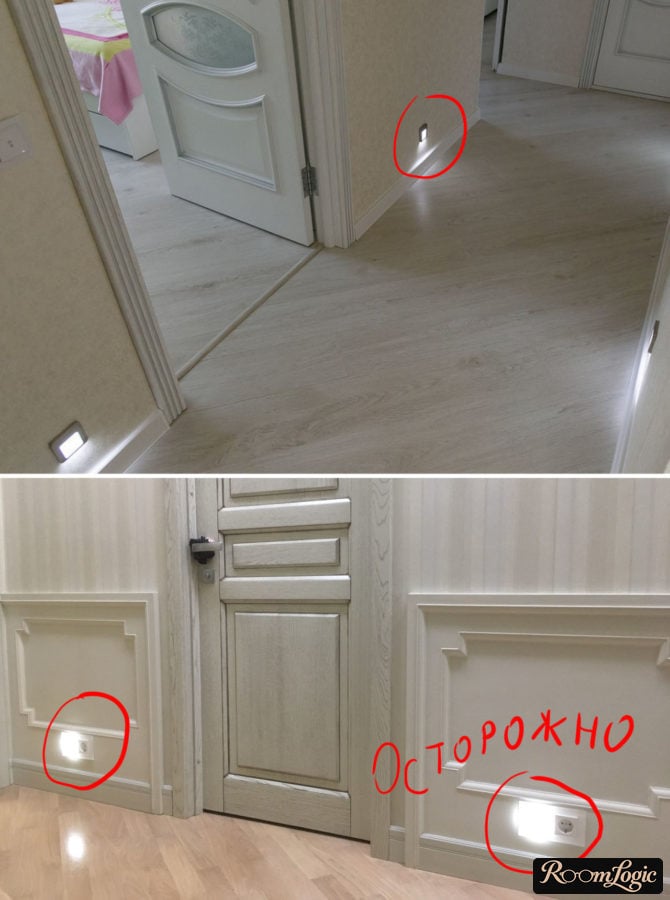
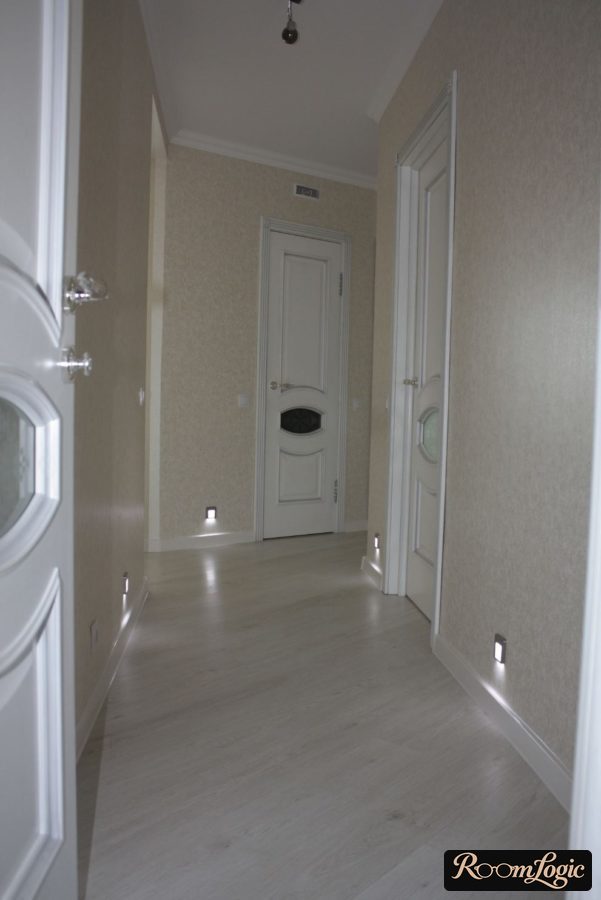
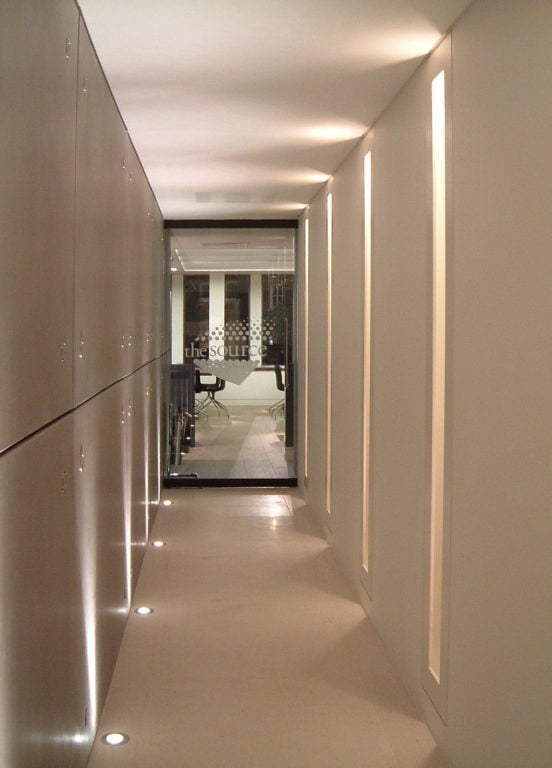
About lights built into the lower part of hallway walls: they should not shine on the floor. Grazing light reveals every uneven spot, and dust is carried into the hallway from the entire apartment, so the smallest speck will be visible under this light.
That is why, if you want lights built into the walls, let them illuminate the wall itself. Ideally, the wall should then be finished with decorative stone or plaster.
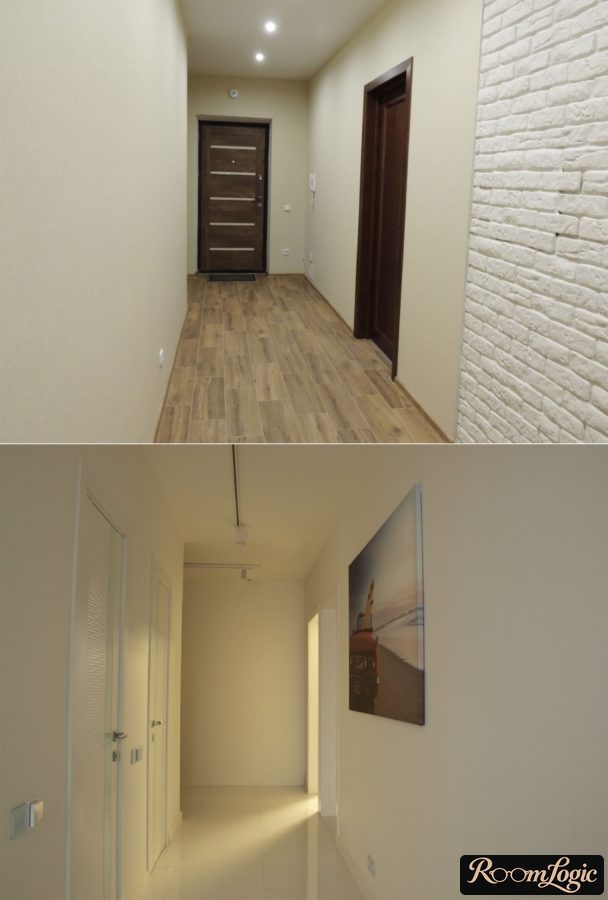
If, like us, you consider white paint the most contemporary unpretentious wall finish, at least choose it correctly. Paints come in different types with different scrub resistance and washability. I had to wipe the white hallway walls twice in the first year after the remodel. If you think you are very careful and will never have to wash them, I am quick to disappoint you. As a rule, the walls get dirty for the first time before you even move into the apartment, during the remodel and furniture installation. In general, do not save on wall paint, and pay attention to its scrub resistance.
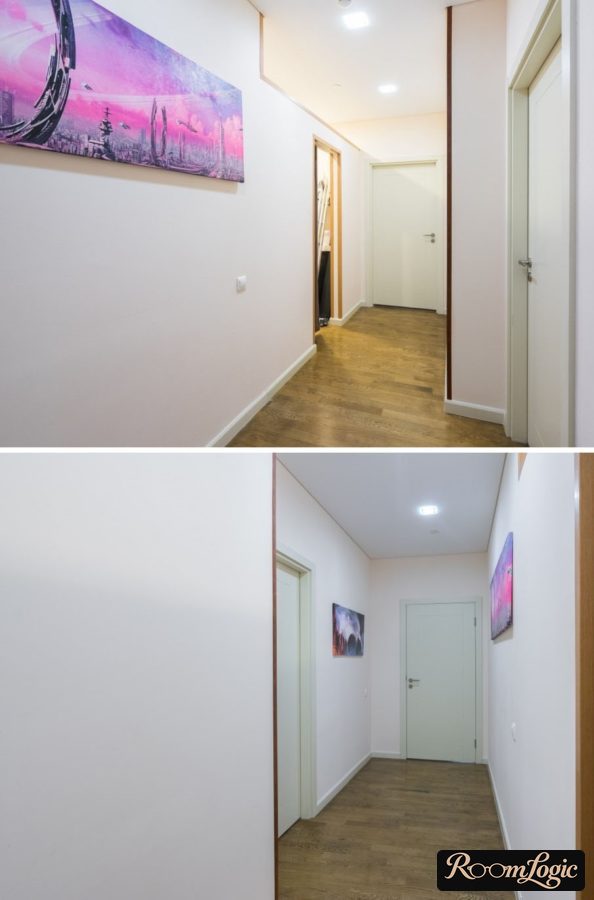
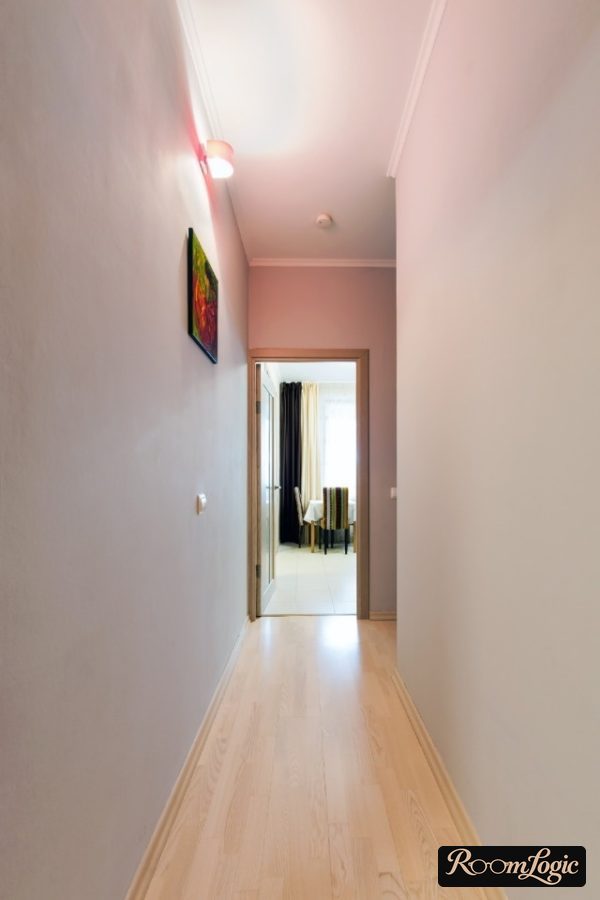
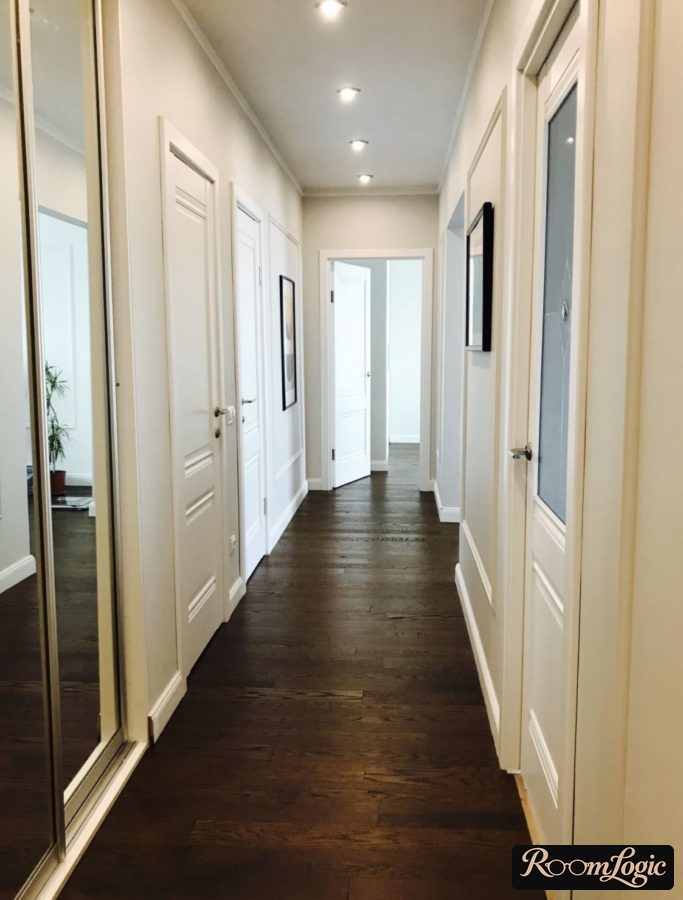
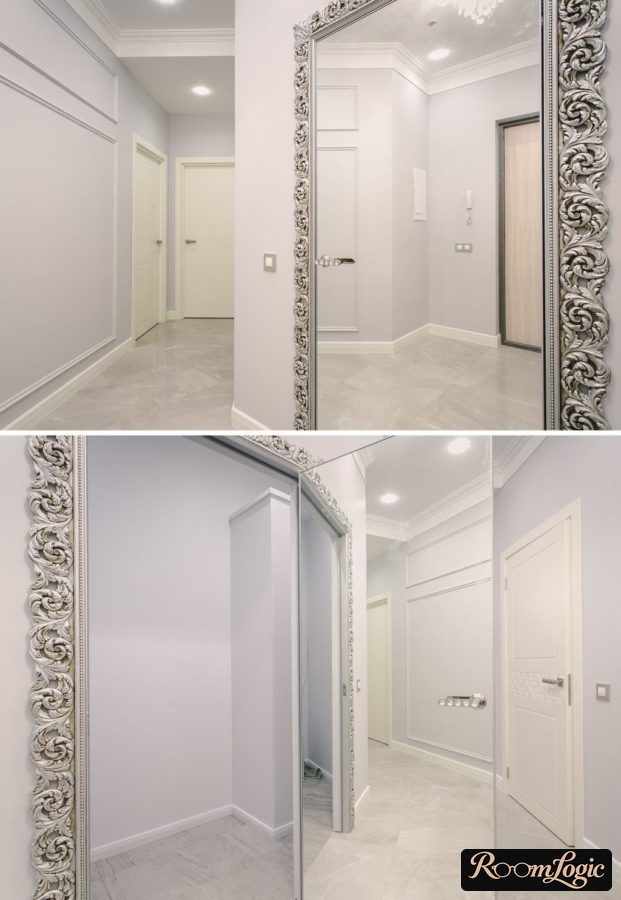
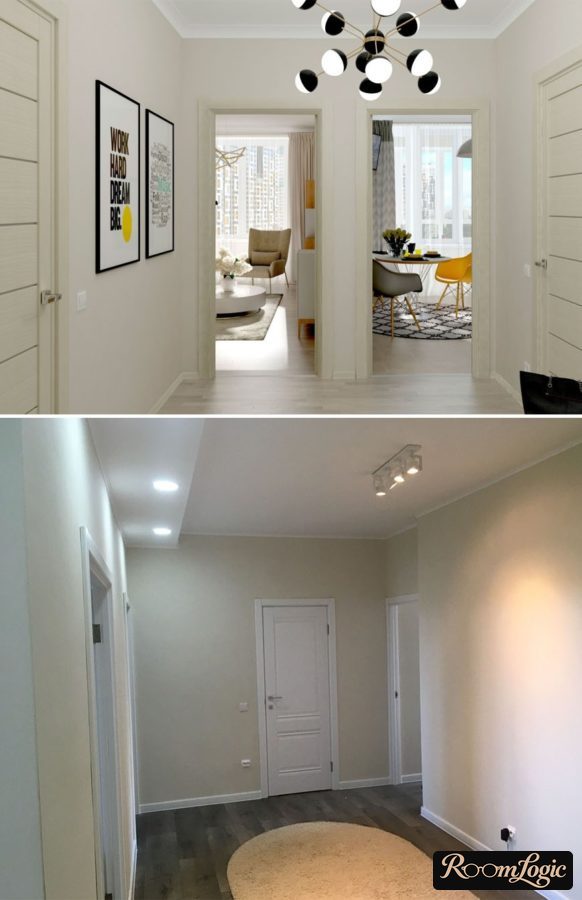
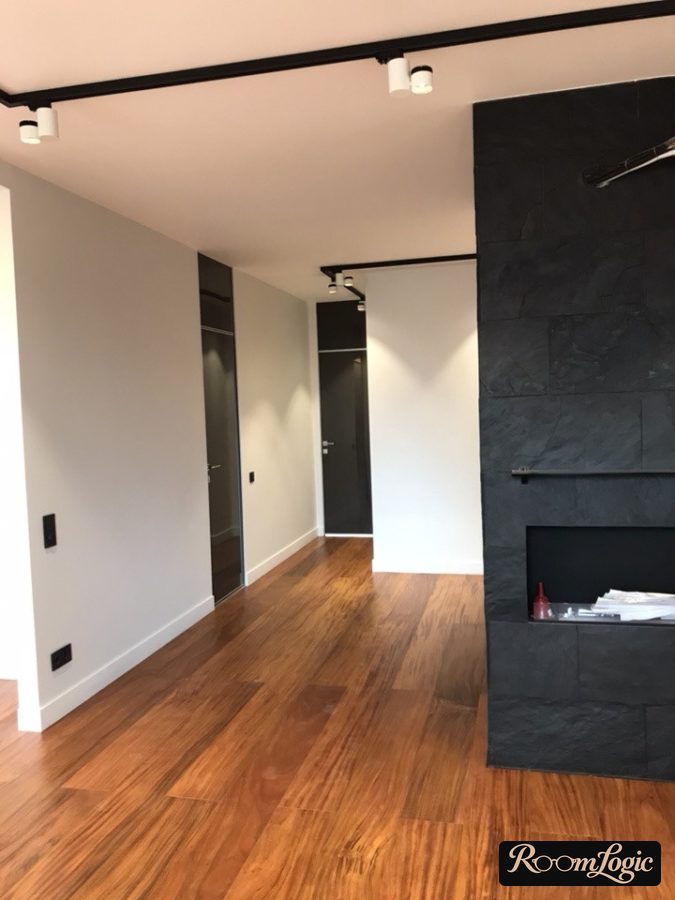
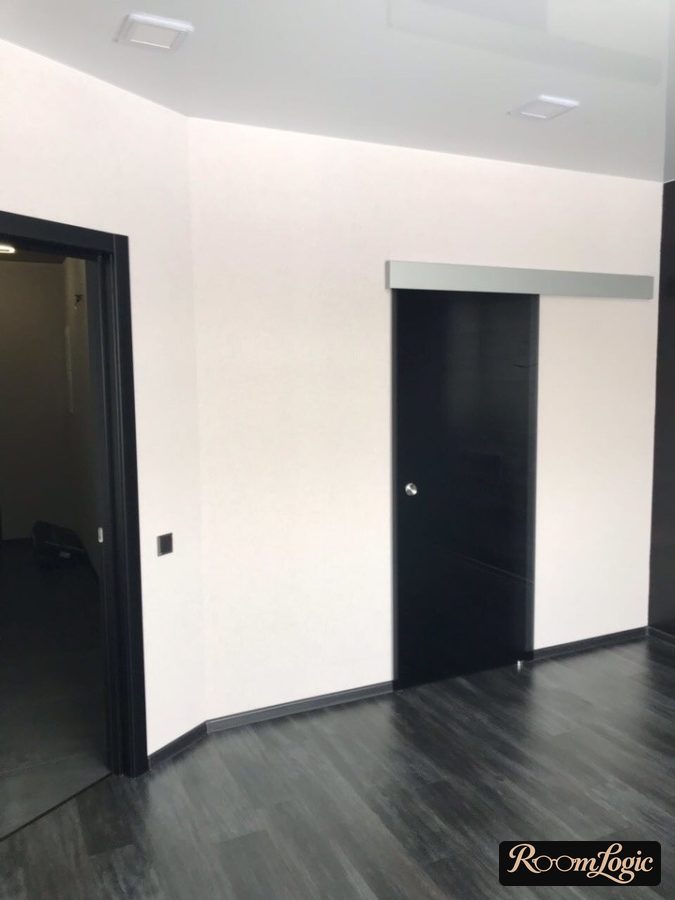
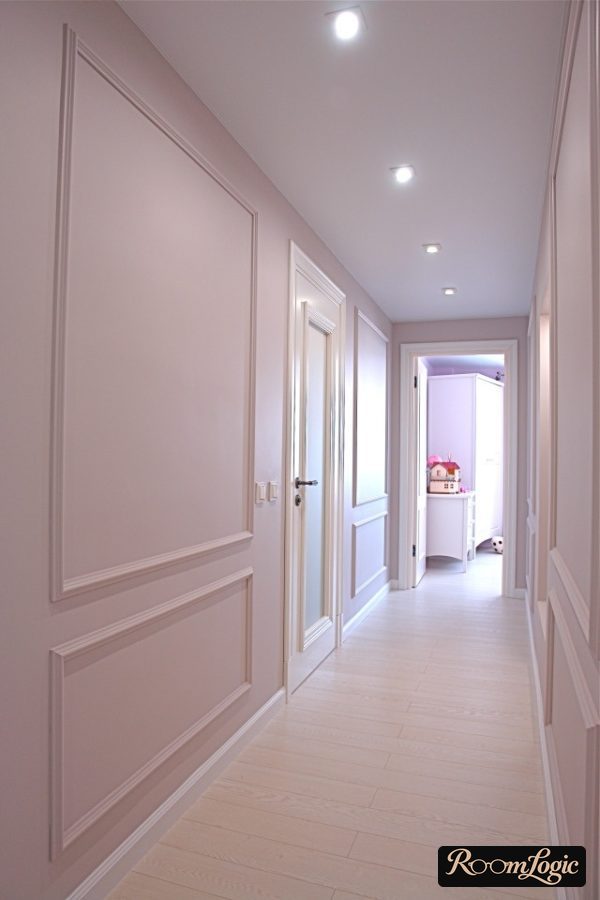
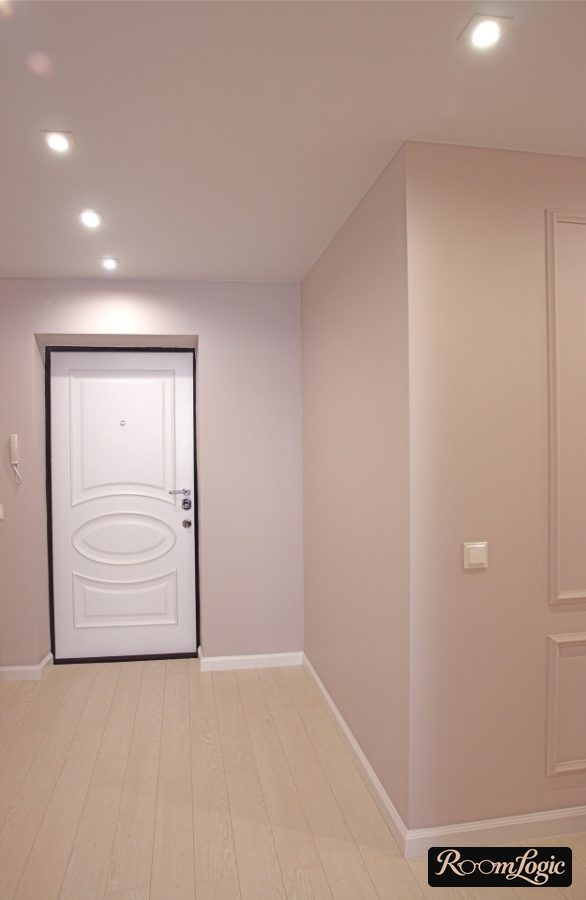
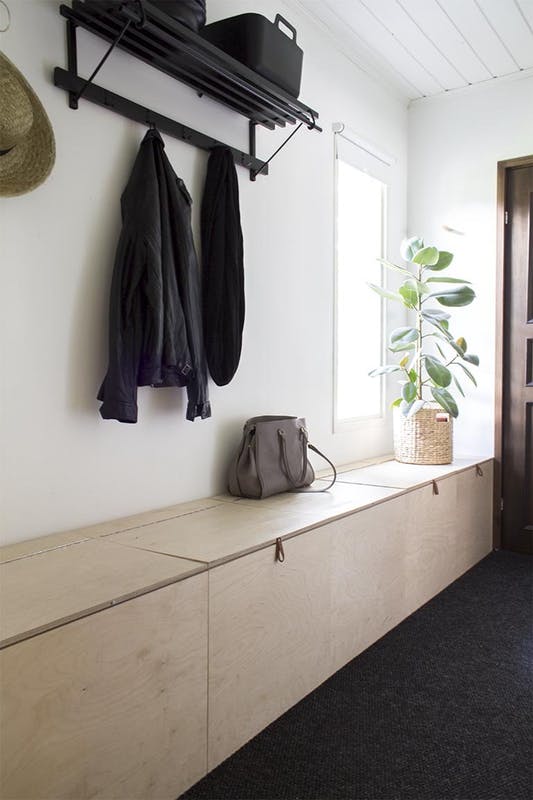
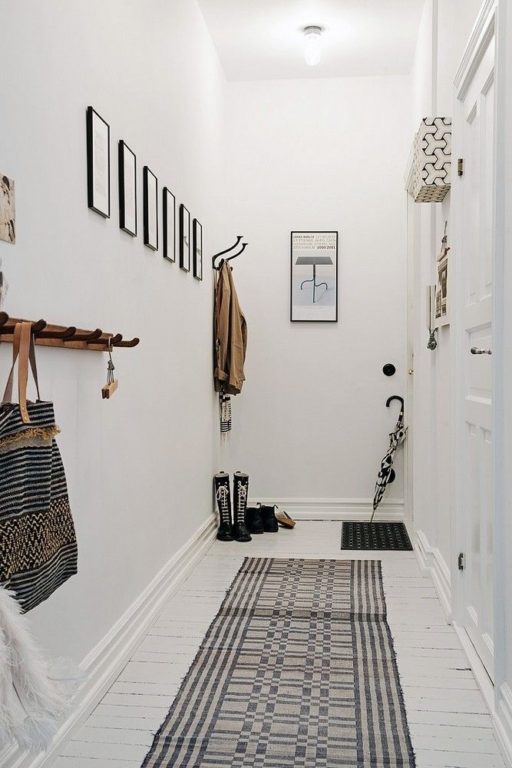
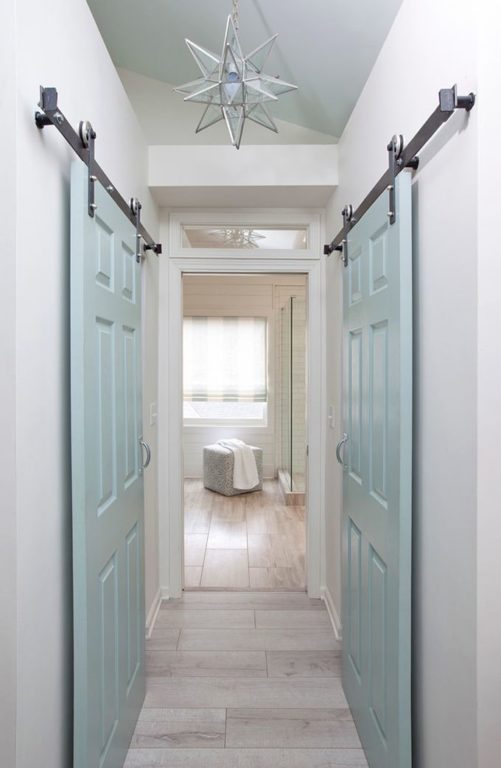
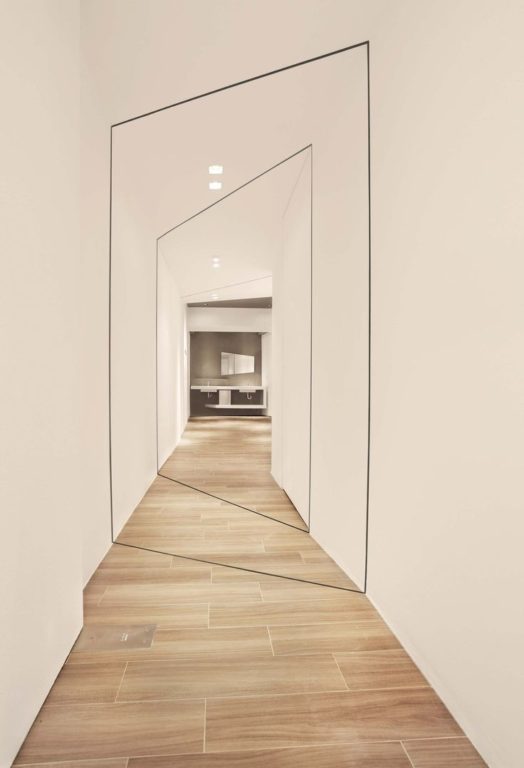
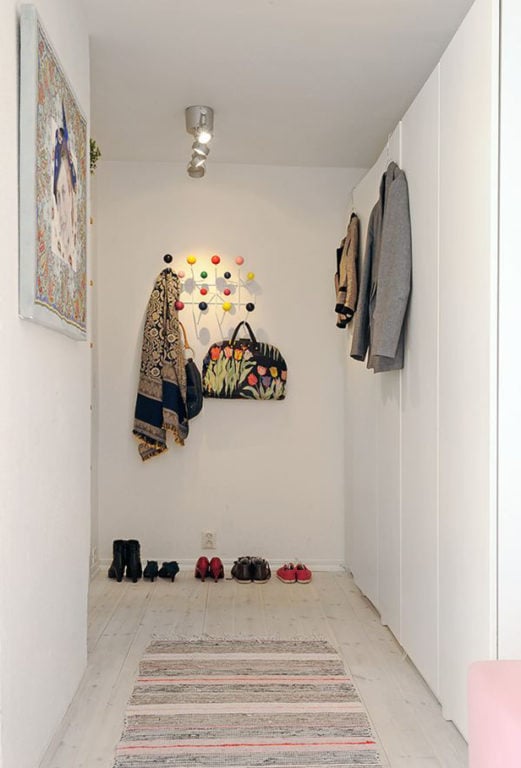
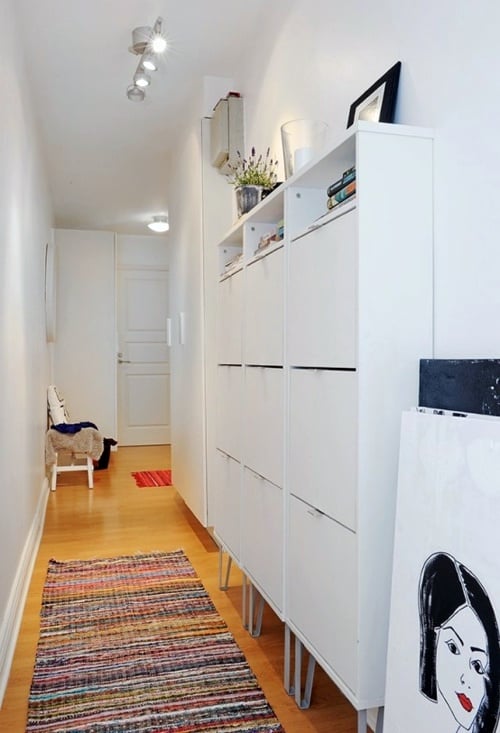
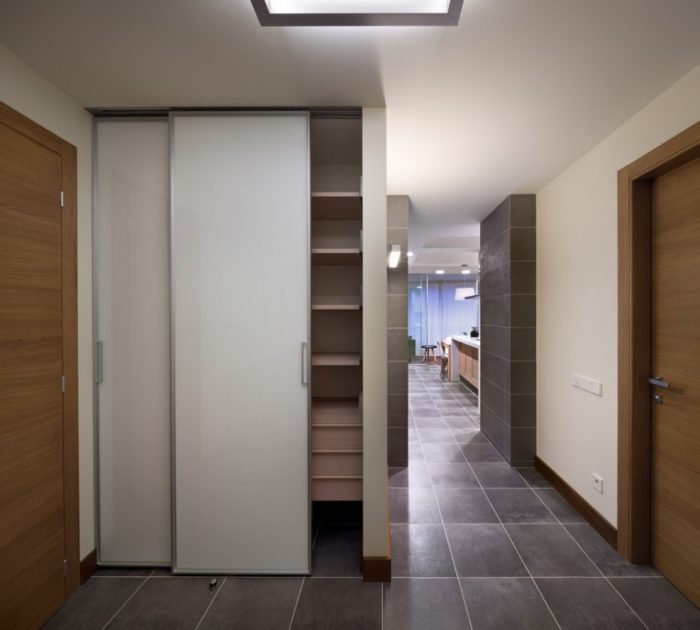
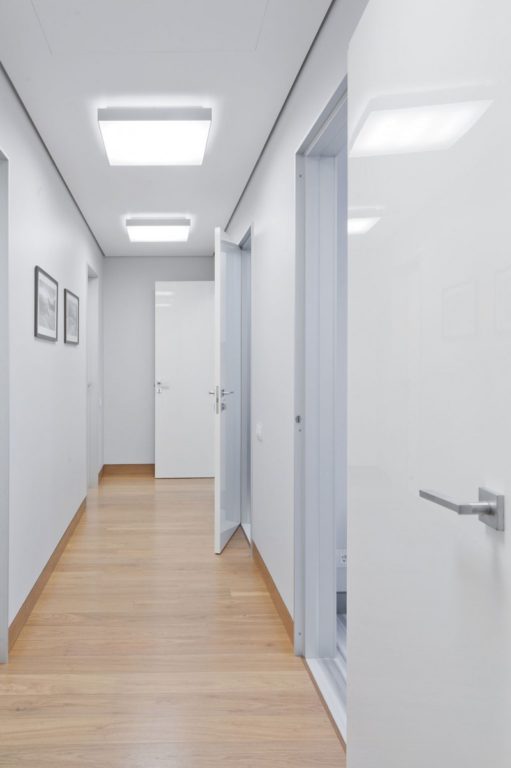
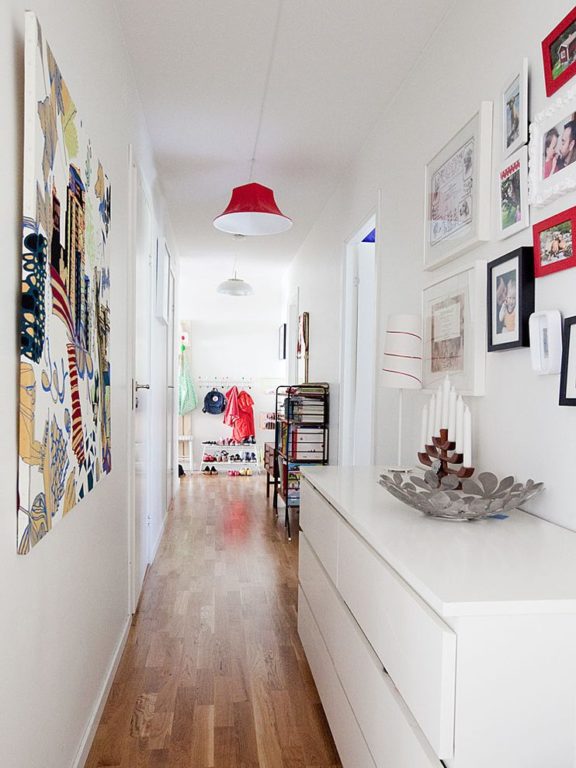
If you do not want white hallway walls, choose paintable wallpaper. Brown, gray, and blue walls are better made with wallpaper.
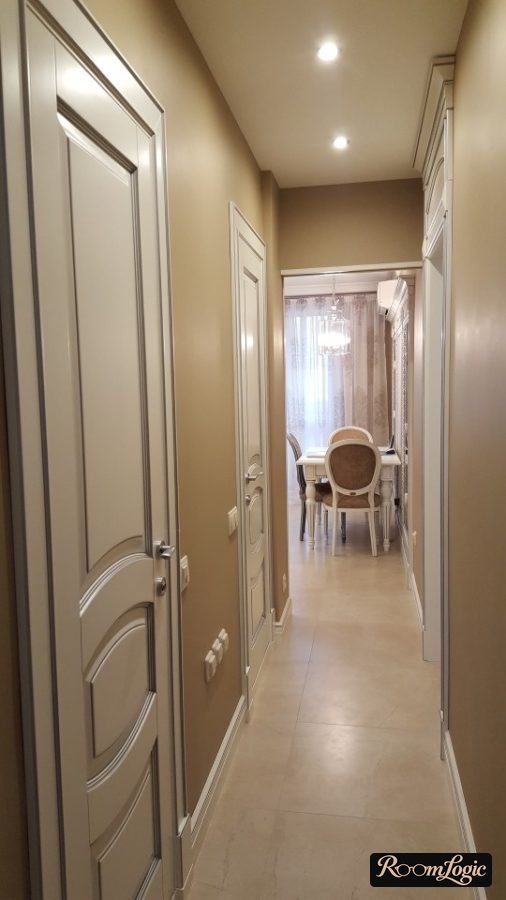
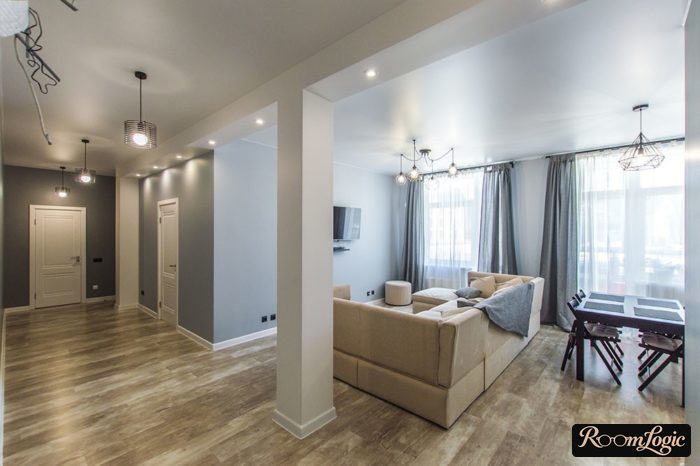
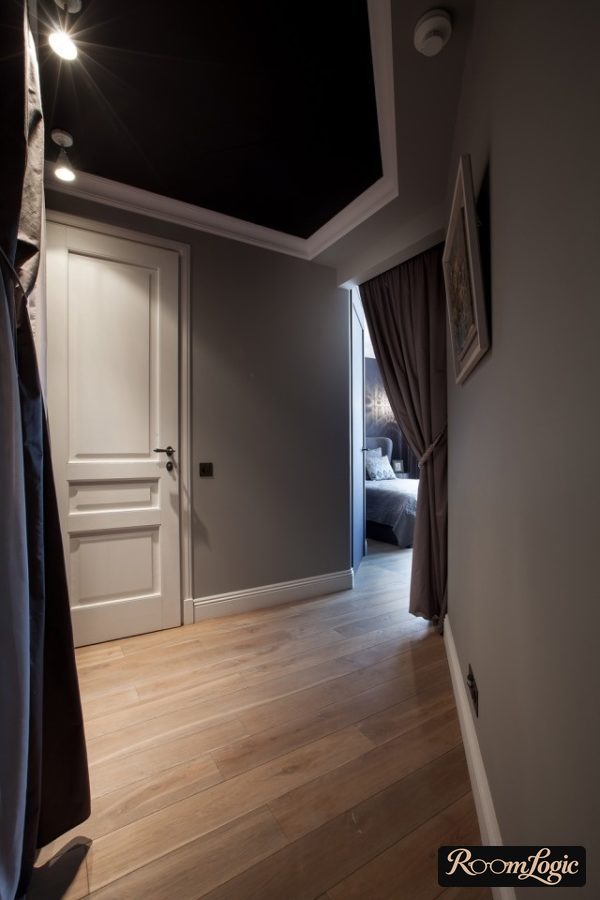
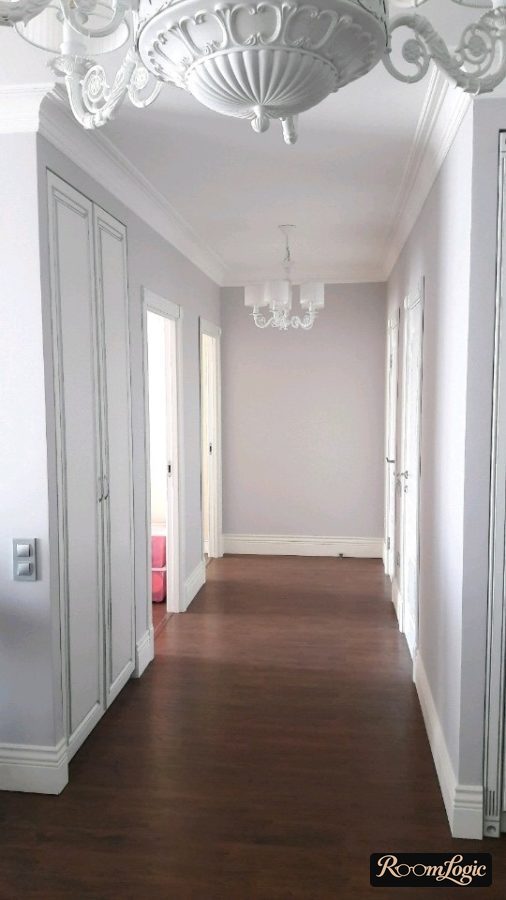
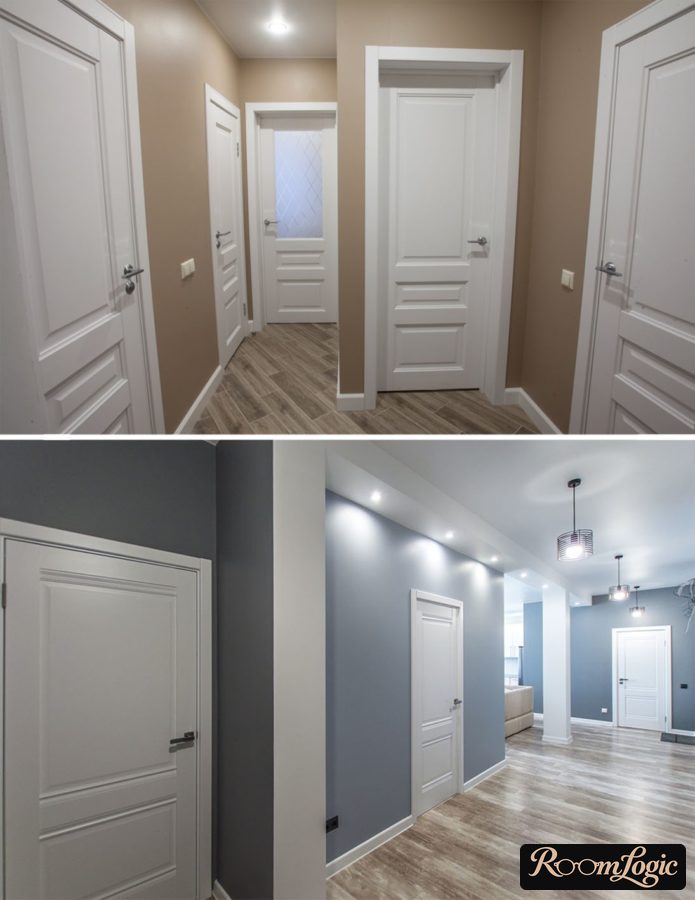
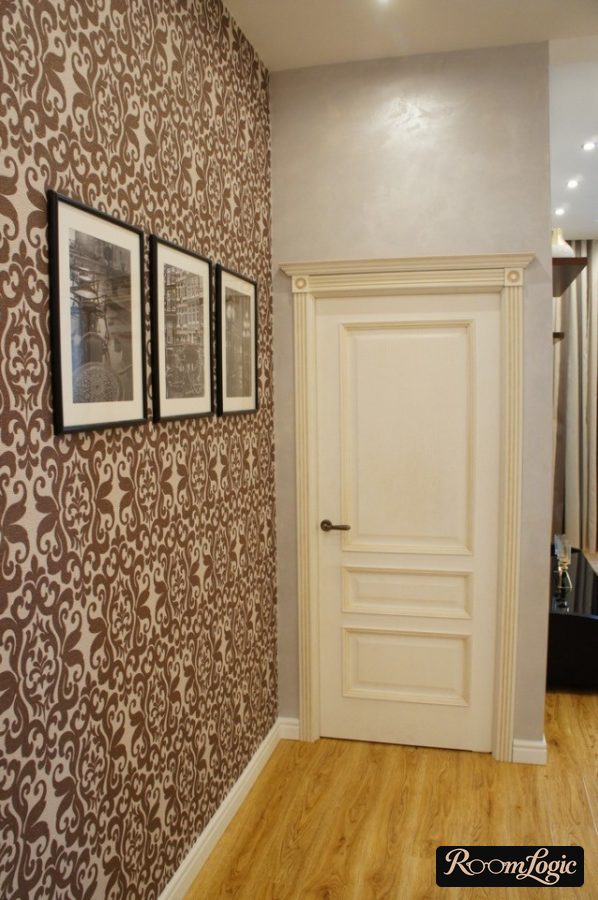
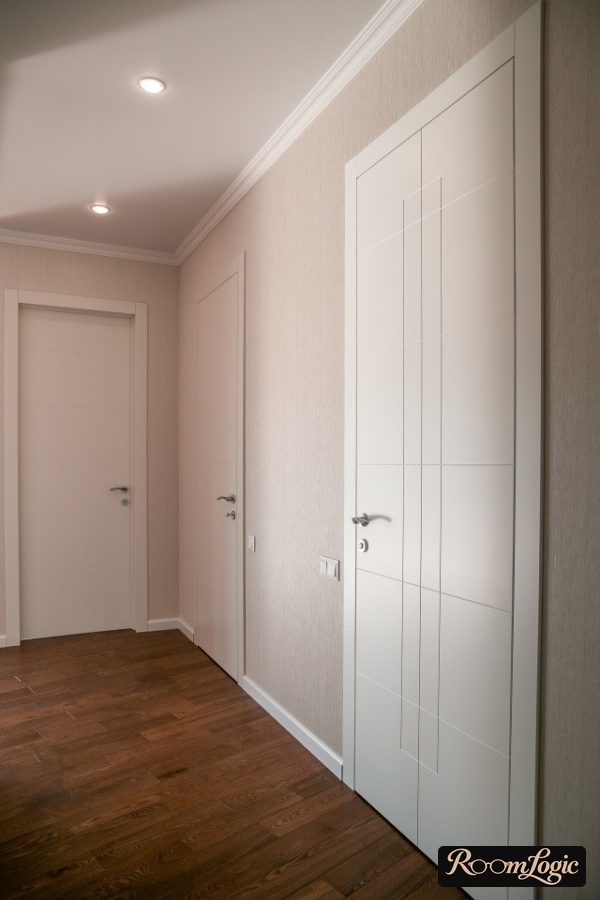
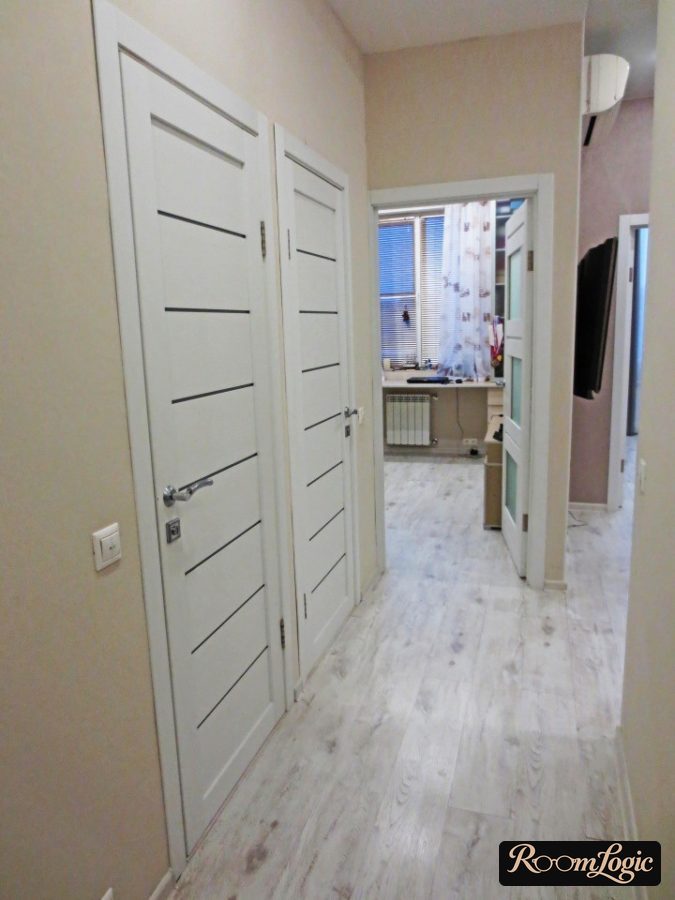
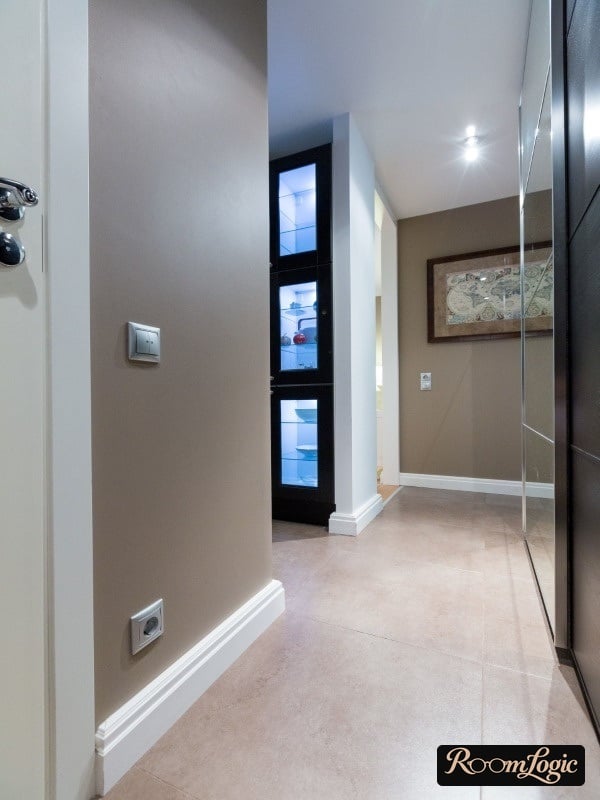
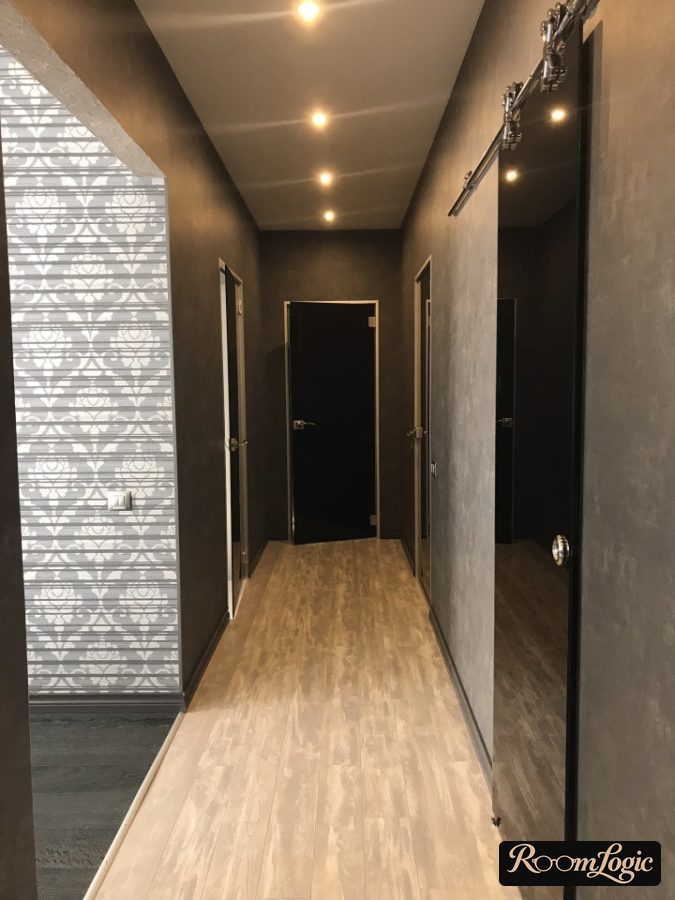
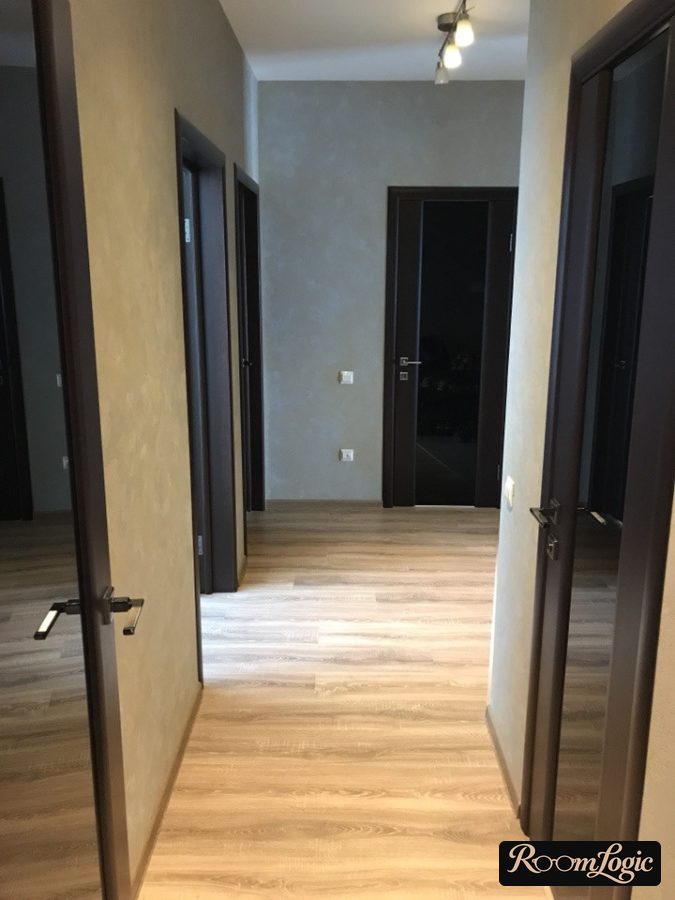
Photos of Hallway Design in an Apartment
Now we will look at some design details in real photos of apartment hallways that are not obvious until someone points them out.
Ideas for Placing Items
The shape of a hallway requires following certain rules. Let’s look at photo examples.
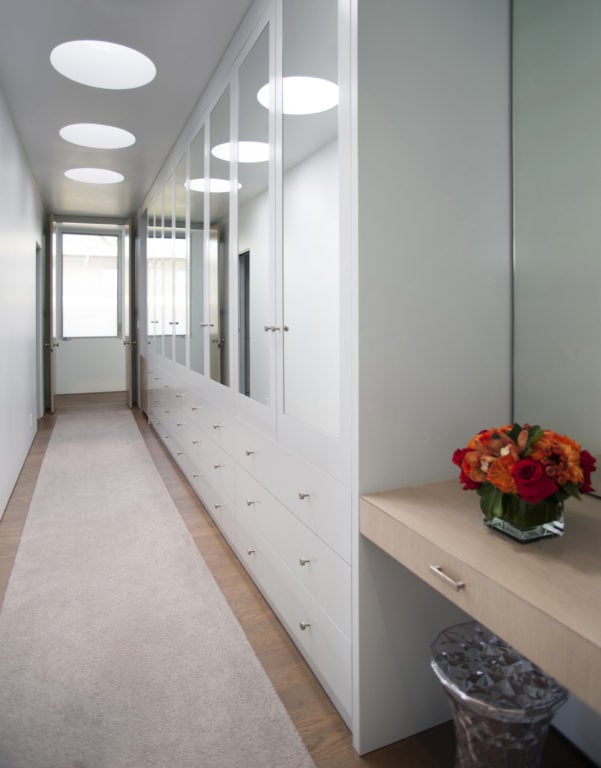
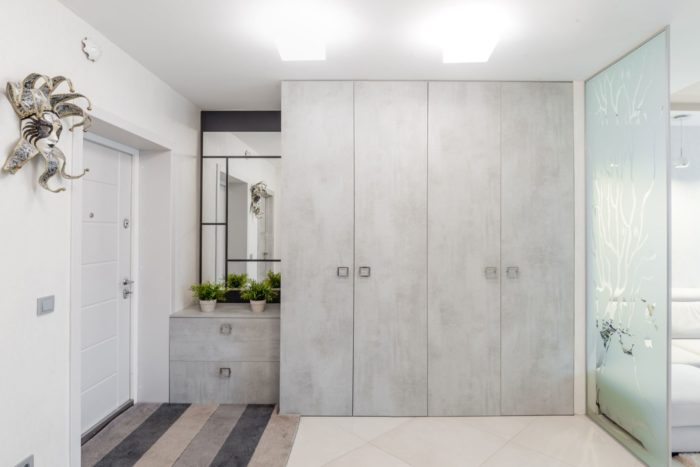
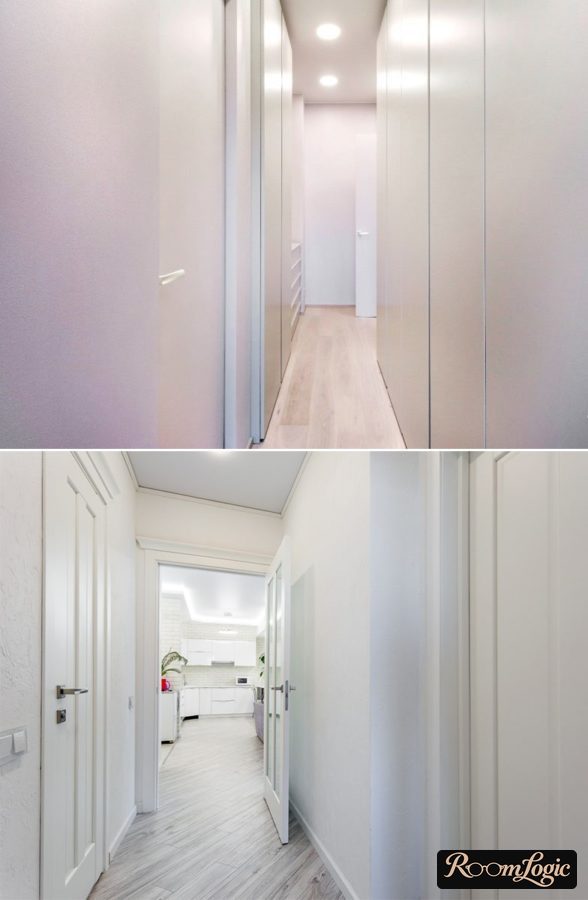
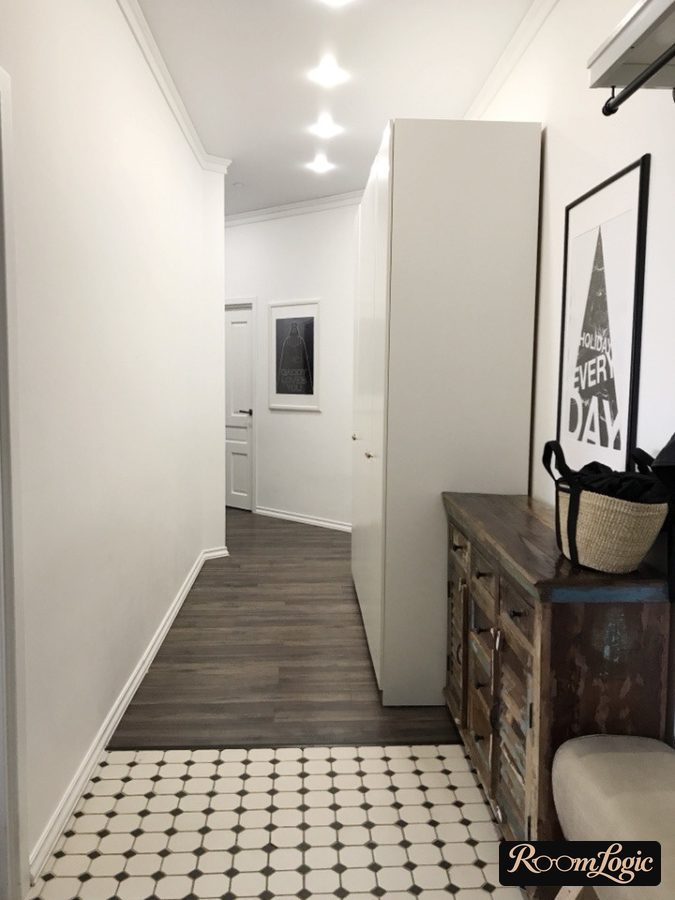
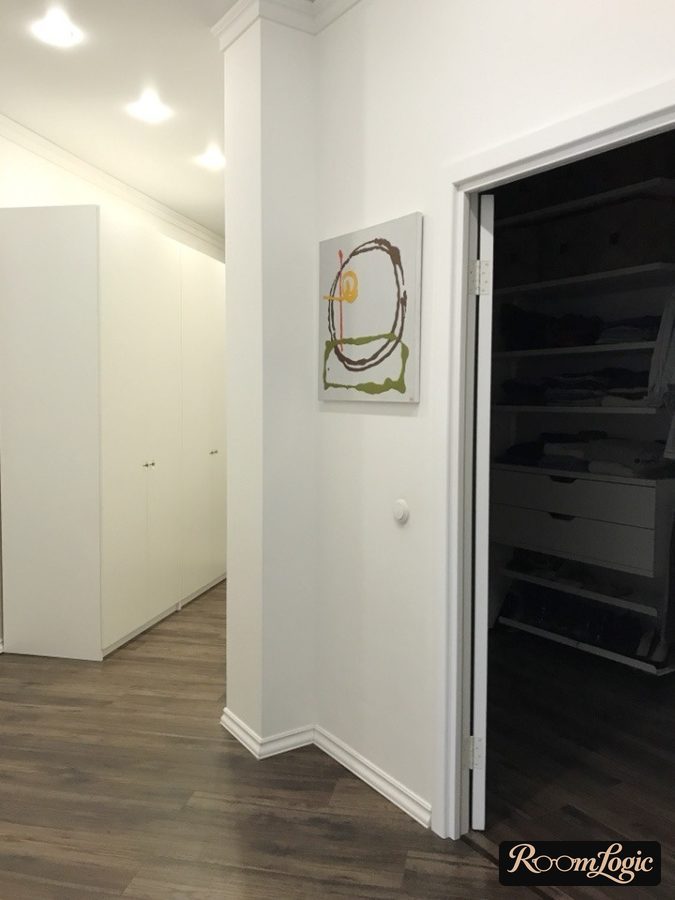
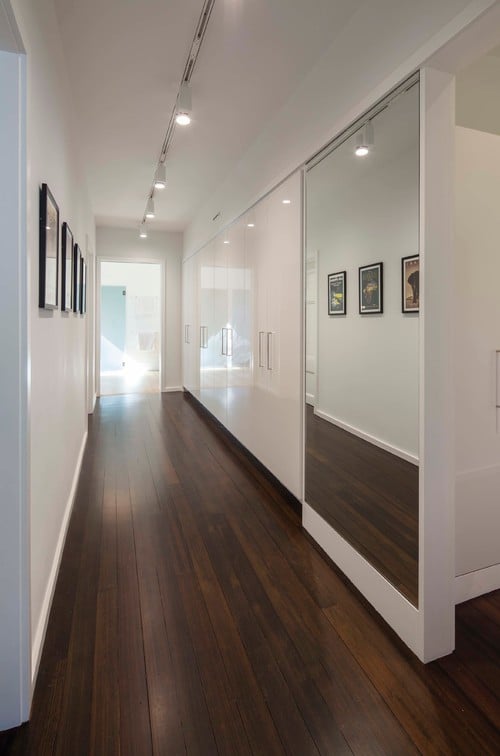
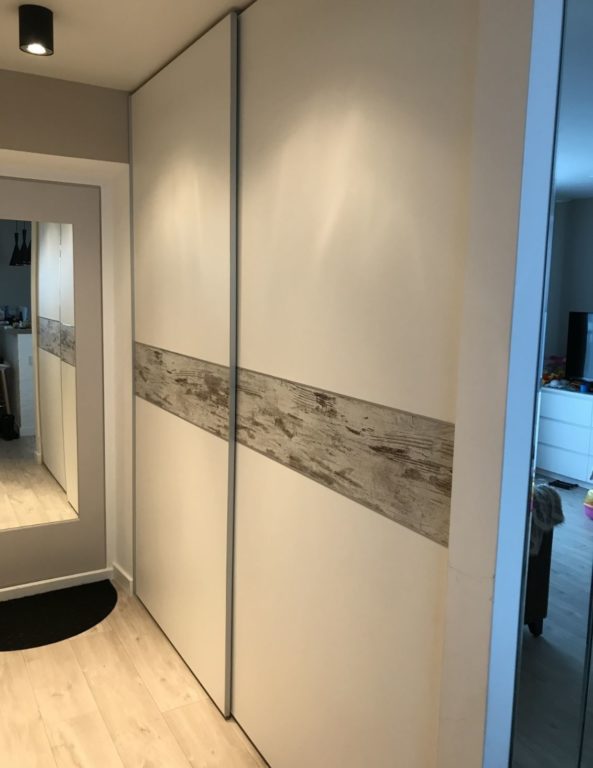
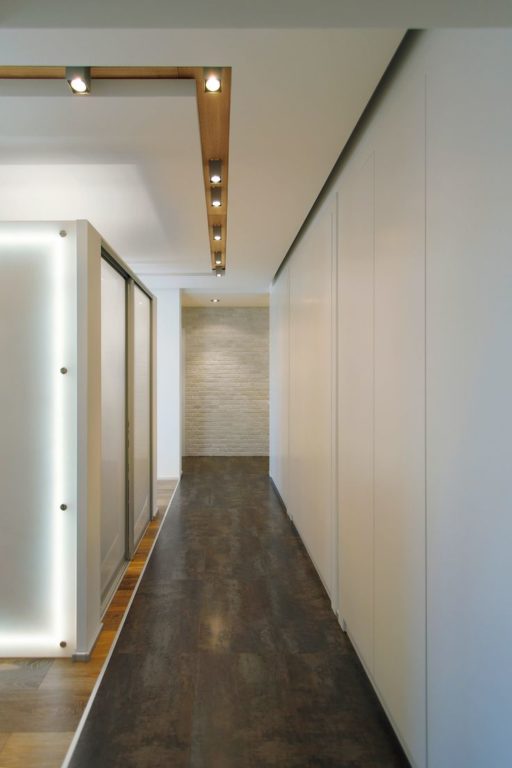
This hallway is wide enough for a cabinet along the entire wall. It looks fine in the photo, so why does it sometimes look different in real life? Many people make a mistake and do not take the cabinet to the ceiling. As a result, it looks exactly like a cabinet and feels heavy. It should look like a wall, and for that the cabinet absolutely must reach the ceiling.
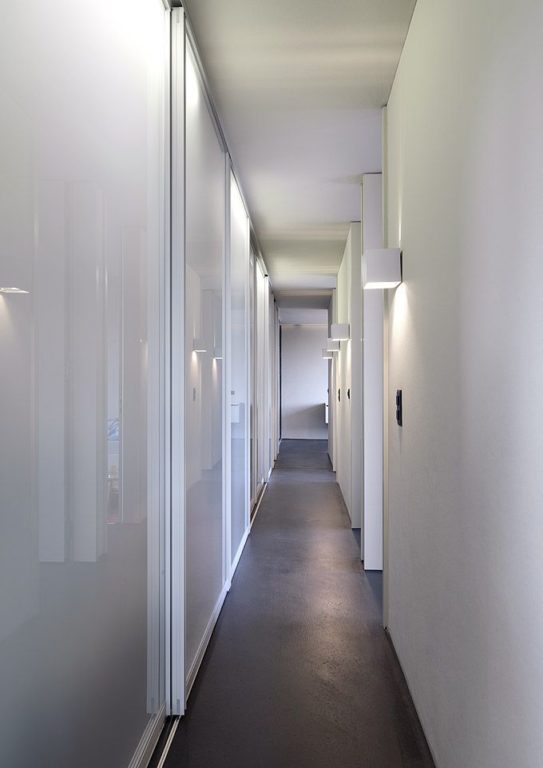
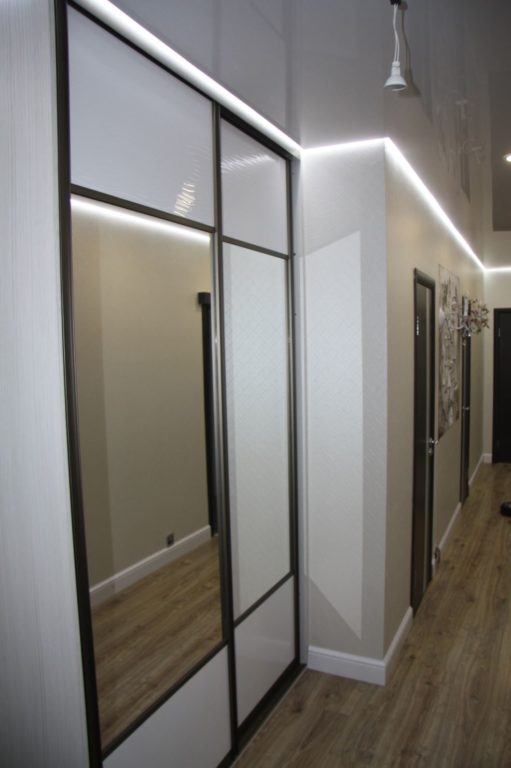
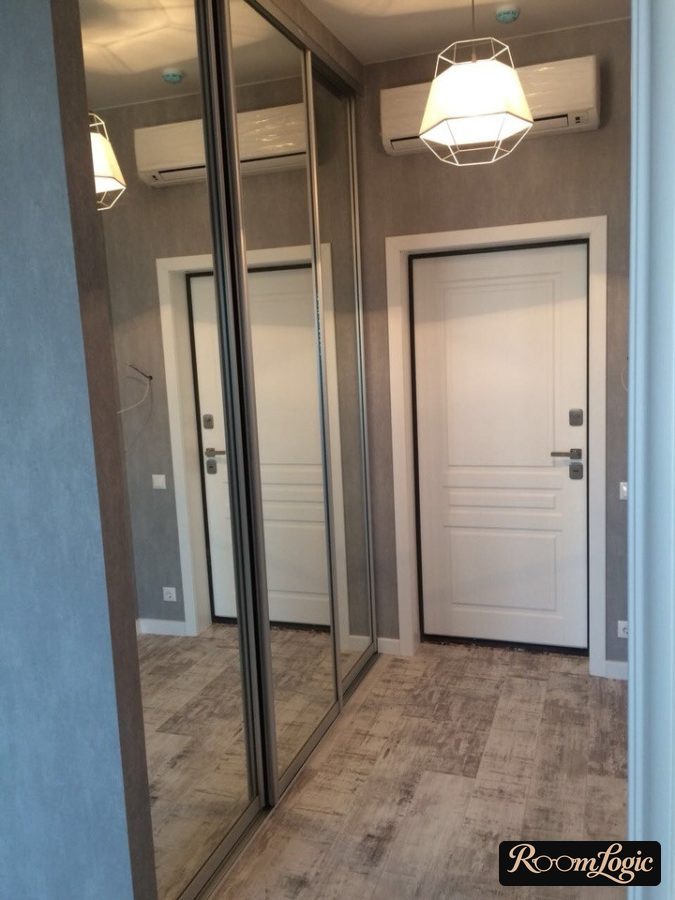
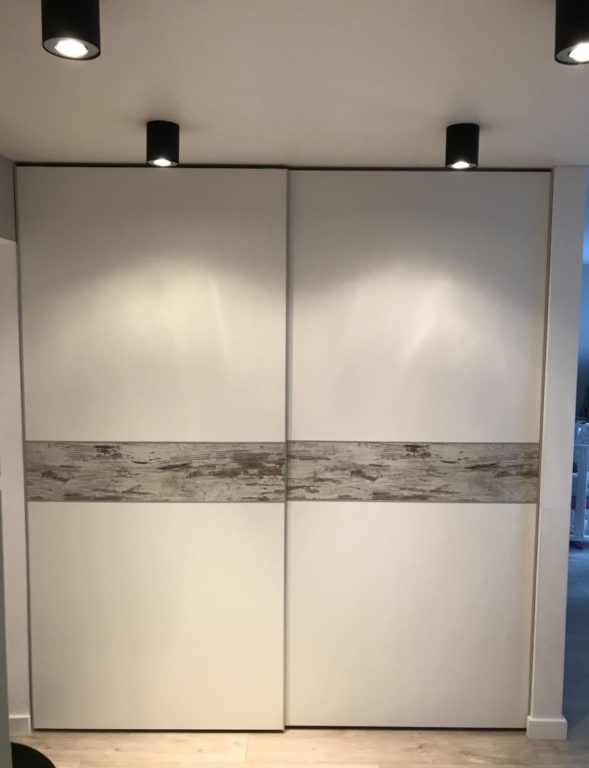
Everyone has long been tired of sliding-door wardrobes; they are the most standard hallway option. But the one in the photo above looks stylish. The reason is the use of unusual materials: usually everyone chooses particleboard imitating wood, but here it is glossy white. So here is the solution if you still want a sliding-door wardrobe – choose an unusual front for it, with no imitation wood.
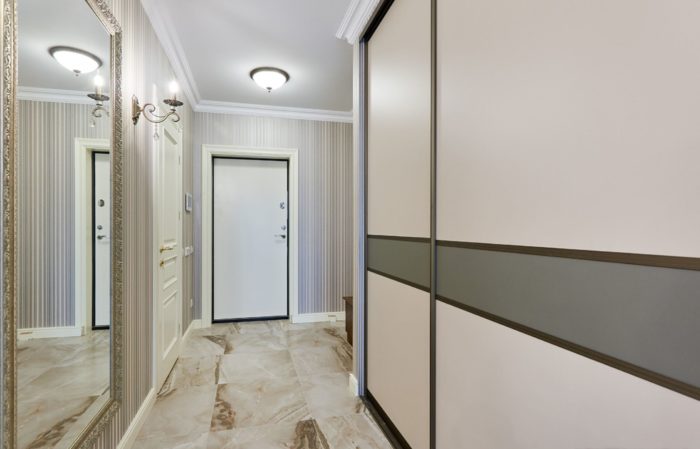
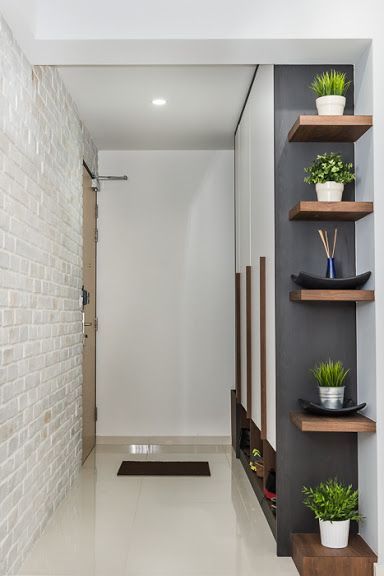
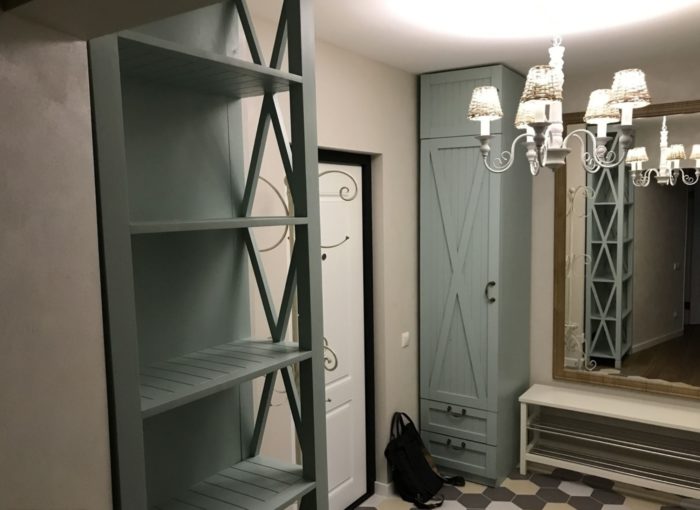
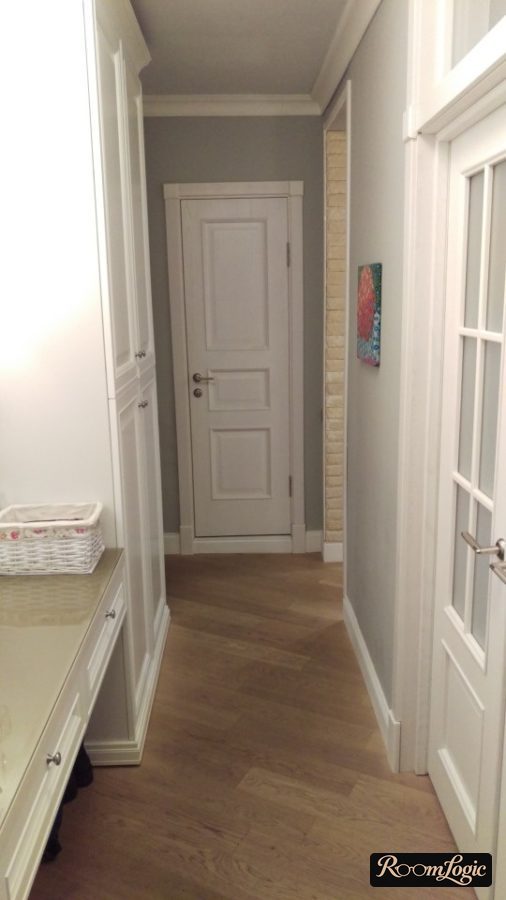
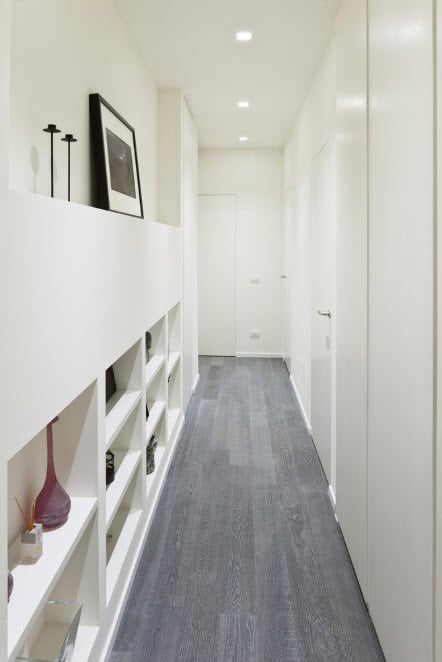
A good example of how to end a cabinet. If you extend it all the way to the end of the hallway, it will look bulky. At the same time, angled ends, curved ends, and rounded corners went out of style long ago. Open rectangular shelves look contemporary and serve a practical purpose.
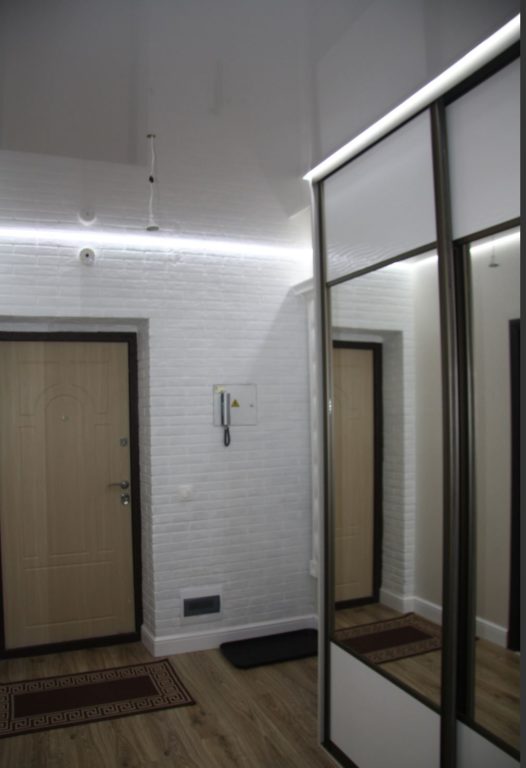
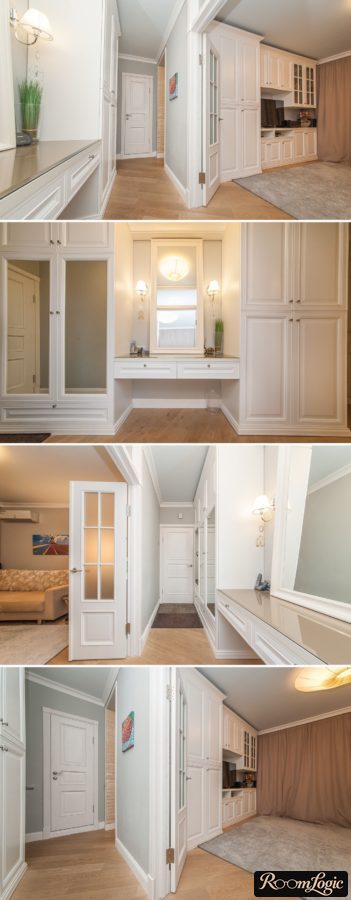
Notice the brick veneer on the wall by the door. Using it this way is perfectly acceptable. But do not make little corner islands from it; that belongs to design from the 2000s.
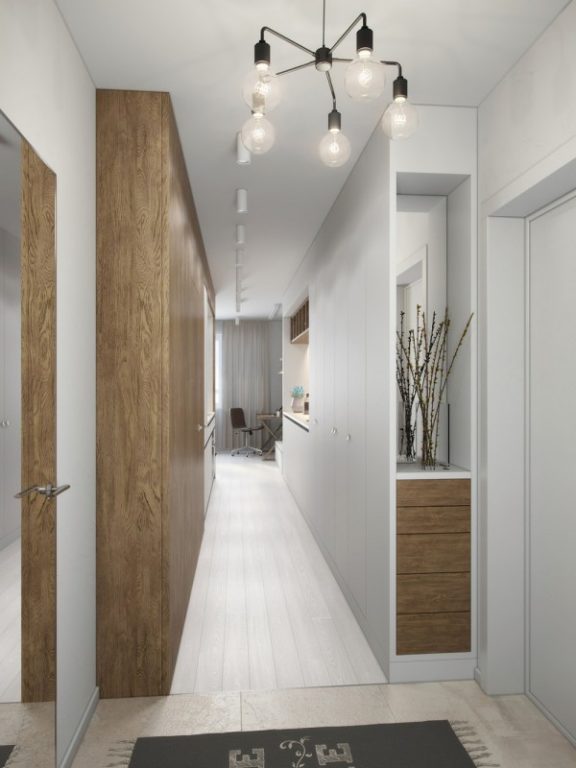
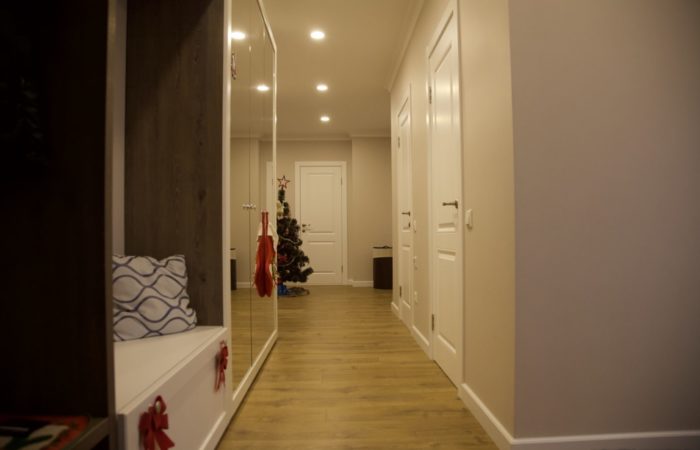
The reverse photo answers the question of how to begin a cabinet. It is an ideal solution and easy to carry out in a real hallway interior. There is both a tall full-length mirror and pullout shelves for keys, accessories, and so on. At the same time, it looks much more stylish than a simple straight cabinet end.
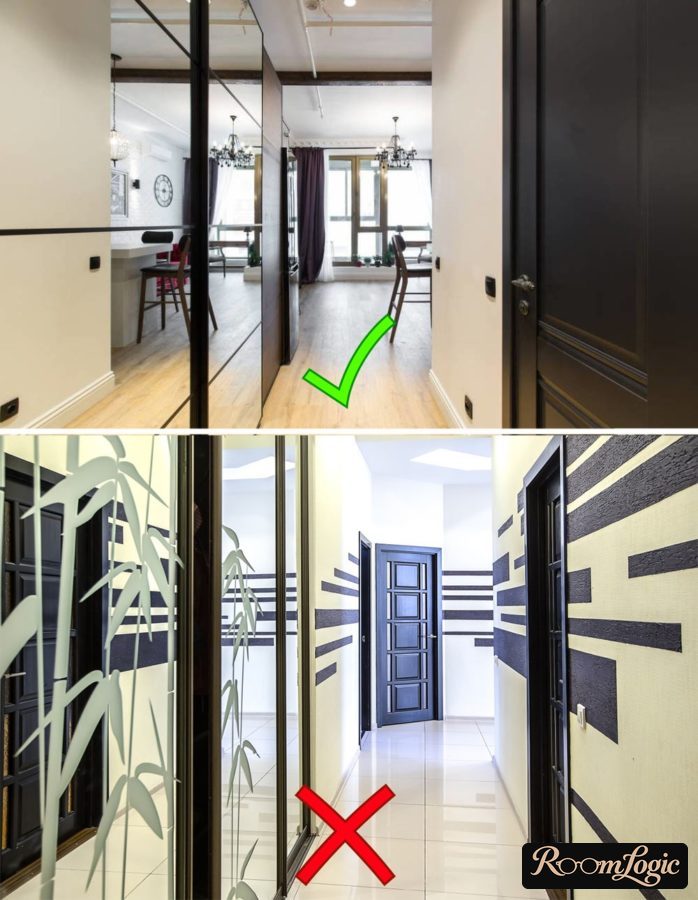
If you have a mirrored cabinet on one side of the hallway, all the other finishes should be uniform because every complication will be multiplied by two.
Using Very Narrow Furniture
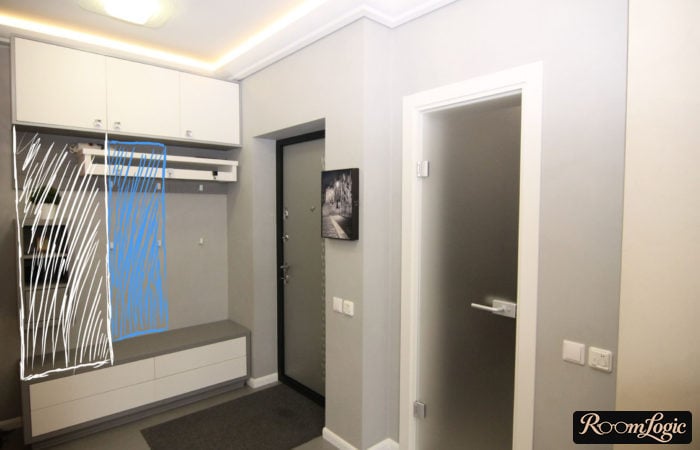
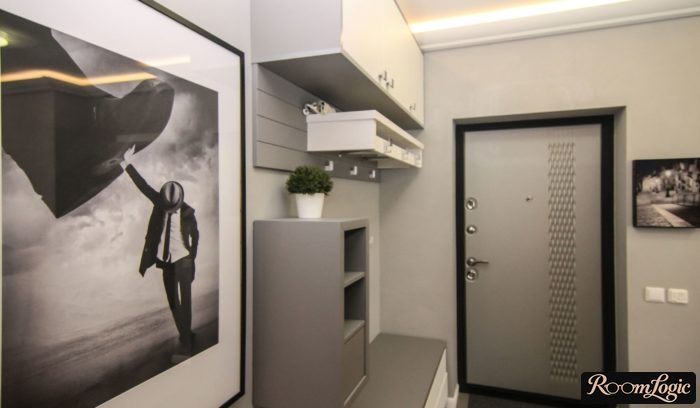
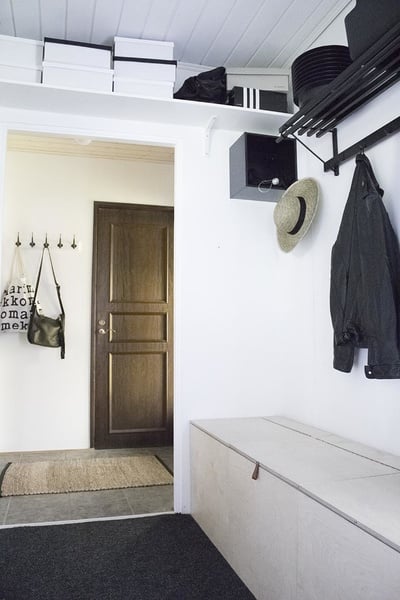
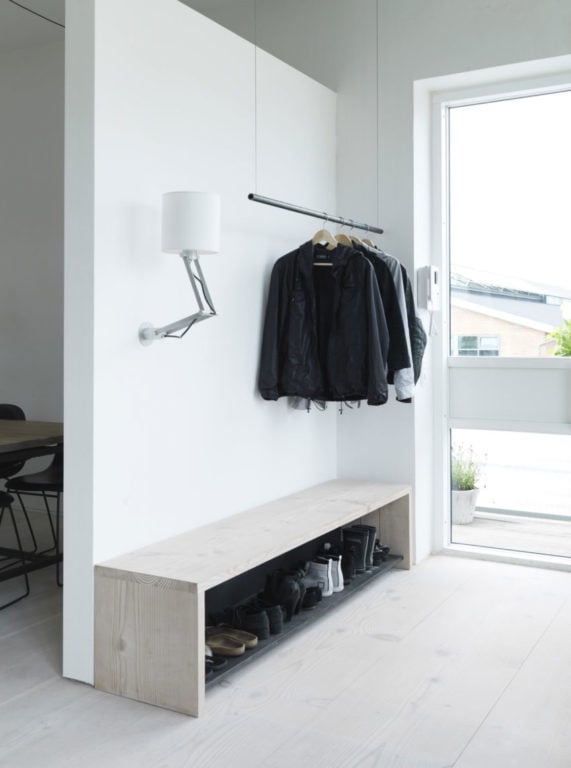
Finally, a few examples of furniture placement in very small hallway interiors. This furniture will have to be custom-made. Of course, you will not put clothes in it, but you will be able to put keys, hats, scarves, an umbrella, shopping bags, a purse, and so on there. And these are the items we remember at the last moment, so it is better to keep them right by the door. Pay special attention to the open overhead shelf in the first photo.
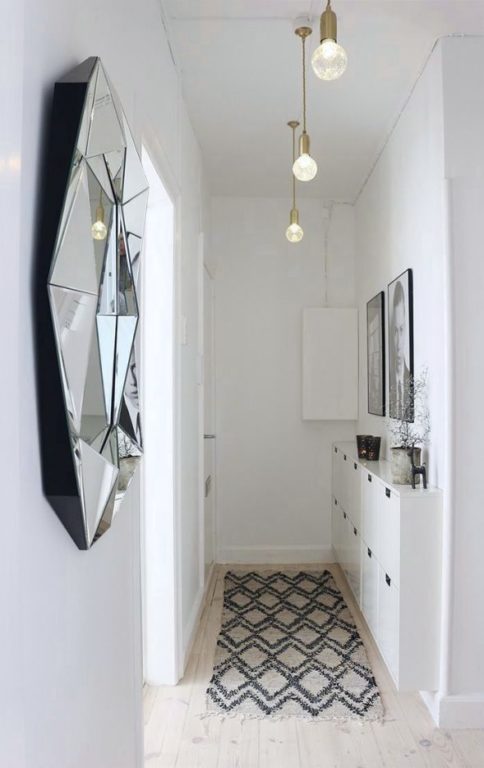
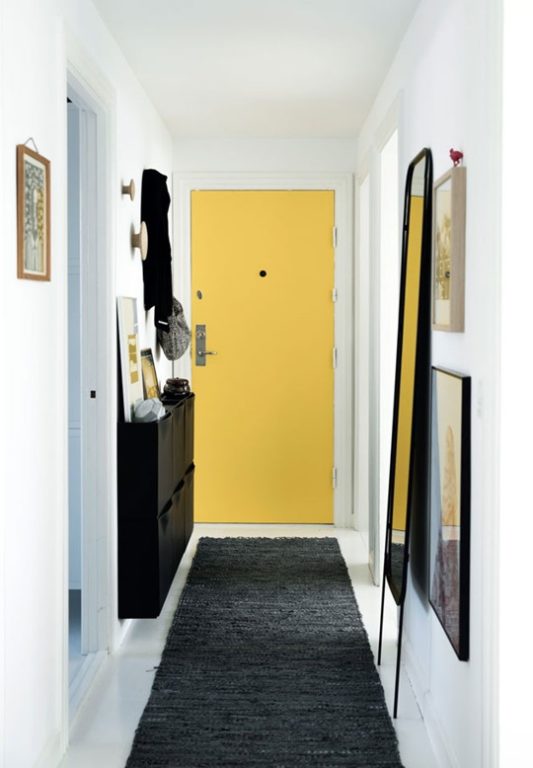
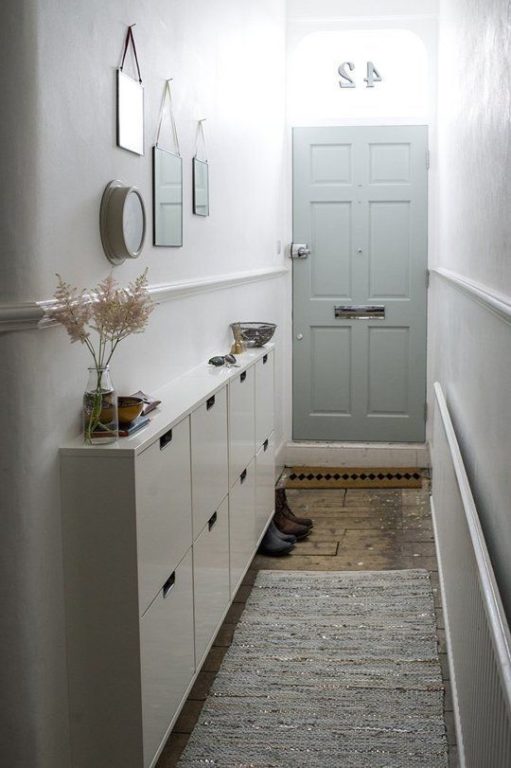
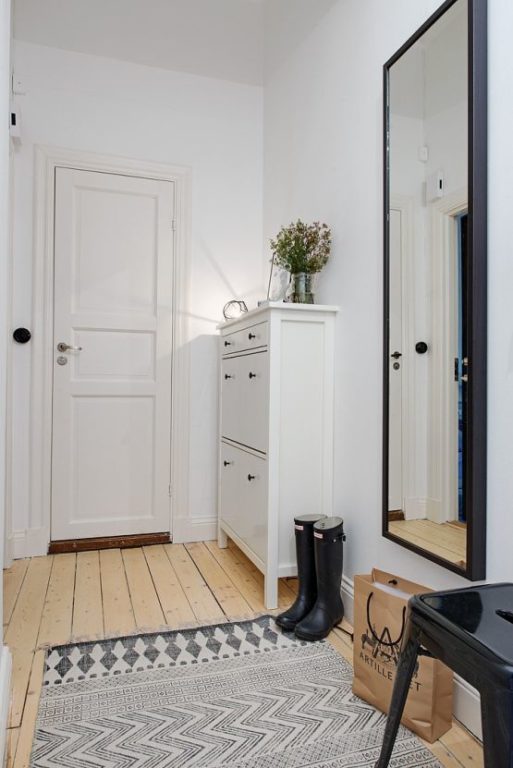
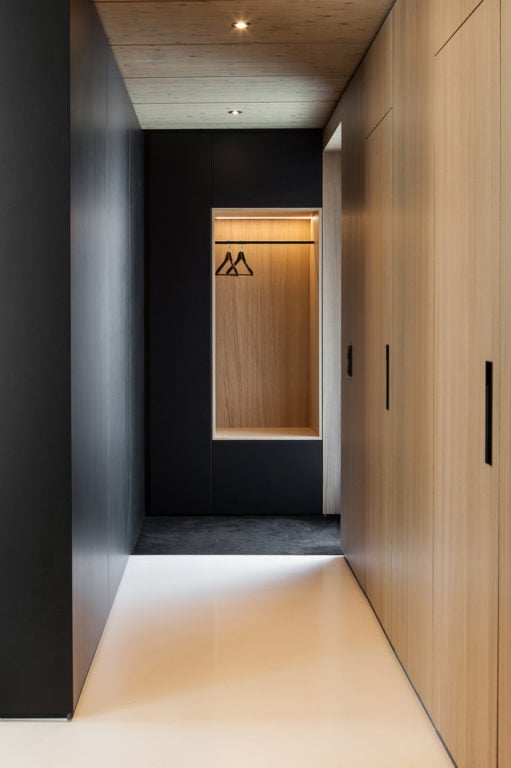
And a few more photos with unusual cabinets:
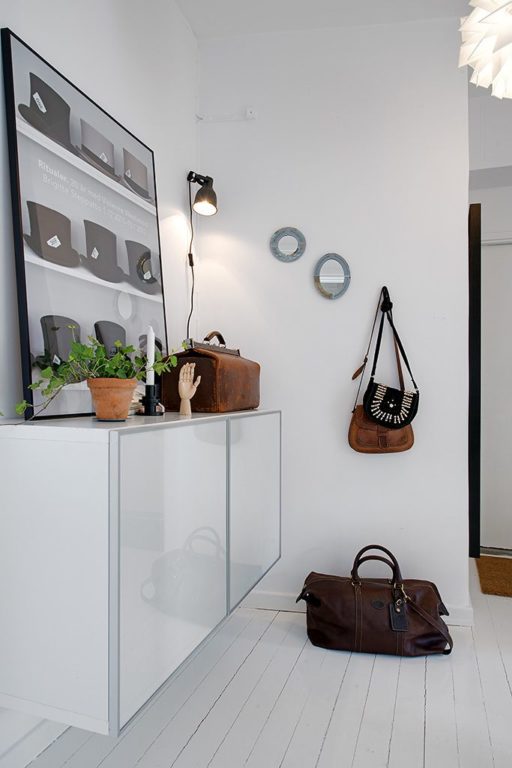
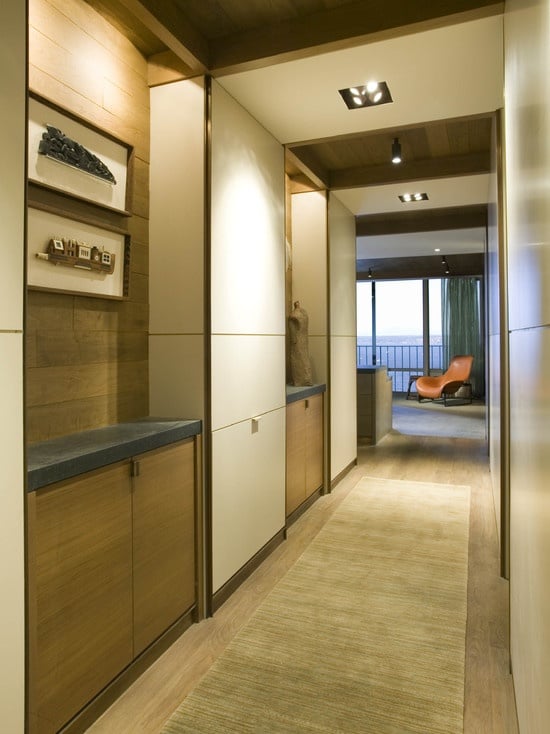
We hope our theory or photos help you make your hallway design stylish and contemporary. Good luck with your remodel!